

No products in the cart.
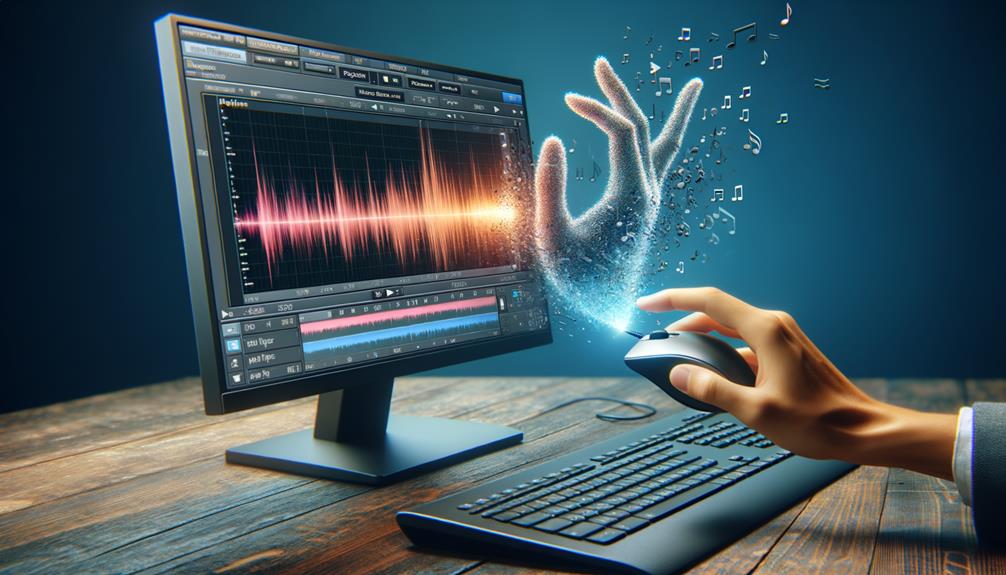
Struggling to import video audio into Audacity? It may seem like an impossible task at first, but fear not – there’s a straightforward solution.
By following a few simple steps, you can seamlessly extract the audio from your video files and import them into Audacity for editing. Whether you’re a content creator, podcaster, or musician, this technique could be a game-changer for your workflow.
Keep on reading to discover how to unlock this powerful capability and take your audio editing to the next level.
Contents
hide
Key Takeaways
- Download and install the suitable versions of FFmpeg and Audacity, selecting the FFmpeg library during Audacity setup.
- To extract audio from video files, open Audacity, import the video file, and Audacity will automatically extract the audio. Edit the audio as needed and export it as a WAV file.
- When importing audio into Audacity, ensure the audio file is in a compatible format such as WAV, AIFF, OGG, FLAC, or MP3. Use the ‘Import’ option in the ‘File’ menu to navigate to the audio file and import it.
- Adjust audio levels and apply effects using features like ‘Amplify’, ‘Equalization’, ‘Compressor’, ‘Reverb’, ‘Fade In’, and ‘Fade Out’. Experiment with these effects to achieve desired results.
Installing Audacity and Required Codecs
To install Audacity and the required codecs, ensure that you have downloaded the suitable versions of FFmpeg, which will enable Audacity to import audio data from video files.
The installation process for Audacity is straightforward. After downloading the appropriate version for your operating system, follow the installation prompts. Ensure that you select the option to install the FFmpeg library during the setup process.
Once Audacity and the required codecs are installed, you can proceed to import the video audio. Open Audacity and navigate to the ‘File’ menu. From there, select ‘Import’ and then ‘Audio.’ Locate the video file you want to extract the audio from and open it.
Audacity will then extract the audio from the video file, allowing you to edit and process it as needed. This method eliminates the need to convert the video to MP3, preserving the original audio quality.
With Audacity and the necessary codecs installed, you’re now ready to seamlessly import and work with audio from video files.
Extracting Audio From Video Files
When extracting audio from video files in Audacity, ensure that you have the appropriate version of FFMpeg installed to facilitate the process seamlessly. FFMpeg is essential for importing video audio into Audacity.
To begin, open Audacity and click on ‘File’ and then ‘Import’ and select ‘Audio.’ Locate the video file from which you want to extract audio. Audacity will automatically extract the audio from the video file, allowing you to edit it as needed.
The ability to extract audio from video files directly within Audacity is a convenient feature that eliminates the need for additional software. This process also helps to maintain the audio quality.
Once you have completed editing the audio, you can export it from Audacity as a WAV file. This WAV file can then be added back to the video using a video editing program. This method ensures that the edited audio is seamlessly incorporated back into the video file.
Importing Audio Into Audacity
After successfully extracting audio from a video file using Audacity, the next step is importing the audio into the software for editing. To import audio into Audacity, follow these steps:
- File Format: Ensure that the audio file is in a compatible format such as WAV, AIFF, OGG, FLAC, or MP3 (import only). If the file isn’t in one of these formats, you may need to convert it using a separate tool before importing it into Audacity.
- Importing: Open Audacity and click on ‘File’ in the top menu, then select ‘Import’ and choose ‘Audio…’ from the dropdown menu. Navigate to the location of the audio file on your computer and select it. Audacity will create a copy of the audio data and import it into the software for editing.
- Quality Considerations: When importing audio, keep in mind that lossless formats like WAV, AIFF, and FLAC preserve the original audio quality, while lossy formats like MP3 and OGG involve some degree of compression and potential loss of quality.
Adjusting Audio Levels and Effects
You can easily adjust the audio levels and apply various effects in Audacity to enhance the quality and characteristics of your audio track.
When importing video audio into Audacity, it’s important to fine-tune the audio levels and apply effects to achieve the desired sound.
The ‘Amplify’ effect is a powerful tool to adjust the overall volume of the audio track, allowing you to increase or decrease the amplitude as needed.
Additionally, the ‘Equalization’ effect enables you to modify specific frequency bands, shaping the tonal quality of the audio.
To even out volume disparities within the track, utilize the ‘Compressor’ effect, which effectively reduces the dynamic range.
Experimenting with the ‘Reverb’ effect can add depth and a sense of space to the audio, enhancing its characteristics.
Moreover, the ‘Fade In’ and ‘Fade Out’ effects allow for smooth volume adjustments at the beginning and end of the audio, providing a polished and professional finish to your track.
Exporting Edited Audio From Audacity
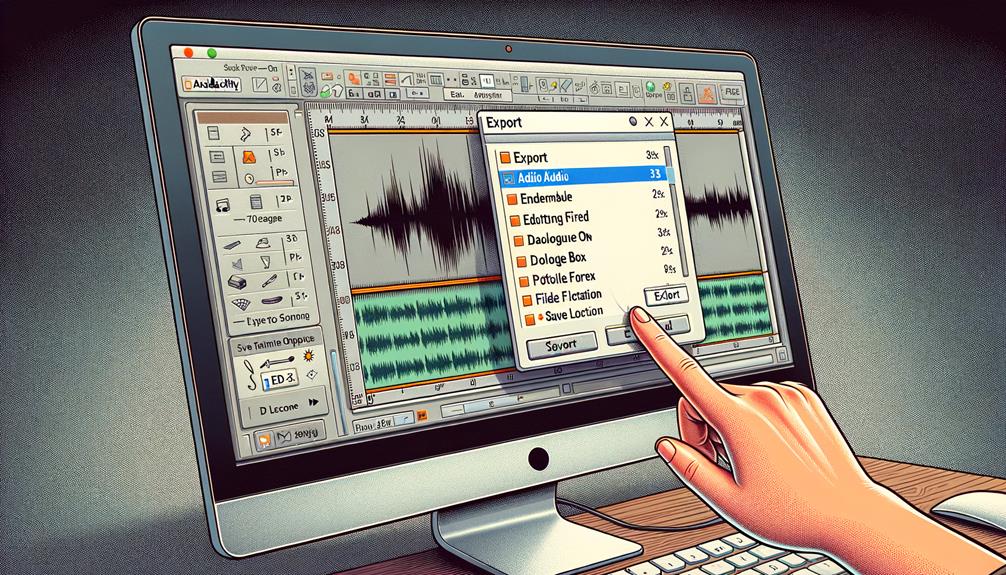
To export edited audio from Audacity, follow these steps:
- Select the ‘File’ menu and choose the ‘Export’ option from the dropdown menu.
- Choose the desired file format for the exported audio. This can be WAV, AIFF, MP3, OGG, or FLAC, depending on your specific needs and the intended use of the audio file.
- Adjust the quality and metadata settings for the exported audio. Audacity provides options to customize the bitrate, sample rate, and metadata tags to ensure the exported audio meets your requirements.
- Consider the compatibility of the exported audio format with other software or platforms. Depending on how you plan to use the audio, it’s important to select a format that’s widely supported and suitable for integration with video editing software or other multimedia applications.
Exporting edited audio from Audacity allows you to preserve your modifications and use the audio in various contexts, such as integrating it with video content or sharing it across different platforms. By following these steps, you can ensure that the exported audio meets your specific quality and compatibility needs.
Frequently Asked Questions
Can Audacity Extract Audio From Video?
Yes, Audacity can extract audio from video files using suitable versions of FFMpeg. This allows for video conversion and audio extraction. With the right setup, Audacity can also edit the audio data of video files.
How Do I Convert a Video to Audio in Audacity?
To convert a video to audio in Audacity, install FFMpeg to enable audio extraction. With the suitable FFMpeg version, import the audio data from the video file. Export the edited audio to a WAV file for video editing.
Can You Put an MP4 Into Audacity?
Yes, you can import an MP4 file into Audacity for audio manipulation. It’s useful for video editing and enhancing sound quality. This process streamlines audio improvement for video creation, saving time compared to using a separate video editor.
Does Audacity Support Video Files?
Yes, Audacity supports video files through video conversion and audio extraction. By installing FFMpeg, Audacity can read audio data from video files and edit audio from MP4 files, enabling you to work with multimedia content seamlessly.
Conclusion
In conclusion, importing video audio into Audacity is a straightforward process that can be achieved by installing the necessary codecs, extracting audio from video files, and importing it into Audacity.
With the ability to adjust audio levels and apply effects, Audacity provides a convenient platform for editing video audio.
Once the editing is complete, the edited audio can be exported from Audacity for further use.


