No products in the cart.
Are you tired of your audio recordings sounding muffled or filled with distracting background noise? Whether you’re a podcaster, musician, or content creator, achieving high-quality audio is crucial for making a lasting impression on your audience.
In this discussion, you’ll discover practical techniques and tips for enhancing your audio quality in Audacity. From removing unwanted noise to mastering the art of compression and equalization, these strategies will elevate the professionalism and clarity of your audio recordings, leaving your listeners captivated and engaged.
Contents
hide
Key Takeaways
- Audacity offers a range of audio editing tools, including noise reduction, normalization, compression, and advanced effects.
- Removing background noise can be achieved with tools like Krisp and Audacity’s Noise Remover, resulting in significantly improved audio clarity.
- Amplifying and normalizing audio helps to balance volume levels, enhance clarity, and avoid distortion or clipping.
- Equalization and compression techniques, such as using equalizers and multiband compression, can be utilized to achieve a balanced and professional sound.
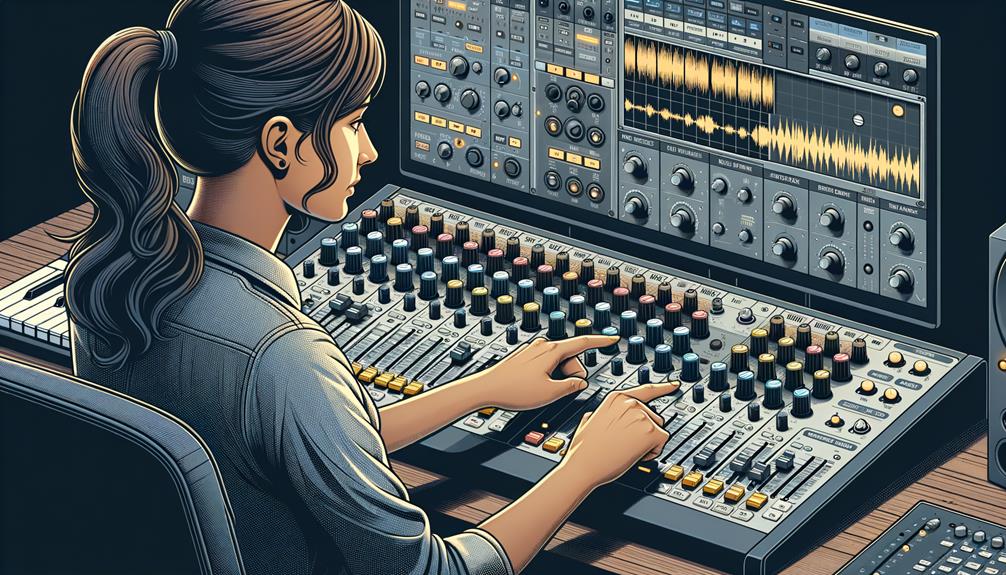
Audio Editing Tools in Audacity
To enhance audio quality and achieve precise edits, Audacity offers a range of powerful audio editing tools.
One essential feature is the Noise Reduction tool, which includes the Noise Profile and Noise Remover. By capturing a sample of the background noise with the Noise Profile, you can effectively reduce unwanted noise from your audio recordings.
Additionally, the Normalize effect in Audacity is a valuable tool for enhancing audio quality. It ensures that the audio levels are balanced, providing a consistent and optimal sound experience for the listeners.
The Compressor is another impactful tool that allows you to increase vocal volume and balance the overall audio, with customizable settings to meet your specific requirements.
Furthermore, the Noise Removal tool is instrumental in eliminating unwanted noise from your recordings, resulting in improved audio clarity.
With these advanced features and effects, Audacity empowers you to take your audio editing capabilities to the next level, ultimately helping you to significantly improve your audio output.
Removing Background Noise
Using Audacity’s Noise Profile, you can analyze and identify frequencies to remove in order to effectively remove background noise from your audio recordings. To achieve this, follow these steps:
- Utilize Krisp: Krisp is a real-time noise removal tool that integrates seamlessly with Audacity. It allows you to remove background noise from your audio recordings with precision.
- Configuration: Configure Krisp with Audacity by selecting Krisp microphone in the audio settings. This enables Krisp to effectively filter out unwanted noise from your recordings.
In addition to using Krisp, Audacity also offers its own Noise Remover tool, which can significantly reduce background noise in your audio tracks. By utilizing these tools, you can ensure that your audio recordings are free from unwanted noise, resulting in a significant improvement in audio quality.
Amplifying and Normalizing Audio
After effectively removing background noise from your audio recordings, the next step is to consider amplifying and normalizing the audio to ensure a consistent and balanced volume level. Amplifying and Normalizing Audio are crucial steps in improving audio quality in Audacity. Amplifying increases the overall volume of the audio without causing distortion, allowing you to boost the clarity and impact of your recordings. Normalizing adjusts the volume of the audio to a standard level, preventing it from sounding too quiet or too loud. These tools are essential for balancing the volume levels of different audio tracks, ensuring a consistent listening experience for your audience.
In Audacity, you can amplify your audio by selecting the portion you want to boost and navigating to the Effect menu. Here, you can choose Amplify and adjust the amplification level as needed. Normalizing can be done by selecting the entire audio track and choosing Normalize from the Effect menu. You can also apply bass and treble boosts to enhance the audio quality further. When amplifying and normalizing audio, it’s important to monitor the peak amplitude to avoid clipping and distortion.
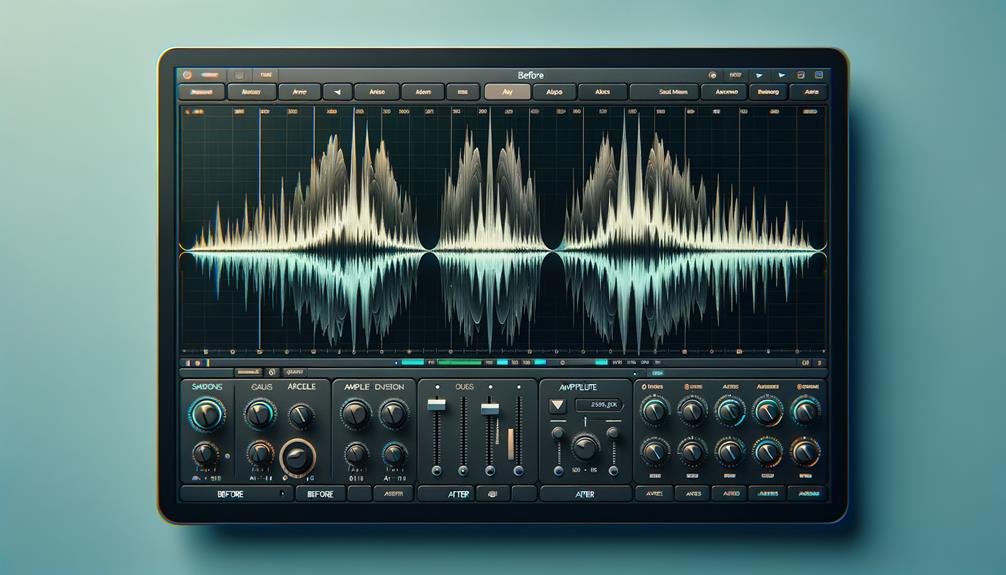
Equalization and Compression Techniques
When adjusting the equalization and applying compression techniques in Audacity, it’s essential to carefully consider the frequency ranges and dynamic levels of your audio to achieve a balanced and professional sound.
To improve audio quality in Audacity through equalization and compression techniques, follow these steps:
- Equalization
- Use a parametric equalizer to adjust specific frequency bands, allowing you to boost or cut selected ranges to enhance clarity and remove unwanted frequencies.
- Experiment with Audacity’s graphic equalizer to adjust the overall tonal balance of your audio track, ensuring it fits the desired sound profile.
- Compression Techniques
- Utilize Audacity’s built-in compression tool to reduce the dynamic range of the audio, balancing out loud and quiet sections for a more consistent sound.
- Implement multiband compression to target specific frequency ranges, providing more detailed control over the dynamics of your audio.
Mastering Your Audio in Audacity
As you refine your audio in Audacity through equalization and compression techniques, mastering your audio further involves utilizing additional tools and features to optimize the overall quality and balance of your recordings.
By using Audacity’s Noise Profile and Noise Remover, you can effectively reduce background noise, resulting in improved audio quality.
The Normalizer feature is essential for enhancing the overall quality of your audio and ensuring balanced levels, making it ideal for podcasting and recordings.
Additionally, the Compressor tool in Audacity allows you to increase vocal volume and adjust settings to prevent audio distortion.
The Equalizer is another valuable tool for mastering audio in Audacity, as it enables you to manipulate frequency content and achieve a desired balance of low, mid, and high frequencies.
For voice recordings with background music, the AutoDuck effect can be used to enhance voice clarity and prevent the music from overpowering the narration.
Mastering your audio in Audacity involves leveraging these settings and tools to achieve the highest possible audio quality for your recordings.
Frequently Asked Questions
How Do I Make My Audacity Sound Better?
To make your Audacity sound better, start by reducing background noise, utilizing equalization techniques to enhance audio, applying compression methods for dynamic control, restoring audio quality, reducing reverb, correcting pitch, normalizing volume, and preventing clipping.
Can Audacity Improve Audio Quality?
Yes, Audacity can significantly improve audio quality. Utilize noise reduction, equalization tips, compression techniques, volume normalization, reverb reduction, pitch correction, clipping prevention, and mastering basics to enhance your audio quality in Audacity.
How Do I Clean up Bad Audio in Audacity?
To clean up bad audio in Audacity, use noise reduction to remove background noise, apply equalization techniques for audio restoration, remove distortion, enhance clarity, improve volume, and de-ess vocals. These steps significantly enhance audio quality.
How Can I Improve the Quality of My Audio?
To improve audio quality, first, reduce noise using Audacity’s Noise Profile and Krisp. Then, employ Equalization techniques to manipulate frequencies, use Compression methods to boost volume, and record in a noise-free environment for optimal results.
Conclusion
In conclusion, by utilizing the Noise Reduction, Compressor, and Equalization features in Audacity, you can significantly improve the audio quality of your recordings.
These tools allow you to remove background noise, balance the dynamic range, and enhance the bass and treble frequencies.
With the right techniques and equipment, such as a high-quality microphone and proper vocal practices, you can achieve clear and professional audio quality for your projects.