

No products in the cart.
So, you’ve recorded your audio masterpiece, only to realize that the levels are all over the place. Don’t worry, you can easily fix this with Audacity’s normalization feature. By following a few simple steps, you can bring consistency to your audio levels and make your work sound more professional.
But there’s more to it than just clicking a button – you’ll want to understand the nuances of normalization and how to apply it effectively for different types of audio. Stick around to learn the ins and outs of normalizing audio in Audacity and take your sound quality to the next level.
Contents
hide
Key Takeaways
- Audio normalization in Audacity adjusts peak levels to a target volume without affecting channel balance.
- Normalization prevents clipping and distortion while maximizing volume.
- Normalization is different from the Amplify effect, which adjusts volume uniformly.
- Normalizing stereo channels independently maintains balance and clarity in recordings.
Understanding Audio Normalization
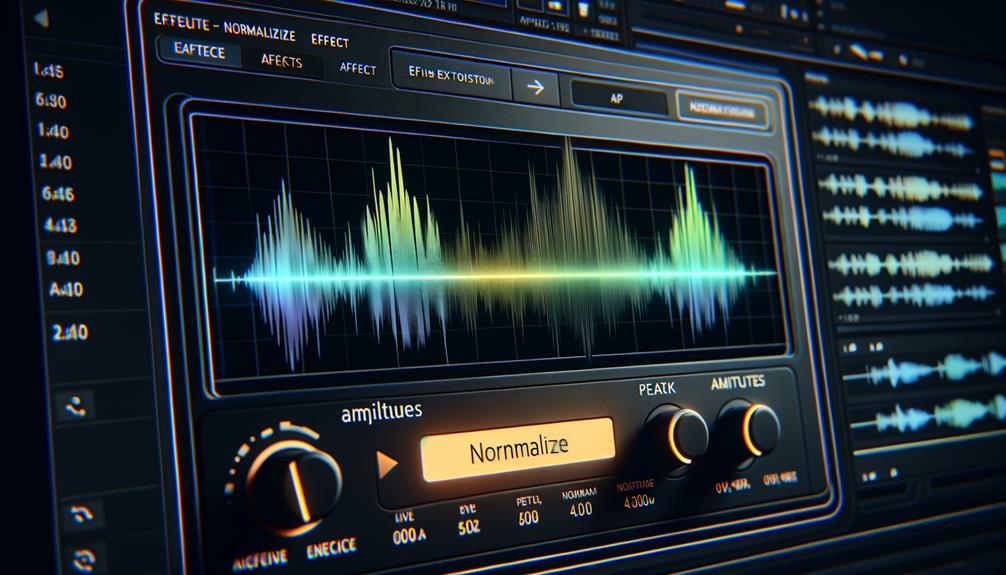
When normalizing audio in Audacity, understanding the process of audio normalization is crucial for achieving optimal sound quality and consistency. Normalization adjusts the peak level of audio tracks to a target volume without affecting the relative balance between channels. It ensures that the highest point of the audio reaches a specified level, preventing clipping and distortion while maximizing the volume. This process is distinct from the Amplify effect, which uniformly adjusts the volume of the entire audio selection.
In Audacity, the Normalize effect provides precise control over the normalization process. It allows you to set the maximum amplitude, specifying the highest level the audio will reach after normalization. By normalizing stereo channels independently, you can tailor the volume levels of each channel for an optimal listening experience. This is particularly useful for maintaining balance and clarity in stereo recordings.
Understanding the nuances of audio normalization empowers you to enhance the overall quality of your recordings. It’s a fundamental tool for achieving consistent volume levels across different audio tracks and channels, ensuring a professional and polished sound.
Applying Normalization in Audacity
To apply normalization in Audacity, use the Normalize effect to adjust and balance the volume levels of your audio tracks. Here’s how to do it effectively:
- Select Multiple Tracks: In Audacity, you can normalize multiple tracks simultaneously. Simply select the audio tracks you want to normalize, and then apply the Normalize effect to ensure consistent volume levels across all the selected tracks.
- Peak Normalization: Audacity’s Normalize effect offers peak normalization, which adjusts the amplitude of the audio to the specified peak amplitude level. This helps to prevent clipping and distortion while maximizing the volume of the audio without over-amplifying it.
- Amplify Effect: In addition to the Normalize effect, Audacity provides the Amplify effect. This effect allows you to adjust the amplitude of specific sections or the entire track. You can use this effect in conjunction with normalization to fine-tune the volume levels of your audio, providing a comprehensive approach to audio volume management.
Normalizing Peak Amplitude
After applying the Normalize effect to adjust and balance the volume levels of your audio tracks in Audacity, you can now focus on normalizing the peak amplitude to achieve a specific maximum level.
Normalizing peak amplitude is crucial for ensuring that your audio reaches the desired maximum level without distortion. In Audacity, the default setting for maximum amplitude is -1 dB, but you can customize this according to your requirements. It’s important to note that positive values aren’t allowed for normalizing peak amplitude, so adjusting the maximum level within the acceptable range is essential.
If you need to adjust the amplitude above 0 dB, using the Amplify effect can be a suitable alternative. Additionally, when normalizing peak amplitude, it’s beneficial to remove DC offset and ensure that the normalization is applied uniformly to the left and right channels. This process helps in achieving a consistent peak volume for your digital audio, enabling smooth and distortion-free playback.
Independent Stereo Channel Normalization
Curiously, what benefits does unchecking the box for Independent Stereo Channel Normalization offer when adjusting audio in Audacity?
When you uncheck the box for Independent Stereo Channel Normalization, Audacity allows separate adjustments for the left and right channels. This feature is particularly useful for correcting unbalanced stereo recordings, preserving the original stereo balance if the audio is already correctly balanced, and addressing stereo recordings of LPs and cassettes with unbalanced channels.
It enables the Normalize effect to work on stereo channels independently, adjusting the amplitude separately for the left and right channels. However, when using Independent Stereo Channel Normalization, it’s important to perform click removal before applying the option to ensure optimal results.
This functionality is a valuable tool in the audio editor’s arsenal, especially for tasks such as volume compression and amplitude adjustments in stereo recordings.
Advanced Tips for Audio Normalization
When adjusting audio in Audacity, an advanced tip for normalization involves utilizing the DC offset removal feature to center the waveform on the 0.0 amplitude level and eliminate potential clicks, distortion, and headroom limitations.
To apply the DC offset removal, simply go to the ‘Effect’ menu, choose ‘Normalize,’ and then check the box for ‘Remove DC offset’ before clicking OK.
Another advanced tip is to adjust the Maximum Amplitude when applying the Normalize effect. By setting the desired maximum amplitude value, you ensure distortion-free playback and allow headroom for effects.
To do this, select the ‘Normalize’ option from the ‘Effect’ menu, input the desired value in the ‘Maximum Amplitude’ field, and then click OK to apply.
Additionally, when normalizing audio tracks, you can use the preview button to listen to the effect before finalizing the changes.
These advanced tips provide a more precise and tailored approach to normalizing audio in Audacity, allowing for optimal control over amplitude and waveform centering.
Frequently Asked Questions
How Do I Fix Uneven Audio in Audacity?
To fix uneven audio in Audacity, adjust volume, correct sound, and improve audio with leveling techniques and sound enhancement. Use volume control, audio adjustment, and sound normalization for volume equalization and audio leveling.
How Do I Balance Audio Levels in Audacity?
To balance audio levels in Audacity, adjust volume, sound levels, and peak levels using compression techniques and peak limiting. Apply noise reduction, then utilize signal normalization for audio enhancement in the mastering process.
How Do You Normalize Audio?
To normalize audio, understand peak levels and use the ‘Normalize’ effect in Audacity. This balances dialogue tracks, corrects background noise, and matches volume levels for podcasts, music, and video editing. It’s essential for voiceover recordings and processing multiple audio clips.
How Do I Equalize Audio in Audacity?
To equalize audio in Audacity, adjust volume, level sound, and enhance the audio using equalization techniques, noise reduction, peak limiting, compression methods, and audio mastering to optimize dynamic range and ensure audio clarity.
Conclusion
You have now successfully learned how to normalize audio in Audacity. By following the outlined steps and understanding the concept of audio normalization, you can ensure that your audio tracks are balanced and consistent in volume.
Remember to preview the changes before applying them, and consider the advanced tips for further control over the normalization process.
With this knowledge, you can confidently enhance the quality of your audio recordings using Audacity.


