No products in the cart.
You’ve probably heard of reversing audio for artistic or experimental purposes, but do you know how easy it is to achieve this in Audacity?
The process may seem complex, but with just a few simple steps, you can effortlessly reverse any audio file.
By following these straightforward instructions, you’ll be able to add a unique twist to your audio projects, whether it’s for music production, sound design, or simply for fun.
So, why not discover the power of reversing audio in Audacity and unlock a whole new realm of creative possibilities?
Contents
hide
Key Takeaways
- Audacity is a free audio editing software that allows users to reverse audio files.
- Reversing audio can create unique sound effects and experiment with subliminal message perception.
- The reversed audio can be saved as a new file in different formats and encoding options.
- Reversed audio can be used creatively in music production and sound design for various genres.
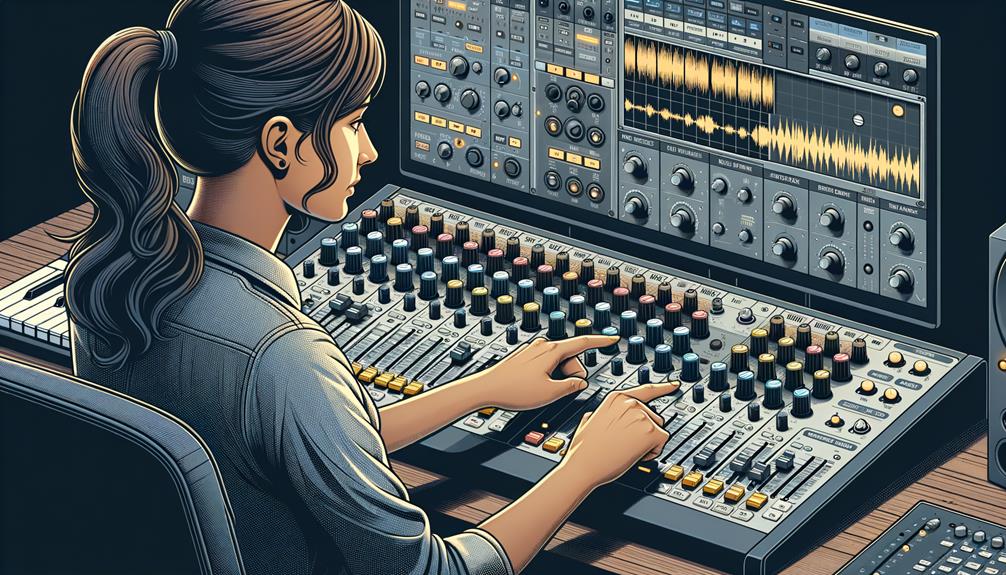
Installing Audacity on Your Device
To install Audacity on your device, follow these steps:
- Download the latest version of Audacity compatible with your Windows operating system.
- Once the download is complete, double-click the installer file to begin the installation process.
- Follow the on-screen instructions provided by the setup wizard.
- When prompted, select the destination folder for the installation.
- After choosing the installation location, you can opt to create a desktop shortcut for easy access.
- Click ‘Install’ to commence the installation of Audacity on your device.
After the installation is finished, you can start using Audacity:
- Launch Audacity.
- Familiarize yourself with the interface and the various tools available for audio manipulation.
- To reverse an audio clip in Audacity, import the desired audio file.
- Select the portion of the audio you wish to reverse.
- Navigate to the ‘Effect’ menu and choose the ‘Reverse’ option.
- Your audio clip will be reversed, creating a unique and innovative sound.
- Experiment with other effects such as time-stretched clips to further enhance your audio projects.
Audacity provides a user-friendly platform for audio editing and offers a wide range of innovative features.
Opening the Audio File in Audacity
When opening an audio file in Audacity, you can either navigate to the File menu and select ‘Open’ or use the keyboard shortcut Ctrl + O to select the desired song for manipulation. Once the song is selected, Audacity immediately loads it, allowing you to apply an effect, such as reversing the audio, and perform various manipulations.
Here’s how you can efficiently open and manage the audio file:
- Selection: After opening the audio file, use the selection tool to choose the specific section you want to reverse or manipulate.
- Clip Split: If needed, you can utilize the clip split tool to divide the audio into smaller segments for more precise editing.
- Apply an Effect: With the audio file open, you can then navigate to the ‘Effect’ menu to apply the ‘Reverse’ effect, which will reverse the selected portion of the audio.
Reversing the Audio
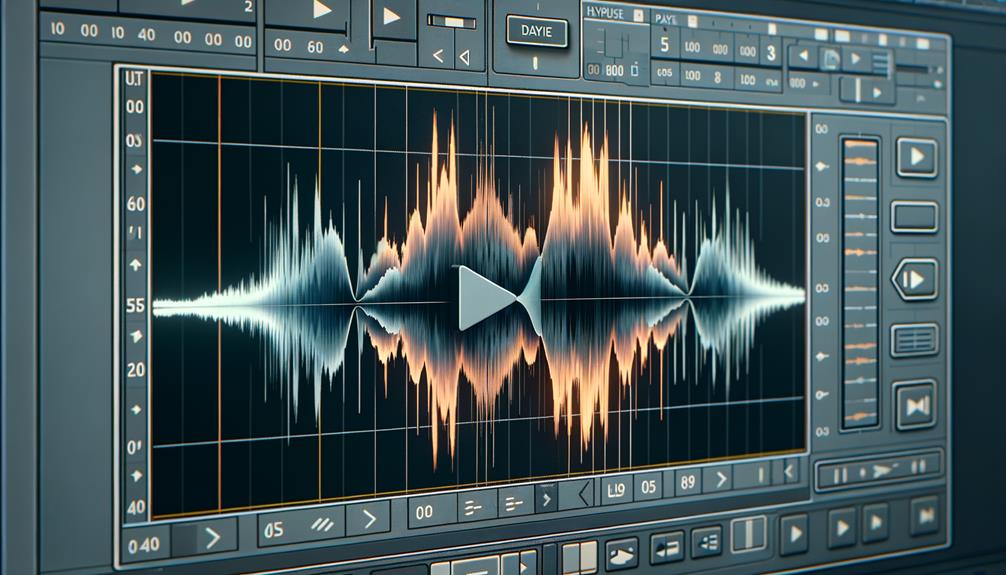
You can reverse the selected audio in Audacity by accessing the ‘Effect‘ menu and applying the ‘Reverse’ effect, which plays the end of the audio first and the beginning last. This effect can be applied to a time-stretched clip within Audacity, allowing for the reversal of a selection within a time-stretched clip.
When reversing audio, including time-stretched clips, you can create unique sound effects and experiment with subliminal message perception. If you apply the reverse effect to a time-stretched clip, the changed speed within the time-stretched clip will result in the reversed audio maintaining the time-stretched quality.
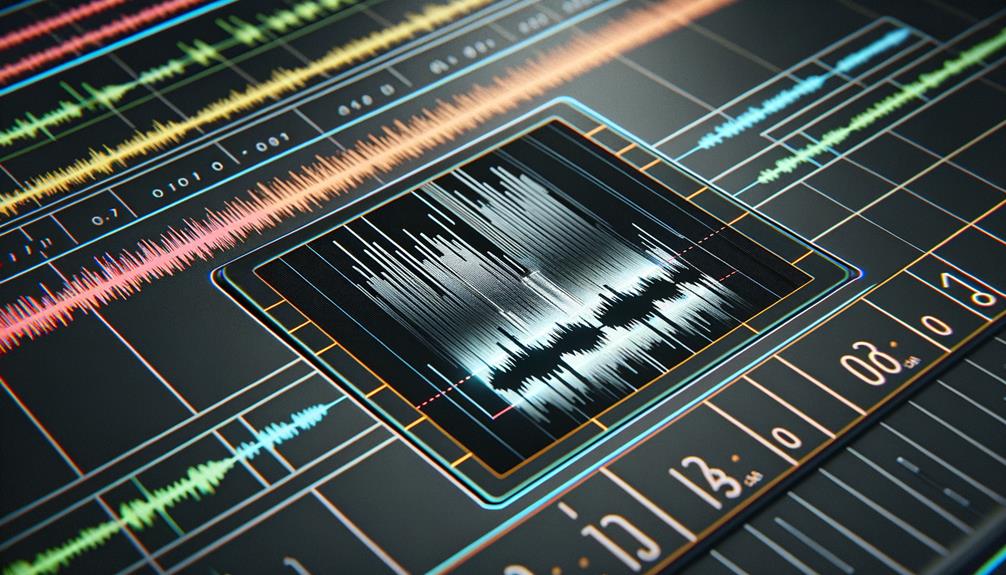
It’s important to note that reversing audio, including time-stretched clips, can lead to lossy processes and the accumulation of digital artifacts, particularly if the volume is reversed or if spectrograms are inverted.
Also, remember that Label Tracks can only be reversed if selected along with the associated audio, allowing for full or partial reversal of labeled audio segments.
Saving the Reversed Audio
After applying the ‘Reverse’ effect to the audio in Audacity, proceed to the ‘File’ menu and select ‘Export’ to save the reversed audio as a new audio file.
- Choose the desired location, format, and encoding for the reversed audio in the ‘Export Audio’ window.
- Select the appropriate file type and encoding options that work on your system, such as WAV (Microsoft) as type and Signed 16 bit PCM encoding.
- Edit the metadata if needed, then click ‘OK’ to save the reversed audio with the chosen settings.
Once you have completed these steps, the progress dialog will appear, indicating the export process. When the export is finished, the reversed audio clip will be automatically saved as a new file.
It’s important to consider the location and file format that best suits your project’s requirements. By following these steps, you can ensure the saved reversed audio is ready to be played with any media player or shared for further use or analysis.
Be mindful of the details, such as the speed of the clip, as part of applying the ‘Reverse’ effect might result in a time-stretched clip.
Creative Applications of Reversed Audio
Exploring the potential of reversed audio opens up a realm of creative possibilities, allowing for unique and compelling sound manipulations beyond the standard playback.
In Audacity, the Reverse effect can be leveraged in innovative ways. For instance, when combined with time-stretched audio recordings, the Reverse effect automatically adjusts the speed, resulting in intriguing and unconventional soundscapes.
Additionally, the ability to reverse Label Tracks, either fully or partially, provides a means to experiment with subliminal message perception and analyze hidden content within speeches, songs, or any recorded audio.
Furthermore, in music production, applying the Reverse effect can yield haunting and atmospheric sounds, adding a unique and eerie element to various genres. By reversing a Sync-Locked Track Group, all audio and labels within the selected time range are reversed, offering a powerful tool for creative applications.
As a result, the creative potential of reversed audio in Audacity opens doors for captivating and innovative sound design, enabling you to push the boundaries of traditional audio manipulation.
Frequently Asked Questions
How Do I Reverse an Audio Track in Audacity?
To reverse an audio track in Audacity, select the entire track, then go to the ‘Effect’ menu and choose the ‘Reverse’ option. This will initiate the reversing process, altering the playback for sound manipulation and unique audio effects using editing techniques.
How Do I Mirror Audio in Audacity?
To mirror audio in Audacity, use the Reverse effect. This essential feature in audio editing allows for sound manipulation. The reversing process is a powerful tool in audio production and sound engineering, offering innovative ways to experiment with audio.
How Do You Reverse Audio in Audio?
To reverse audio in Audacity, select the desired audio and apply the Reverse effect under the ‘Effect’ menu. This technique allows for creative applications, reversed vocals, sound experimentation, musical composition, and unique reversed sound design in your projects.
How Do You Flip a Recording in Audacity?
To flip a recording in Audacity for audio manipulation and sound editing, access the Reverse effect through Audacity techniques. Simply select the audio and apply the Reverse effect from the ‘Effect’ menu for unique audio effects.
Conclusion
Now that you have successfully reversed the audio in Audacity, you can explore creative applications such as creating unique sound effects, experimenting with musical compositions, or even playing with dialogue in a video project.
The possibilities are endless with reversed audio, and Audacity makes it easy to achieve this effect.
Have fun exploring the creative potential of reversed audio in your projects!