

No products in the cart.
You know that feeling when you’ve recorded a great audio clip, but there’s just this persistent background noise that’s marring the quality?
Well, if you’re using Audacity, there’s a way to tackle that issue effectively. With the right techniques, you can significantly reduce or even eliminate background noise from your recordings, ensuring a cleaner and more professional sound.
But it’s not just about hitting a button and hoping for the best; there are specific steps and tools within Audacity that can help you achieve this.
So, let’s explore how to navigate through the process of eliminating background noise in Audacity and give your audio the clarity it deserves.
Contents
hide
Key Takeaways
- Noise Reduction in Audacity can effectively diminish constant background sounds.
- Obtaining a representative noise profile is crucial for successful noise reduction.
- Adjusting the Noise Reduction parameters using a trial and error approach is recommended.
- Exploring alternative noise reduction methods and software can enhance results.
Understanding Noise Reduction in Audacity
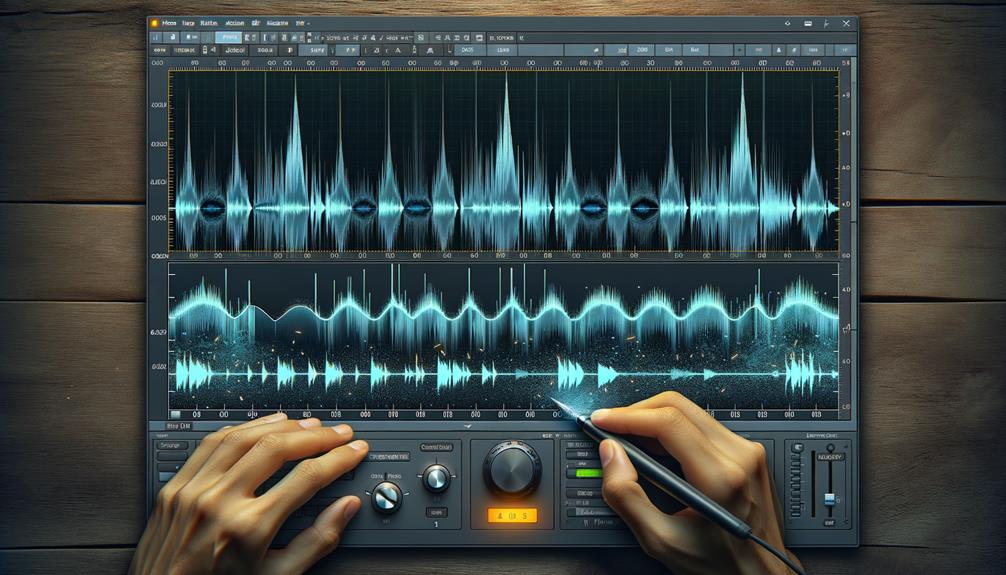
To effectively reduce constant background sounds such as hum, whistle, whine, buzz, and hiss in Audacity, you can utilize the Noise Reduction feature.
This powerful tool allows you to significantly diminish unwanted noise from your recordings. The first step is to select a small portion of the audio that contains only the background noise. Then, navigate to the Effect menu, choose Noise Reduction, and select Get Noise Profile.
This action informs Audacity about the specific characteristics of the unwanted sound. After obtaining the Noise Profile, highlight the entire audio track or the specific regions where you want to reduce the background noise.
Once again, go to the Noise Reduction menu and adjust the settings to achieve the desired noise reduction level. It’s important to note that Noise Reduction is most effective for consistent background noise and may not work well for irregular sounds.
Additionally, if you’re dealing with mains hum or high-pitched whistle, the Notch Filter tool can be utilized to complement the Noise Reduction process.
Mastering these tools will significantly enhance the audio quality of your recordings in Audacity.
Getting Noise Profile for Removal
You can obtain a noise profile for removal by selecting a region of the waveform that contains only the noise you want to reduce. In Audacity, at least 2048 samples are needed for a noise profile.
To get the noise profile, navigate to the ‘Effect’ menu, choose ‘Noise Removal,’ and then click ‘Get Noise Profile.’
It’s important to note that different types of noise should be dealt with separately to achieve the best results. Duplicating a short sample of noise won’t help in getting a longer noise profile.
When selecting the noise for the profile, ensure that it’s representative of the entire background noise in the audio. This process is crucial for effectively reducing unwanted noise from your audio recordings.
Once you have obtained a suitable noise profile, you can proceed with applying the Noise Removal and Repair effect to clean up your audio and achieve a clearer sound.
Applying Noise Reduction Techniques
Consider adjusting the Noise Reduction parameters in Audacity using a trial and error approach to achieve the best results in reducing constant background sounds.
Here are the steps to apply noise reduction techniques effectively:
- Select a region in the waveform that contains only the background noise you want to reduce. This will serve as the noise profile for Audacity to analyze and remove from the audio.
- Obtain a noise profile by going to the ‘Effect’ menu, selecting ‘Noise Reduction,’ and then clicking on ‘Get Noise Profile.’ Audacity will capture the characteristics of the background noise from the selected region.
- Once you have the noise profile, choose another section of the waveform where you want to apply noise reduction. This region should ideally contain the same type of background noise you obtained the profile from.
- Adjust the Noise Reduction parameters by setting the ‘Noise Reduction,’ ‘Sensitivity,’ and ‘Frequency Smoothing’ to achieve the desired reduction level while minimizing any impact on the audio’s quality.
Advanced Tips for Noise Elimination
After applying noise reduction techniques in Audacity using a trial and error approach, you can further enhance your noise elimination skills with advanced tips for refining the noise reduction process.
Experiment with different settings and use the Preview button to listen to the audio after noise reduction to achieve the best results.
Consider using alternative noise reduction software for different noise elimination needs.
Understand the limitations of the noise reduction algorithm, and optimize performance by using noise samples from the beginning of the tape.
Use Audacity’s Noise Reduction before applying any other effects, and capture a suitable Noise Profile before running a Macro.
Explore additional noise reduction techniques beyond Audacity’s Noise Reduction to find the most effective solution for your specific audio needs.
By incorporating these advanced tips for noise elimination, you can effectively remove background noise and achieve higher quality audio recordings.
Keep experimenting and refining your noise reduction process to achieve the best results for your audio projects.
Alternative Noise Reduction Methods
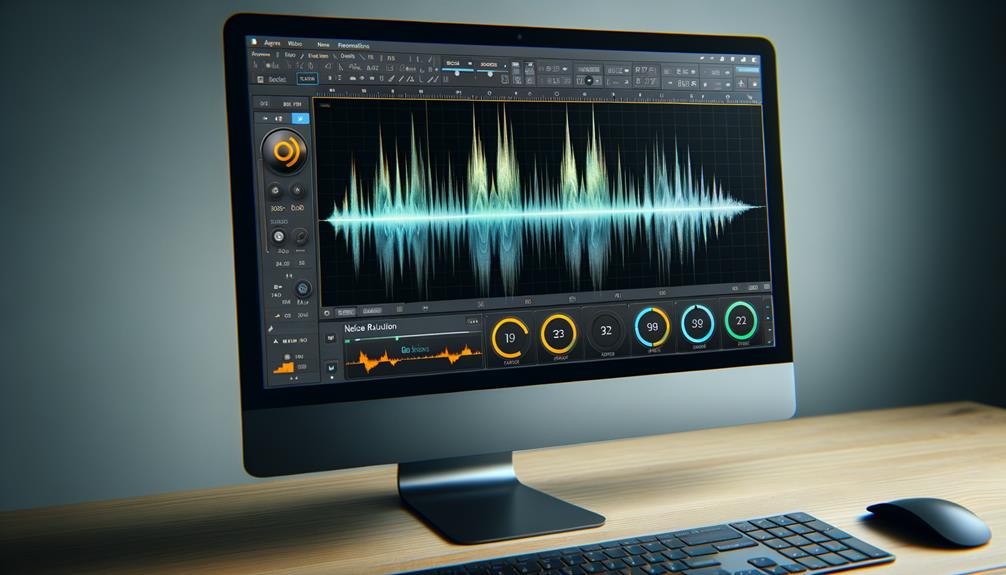
To enhance your noise elimination process, explore alternative noise reduction methods, such as utilizing notch filters for addressing mains hum or high-pitched whistle. Here are some innovative techniques to remove background noise and achieve a superior noise reduction effect:
- Notch Filters: Experiment with notch filters to target specific frequencies, such as mains hum or whistling noises, effectively reducing them without affecting the overall audio quality.
- Specialized Software: Consider using alternative noise reduction software specifically designed for audio restoration routines, offering advanced algorithms and customizable options for tackling different types of background noise.
- Community Forums: Explore dedicated pages or forums where audio professionals and enthusiasts discuss and share additional noise reduction techniques, providing valuable insights and innovative approaches to solving common noise issues.
- Stay Updated: Research and find other software options to incorporate into your audio restoration workflow, and stay updated with advancements in noise reduction technology to find the most effective solution for your specific noise elimination needs.
Frequently Asked Questions
Can You Remove Background Noise in Audacity?
You can remove background noise in Audacity using noise reduction techniques, audio editing tools, and recording environment improvements. Explore the noise reduction effect, use the noise profile, and adjust the settings to enhance your audio quality.
How Do I Remove Background Noise From an Audio File?
To remove background noise from an audio file, use noise reduction techniques by selecting a noise profile, adjusting parameters, and applying notch filters. Utilize audio editing tools to refine sound quality and minimize distortion for improved results.
What Is the Best Noise Reduction Settings in Audacity?
To achieve the best noise reduction settings in Audacity, experiment with various noise reduction techniques to find the most effective solution for your sound cleaning process. Adjust the sensitivity and noise reduction for optimal results in your audio editing.
How Do I Get Rid of High Noise in Audacity?
To get rid of high noise in Audacity, try noise reduction techniques like using the noise reduction effect, adjusting sensitivity and frequency, and employing audio editing tips such as filtering methods to isolate and remove unwanted noise.
Conclusion
After following the steps outlined, you can effectively eliminate background noise in Audacity. By understanding noise reduction, getting a noise profile, and applying the techniques, you can achieve the desired result.
Remember to use advanced tips for further noise elimination or explore alternative methods for noise reduction. With practice and adjustment of settings, you can improve the audio quality and remove unwanted background noise.


