

No products in the cart.
So you’ve got a recording that’s almost perfect, but there are a few moments that just don’t quite hit the mark. You’re in luck, because trimming audio in Audacity is a straightforward process that can clean up those unwanted sections with ease.
By following a few simple steps, you’ll be able to refine your audio and achieve a polished final product. Whether it’s removing background noise, cutting out pauses, or adjusting the length of your recording, mastering the art of trimming audio in Audacity will undoubtedly enhance the quality of your sound.
Contents
hide
Key Takeaways
- Supported formats for importing audio in Audacity include WAV, AIFF, and MP3, with the option to expand supported formats using the FFmpeg library.
- The Selection Tool in Audacity is essential for trimming audio, allowing users to select specific portions of the audio for editing.
- Trimming audio beginnings and ends can be done by marking the start and end points of the clip using the Selection Tool and then using the Split function to remove or move the selected part.
- Cutting audio segments can be achieved by marking the start and end points of the segment with the Selection Tool, using the Split function to separate the segment, and then using the Delete key or the Cmd + T shortcut to remove or trim the selected part.
Importing Audio in Audacity
When importing audio into Audacity, you can use WAV, AIFF, and MP3 formats, and with the optional FFmpeg library, a wider range of formats is supported.
Audacity allows for the import of various audio file formats, enabling you to work with a diverse range of files during your editing session. Whether it’s a recording in WAV, AIFF, or MP3, Audacity provides a seamless import process, allowing you to start editing without any hassle. Additionally, the optional FFmpeg library greatly expands the supported formats, providing even more flexibility for importing audio files into the software.
Audacity’s robust set of tools includes the Selection Tool, which is instrumental in trimming audio. You can easily trim audio using the Selection Tool by simply selecting the portion of the audio you want to keep and then using the trim function. This tool gives you precise control over the editing process, ensuring that you can achieve the exact audio segments you desire.
With its intuitive interface and powerful features, Audacity simplifies the process of importing, editing, and exporting audio files, making it a valuable tool for innovative audio editing.
Trimming Audio Beginnings and Ends
To trim the beginnings and ends of an audio clip in Audacity, use the Selection Tool to mark the start and end points of the clip. Once you have selected the desired portion, you can proceed to edit and trim the audio using the following steps:
| Action | Description |
|---|---|
| Navigate to Edit | Click on Edit in the menu bar. |
| Go to Clip Boundaries | Select Clip Boundaries from the dropdown menu. |
| Choose Split | Click on Split to start the selection at the marked start point. |
| Remove or move the selected part | Use the Delete key to remove or move the selected portion. |
| Adjust and fine-tune the start and end | Use the mouse or keyboard shortcuts to fine-tune the selection. |
After completing the editing process, you can export the trimmed audio by navigating to File > Export > Export Audio. These steps will help you efficiently trim the beginnings and ends of your audio files in Audacity, allowing you to produce high-quality audio content.
Cutting Audio Segments

You can utilize the Selection Tool in Audacity to mark the start and end points of the segment you intend to cut. Once you have the segment selected, you can proceed with cutting or trimming it using the following steps:
- Navigate to Edit > Clip Boundaries > Split to cut the selected segment. This action separates the selected audio from the rest, allowing you to manipulate it independently.
- Remove or move the selected part using the Delete key. This helps in getting rid of the unwanted portion or relocating it within the audio track.
- Highlight the selection you want to keep and use the shortcut Cmd + T to trim the audio. This keyboard shortcut efficiently trims the selected audio segment, leaving you with the desired portion.
Splitting Tracks
Splitting tracks in Audacity allows you to divide the audio into separate segments, providing precise control over each part for editing and manipulation. Here’s a step-by-step guide on how to split tracks effectively:
| Step | Instructions |
|---|---|
| 1 | Open Audacity and import an audio file. |
| 2 | Click on Edit and select the part of the audio you want to split using the Selection Tool. |
| 3 | Navigate to the Edit menu, choose Clip Boundaries, and then Split to separate the selected part of the audio. |
| 4 | Each split part can now be moved independently using the Time Shift tool, allowing for precise adjustments. |
| 5 | You can easily rearrange, delete, or apply different effects to the split sections, providing flexibility in editing. |
Exporting Audio Files
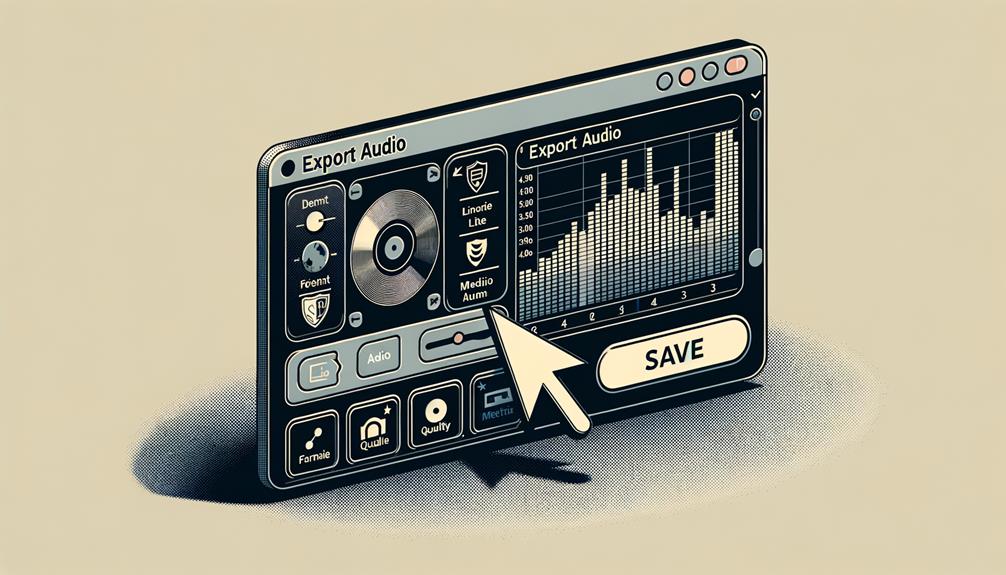
When exporting audio files from Audacity, navigate to the File menu and select Export to save the edited audio file.
- Choose the desired file format and location for the exported audio file. This step allows you to select the appropriate file format based on your specific requirements and designate the location on your computer where the file will be saved.
- Adjust the settings for the exported file, such as metadata and quality. This involves fine-tuning the details of the exported audio file, including metadata like artist name and track title, as well as the quality of the audio.
- Preview the exported file to ensure it meets your requirements before saving. Take advantage of the preview function to listen to the exported audio, ensuring that it aligns with your expectations in terms of content and quality.
Frequently Asked Questions
How Do I Cut Audio in Audacity?
You cut audio in Audacity by using the selection tool to highlight the segment you want to remove, then simply pressing the delete key. This quick and efficient method allows for precise audio editing and track adjustment.
How Do I Trim an Audio Recording?
To trim an audio recording in Audacity, start by selecting the section you want to edit. Then use the cut, split, or delete functions to remove unwanted parts. You can also adjust volume, apply fades, and export the file.
How Do I Detach Audio in Audacity?
To detach audio in Audacity, you can split the stereo track into separate mono tracks. This involves extracting the tracks, isolating the segments, and removing parts. This allows for independent editing and processing of the audio channels.
How Do I Delete Part of a Track in Audacity?
To delete part of a track in Audacity, use the Selection tool to mark the segment, then press Delete to remove it. This trimming process involves precise audio manipulation, allowing for seamless track modification and clip removal.
Conclusion
After following these steps, you can easily trim audio in Audacity to remove unwanted sections and create a more polished audio file.
- Import your audio.
- Use the Selection Tool to mark the start and end points of the section you want to keep.
- Split the audio at the marked points.
- Delete the unwanted portions.
- Repeat steps 2-4 for any additional sections you want to remove.
- Finally, export your trimmed audio file to use in your projects.
With these simple steps, you can quickly and efficiently trim your audio in Audacity for a professional result.


