No products in the cart.
Have you ever wondered how to effectively record a podcast using Audacity? You may have heard that Audacity is a powerful tool for podcast recording, but you’re not quite sure where to start.
Well, the process is simpler than you might think, and with just a few key steps, you can be well on your way to producing high-quality podcasts. Whether you’re a seasoned podcaster or just starting out, understanding how to navigate Audacity can significantly enhance the quality of your recordings.
Contents
hide
Key Takeaways
- Customizing visible toolbars and familiarizing yourself with the Audacity Device Toolbar is important for setting up Audacity.
- Choosing the appropriate audio host, recording device, recording channels, and playback device is crucial for successful podcast recording.
- Testing input and recording by monitoring meter, adjusting microphone volume, and selecting the right recording channels is essential.
- Utilizing the multi-track recording feature, configuring microphone inputs for each track, and understanding stereo recording channels can enhance the podcast recording experience.
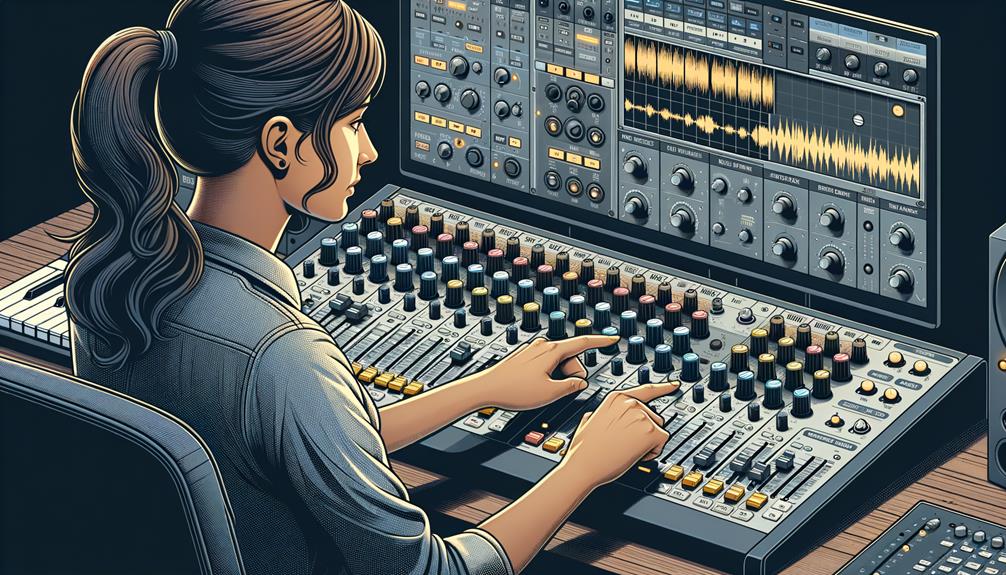
Setting up Audacity
To properly set up Audacity for podcast recording, customize the visible toolbars in the interface to suit your preferences and familiarize yourself with the Audacity Device Toolbar for routing selections. This includes choosing the appropriate audio host, recording device, recording channels, and playback device in the settings. If your interface or microphone isn’t available from the dropdown, troubleshoot by checking connections and restarting Audacity.
Select the appropriate recording channels based on the number of microphones being used and set the playback device for monitoring during recording or editing.
Customizing the visible toolbars in the Audacity interface allows you to access the tools you need for podcast recording efficiently. Familiarizing yourself with the Audacity Device Toolbar is crucial for routing selections, ensuring that the recording and playback devices are correctly set up. This step is essential for achieving optimal audio quality.
Additionally, selecting the appropriate recording channels and playback devices is vital for monitoring during recording or editing. By following these steps, you can ensure that Audacity is configured to meet your specific podcast recording needs, enabling you to produce high-quality audio content.
Testing Input and Recording
Testing the input and recording process in Audacity involves:
- Clicking the monitor meter to start monitoring and testing the input by speaking into the microphone. This allows you to ensure that the input signal is being received and monitored properly. Adjust the microphone volume meter to avoid exceeding -12dB and set the input level to prevent clipping of the input signal. It’s essential to make sure that the input levels are optimal to achieve high-quality audio recordings.
Select the appropriate Recording Channels based on the number of microphones being used and start recording by pressing the red Record button. This step ensures that you’re capturing the audio from the correct sources. If you’re using multiple microphones, utilize Audacity’s multi-track recording feature for recording. Press the spacebar to end the recording.
It’s important to pay attention to noise reduction and ensure that the recording environment is suitable for capturing clear audio. Additionally, consider incorporating intro and outro music, and monitor the levels throughout the recording process. This attention to detail will save time during the editing tasks.
Save the project with Ctrl+S to prevent data loss and ensure that the microphone is properly set before recording.
Multi-Track Recording
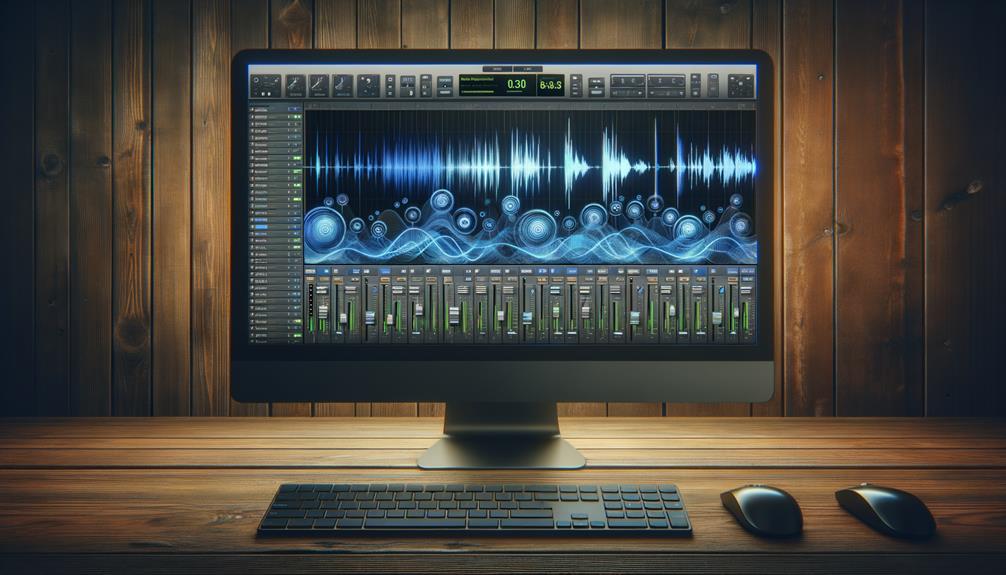
When recording a podcast with Audacity, the multi-track recording feature allows for the simultaneous capture and editing of audio from multiple microphones, enhancing the overall production quality. This feature is particularly useful for a podcast host who wants to maintain separate audio tracks for each speaker, enabling more flexibility in the editing process.
When using Audacity’s multi-track recording, it’s important to configure the microphone input for each track to ensure that the audio is captured correctly. Additionally, it’s essential to understand the concept of (Stereo) Recording Channels and how to split stereo files into mono files for editing purposes.
Audacity provides tools like the Selection Tool to precisely edit and arrange audio tracks, enabling podcast hosts to fine-tune the content. Moreover, during multi-track recording, it’s possible to import music or other audio files into Audacity and use separate tracks for each sound file, adding depth and richness to the podcast.
Editing With Audacity
Incorporate the Envelope Tool to precisely control audio fades and make minute adjustments to audio files within Audacity, enhancing the overall production quality of your podcast. The Envelope Tool allows you to create smooth fades in and out of music tracks, adjust volume levels, and make subtle changes to the audio waveform. This tool is essential for fine-tuning the audio elements in your podcast, ensuring a professional and polished sound.
When editing your podcast in Audacity, you can use the Envelope Tool to add fades and volume adjustments to your audio clips. Here’s how you can use the Envelope Tool to edit your podcast:
| Steps to Add Envelope Tool | Description |
|---|---|
| Select the Envelope Tool | Click on the Envelope Tool icon in the Audacity toolbar. |
| Create Control Points | Click on the audio track to add control points for adjusting volume levels. |
| Adjust Volume Levels | Drag the control points up or down to modify the volume levels and create fades. |
| Fine-Tune Audio | Make minute adjustments to the audio waveform by manipulating the control points. |
Exporting the Podcast
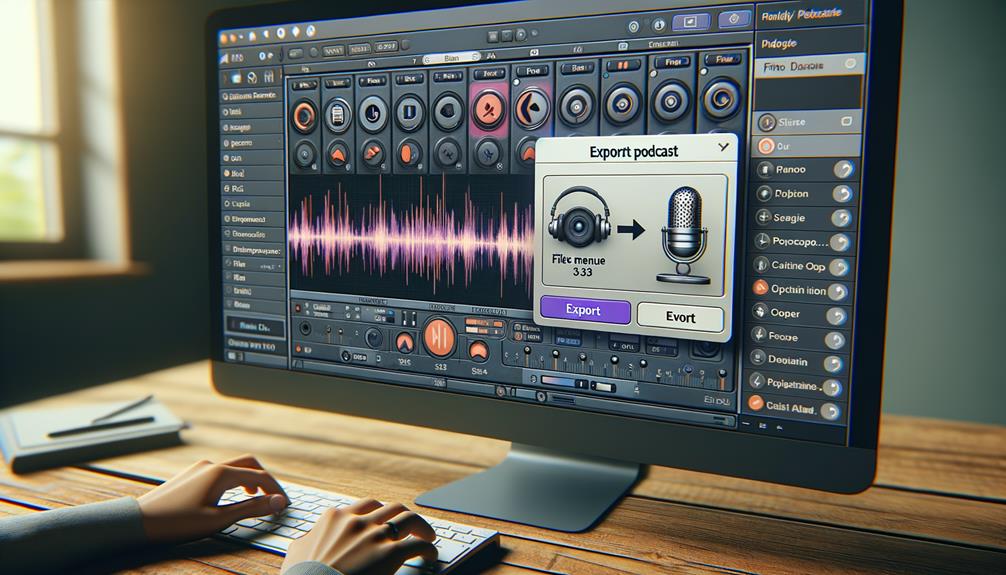
To complete the podcast production process in Audacity, the next step after fine-tuning the audio elements with the Envelope Tool is to export the podcast using the file menu and selecting the desired format, ensuring the appropriate settings and destination are chosen for a seamless podcast distribution.
- Click on ‘File’ in the menu, then select ‘Export.’ Choose the desired file format, such as WAV or MP3, for your podcast.
- When exporting, ensure you select the appropriate settings, including the quality of the audio file and any other relevant options.
- Choose the destination where the exported file will be saved. Make sure it’s easily accessible and organized for future use.
- Consider keeping a backup copy of the exported file for safekeeping. This ensures that you have a copy in case of any unexpected issues.
Frequently Asked Questions
Can You Use Audacity to Record a Podcast?
Yes, Audacity is capable of recording podcasts with high audio quality. It offers versatile editing tools, recording techniques, and microphone setup options. The software allows for script writing, voice modulation, and the addition of sound effects.
How Do I Make My Podcast Sound Better on Audacity?
To improve sound in Audacity, optimize microphone setup, utilize equalization techniques to enhance vocal clarity, reduce background noise with noise reduction, and use audio effects such as compression. Apply mastering processes for better audio quality.
Is Audacity a Podcast Hosting Platform?
No, Audacity is not a podcast hosting platform. After audio editing and enhancing your podcast using Audacity, you’ll need to export the recording and upload it to popular podcast distribution and hosting platforms for publication and analytics.
How Do I Record Audio for My Podcast?
To record audio for your podcast, ensure proper microphone setup and a quiet recording environment. After recording, use Audacity for editing, noise reduction, and voice modulation. Structure your podcast, integrate music and sound effects, and consider guest interviews.
Conclusion
In conclusion, recording a podcast using Audacity is a straightforward process. It involves setting up the software, testing and recording, editing, and exporting the final product.
By customizing toolbars, selecting the appropriate audio settings, and using editing tools, you can create a high-quality podcast. Audacity’s user-friendly interface and powerful features make it easy to produce professional podcasts for distribution.