No products in the cart.
You might think that removing reverb in Audacity is a complex and time-consuming process, but with the right approach, it can be relatively straightforward.
By using the Noise Reduction effect in Audacity, you can significantly reduce or eliminate reverb from your audio recordings.
But there’s a crucial step that many overlook, and it can make all the difference in the final result.
If you’ve ever struggled with tackling reverb in your recordings, there’s a key technique that can help you achieve professional-quality sound.
Contents
hide
Key Takeaways
- Reverb in Audacity can enhance audio quality by adding echoes and spaciousness, but excessive reverb can detract from recording clarity.
- Importing audio into Audacity is the first step in tackling reverb, followed by applying noise reduction, noise gate, high pass filter, or low pass filter to fine-tune and analyze the audio effectively.
- Audacity’s noise reduction slider can be adjusted to reduce unwanted reverb or echo, and experimenting with expanders or noise gates may provide further noise reduction.
- Adjusting amplification, applying high-pass or low-pass filters, and carefully finalizing settings can help control reverberations and enhance overall clarity of audio recordings.
Understanding Reverb in Audacity
Reverb in Audacity adds echoes and a sense of spaciousness to your recordings, enhancing the overall audio quality. Understanding how reverb works in Audacity is crucial for achieving optimal sound in your audio files.
When excessive reverb detracts from the clarity of your recordings, Audacity’s noise reduction slider can be your best friend. By applying this feature, you can effectively reduce unwanted noise and reverb, restoring the crispness and depth of your audio.
Audacity, as a leading audio editing software, provides the tools necessary for tackling reverb issues. Importing your audio file into Audacity and utilizing the noise reduction filter is the first step in your pursuit of pristine sound.
Should the reverb persist, don’t fret. Audacity offers additional options such as high-pass or low-pass filters to further refine the audio and eliminate any lingering reverb.
With a solid understanding of reverb and Audacity’s noise reduction capabilities, you can confidently remove reverb from your recordings, ensuring a professional and polished audio output.
Importing and Analyzing Audio
After familiarizing yourself with reverb and its impact on audio quality, your next step is to open Audacity and select the desired audio file for import and analysis.
Once the audio file is imported, you can begin analyzing it to identify areas where reverb is present.
In Audacity, you can use the ‘Effect’ tab to apply noise reduction, noise gate, high pass filter, or low pass filter to improve the sound quality and remove reverb.
When applying these filters, make sure to adjust the settings to fine-tune and analyze the audio effectively.
After making modifications, save the modified audio file and compare it with the original to validate the analysis and modifications.
Sharing the before and after audio files with others for feedback and comparison can further help analyze the effectiveness of the modifications.
Applying Noise Reduction Filter
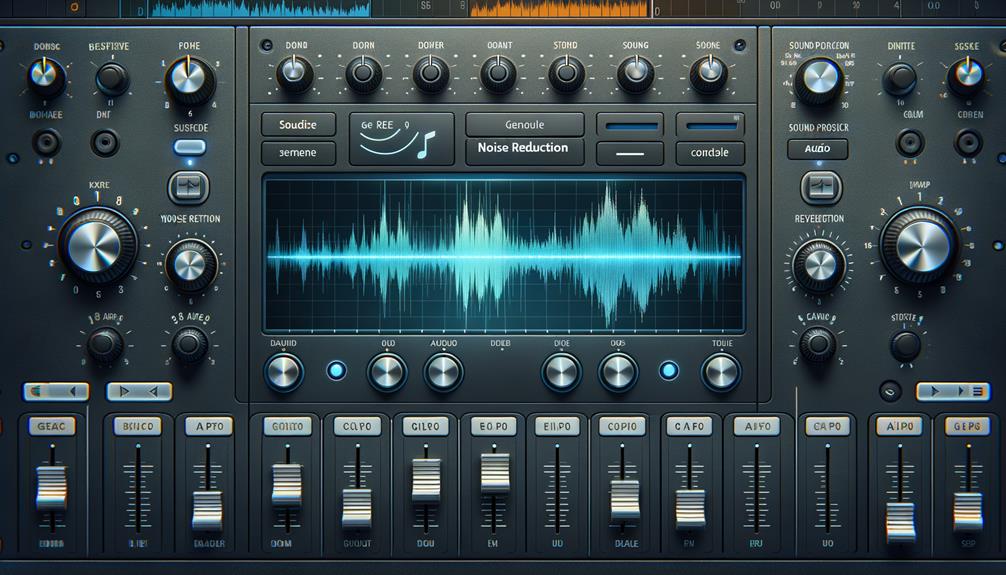
When applying the noise reduction filter in Audacity, consider adjusting the dB setting directly to reduce reverb or echo. This direct adjustment allows for a more targeted approach to removing or reducing reverb, resulting in improved sound quality in your audio recordings.
By bypassing the Get Noise Profile function and manually adjusting the dB setting, you have greater control over the specific areas of reverb or echo that you want to address. Keep in mind that the effectiveness of this method may vary depending on the characteristics of the reverb or echo present in the recording.
To further improve the sound quality and reduce background noise, experiment with using an expander plug-in or a noise gate. These additional tools can complement the noise reduction filter and help enhance the overall clarity of your audio recordings.
Adjusting Amplification and Filters
You can enhance audio recordings in Audacity by adjusting amplification and applying filters to effectively control reverb or echo. When working with audio, using a combination of techniques can help you achieve the best results.
Start by adjusting the amplification to increase the overall volume of the audio while keeping an eye on the noise floor. This can help reduce the prominence of reverb or echo in the recording.
Additionally, applying filters such as a high-pass or low-pass filter can further assist in controlling unwanted reverberations. Experiment with different filter settings to find the optimal frequency range that addresses the reverb without compromising the overall sound quality.
Listening to the audio after each adjustment is crucial to ensure that the changes are effectively reducing the reverb without introducing distortion or artifacts. By fine-tuning the amplification and filter settings, you can significantly improve the sound quality and rid the audio of unwanted echoes.
Make necessary adjustments and carefully listen to the audio before finalizing the settings to achieve the best results. Share your audio with confidence, knowing that you’ve effectively utilized Audacity to reduce reverb and remove echo.
Exporting the Enhanced Audio
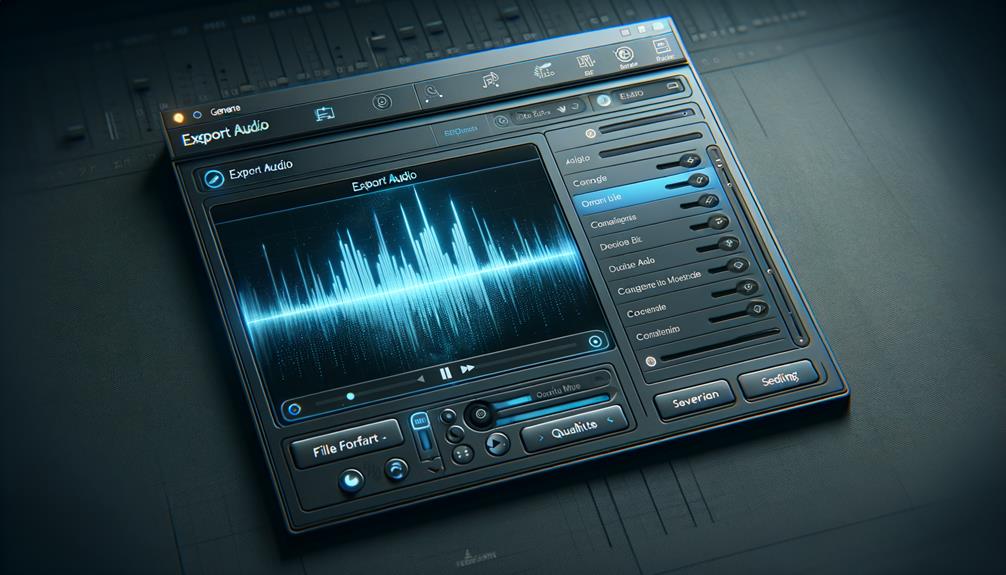
To complete the audio enhancement process in Audacity, the next step is to export the enhanced audio by clicking on File and selecting Export to save the file in the desired format. After removing reverb in Audacity and utilizing the pass filter to reduce echo, exporting the enhanced audio is crucial to share your important audio with others and greatly improve its quality. When exporting, consider choosing a widely compatible format such as MP3 or WAV to ensure accessibility for others. By following these steps, you can seamlessly share your enhanced audio with collaborators and receive valuable feedback.
| Exporting the Enhanced Audio | ||
|---|---|---|
| Click on File | Select Export | Save the file in the desired format |
| Choose the file format and settings | Provide a descriptive file name | Select the destination folder |
Frequently Asked Questions
How Do I Remove Audio Reverb?
To reduce audio reverb, use Audacity’s Noise Reduction for effective reverb reduction. Customize the dB setting to tailor the reduction. Share before and after audio for impactful sound improvement. Experiment with an expander or noise gate for alternative reverb reduction.
How Do You Reverse Reverb in Audacity?
To reverse reverb in Audacity, experiment with reverb reduction using the Dereverb plugin. Enhance sound by applying Audacity techniques and post production tricks for reverb elimination. Explore audio engineering with reverb reduction plugins and mixing tips for sound enhancement.
How Do You Undo Effects in Audacity?
To undo effects in Audacity, you can utilize the reverb reduction and effects removal tools for audio restoration. Experiment with sound manipulation and post processing to reverse the reverb and achieve desired results in your audio editing.
How Do I Remove Sound Effects in Audacity?
To remove sound effects in Audacity, engage in noise reduction and experiment with equalization techniques. Use sound isolation, vocal enhancement, and audio restoration for recording cleanup. Consider echo cancellation and sound manipulation, and explore audio mastering and post-processing techniques for innovative solutions.
Conclusion
So, now you know how to remove reverb in Audacity!
By following the simple steps outlined in this article, you can effectively reduce reverb in your audio recordings and improve the overall sound quality.
With the Noise Reduction effect and a few adjustments, you can achieve a more polished and professional sound.
Give it a try and enhance your audio projects today!