No products in the cart.
Are you tired of bland audio recordings and want to add a touch of nostalgia and character to your sound? If you’ve ever wondered how to recreate the vintage radio effect in Audacity, you’re in for a treat.
With a few simple steps, you can transform your audio into a broadcast straight out of the golden age of radio. Whether it’s for a podcast, music track, or creative project, the radio effect can elevate your production to a whole new level.
So, are you ready to bring that old-school charm to your audio?
Contents
hide
Key Takeaways
- Open Audacity and import the audio sample
- Use equalization and high-pass filters to adjust the EQ settings for a vintage sound
- Introduce static and distortion effects using the ‘Distortion’ effect in Audacity
- Apply reverb to add depth and atmosphere to the audio
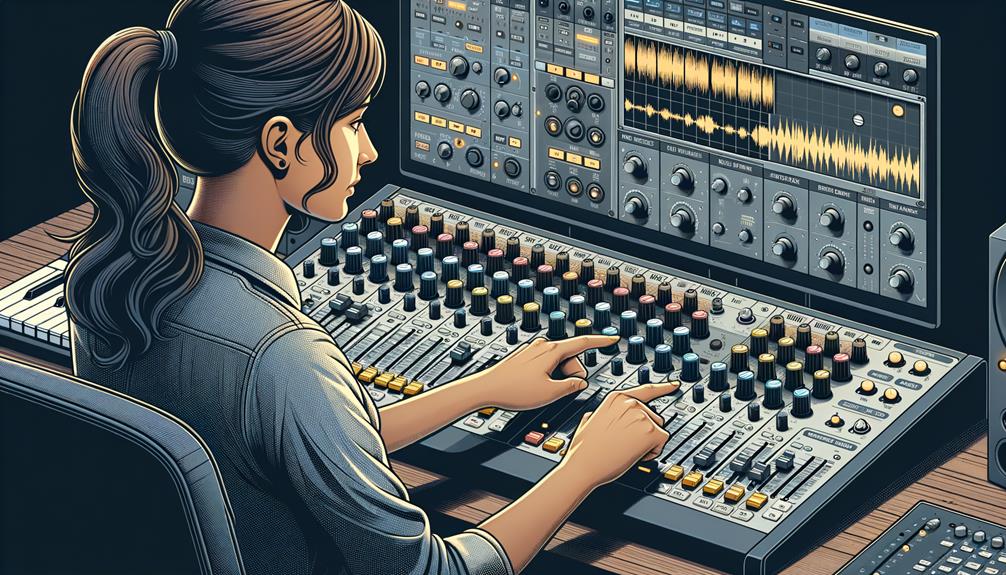
Setting Up Audacity for Radio Effect
To set up Audacity for the radio effect, you’ll need to access the equalization and high-pass filter effects to manipulate the audio frequencies and achieve a realistic radio sound.
First, open Audacity and import the audio sample you want to modify.
Then, locate the ‘Effect’ menu and select ‘Equalization’. Utilize the equalization tool to boost the lower frequencies and slightly reduce the higher frequencies. This mimics the frequency response of a typical radio speaker, giving the audio that distinct radio sound.
After applying equalization, navigate back to the ‘Effect’ menu and choose ‘High-Pass Filter’. Set the frequency to a value around 1000 Hz to filter out any remaining low-frequency noise that doesn’t belong in the radio effect. This step helps to eliminate false bass and create a clearer, more authentic radio sound.
Repeat the equalization and high-pass filter steps as needed, fine-tuning the frequencies to achieve different characteristics of a radio sound.
Once completed, the audio sample should sound like it’s coming from a radio, with a flattened waveform and reduced noise, providing a truly convincing radio effect.
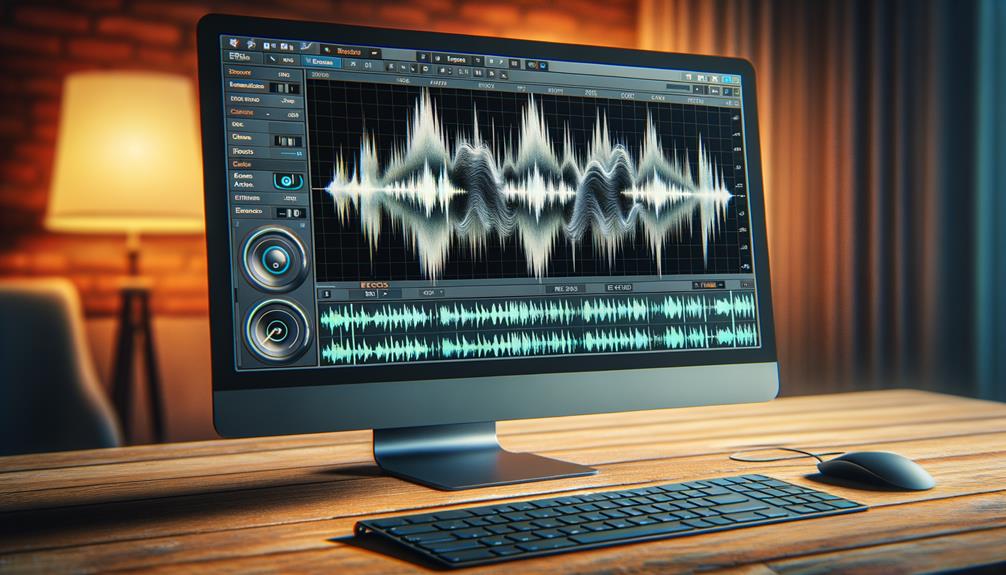
Adjusting EQ Settings for Vintage Sound
When refining the vintage sound in Audacity, you can enhance specific frequencies to create a more authentic radio effect, building upon the equalization and high-pass filter adjustments previously applied.
To achieve this, utilize equalization techniques to amplify or dampen specific frequency ranges. For a vintage audio effect, consider boosting frequencies around 1000 Hertz and attenuating frequencies around 10,000 Hertz. Experimenting with different frequency adjustments can help in achieving the desired vintage sound.
Additionally, using the high-pass filter in conjunction with equalization can further refine the vintage audio techniques. Apply a high-pass filter with a 6 dB roll-off and set the cutoff frequency around 2000 Hertz to remove unwanted low-frequency noise introduced by the equalization adjustments.
Repeating these equalization steps and applying multiple high-pass filters can fine-tune the vintage sound and produce unique radio effects.
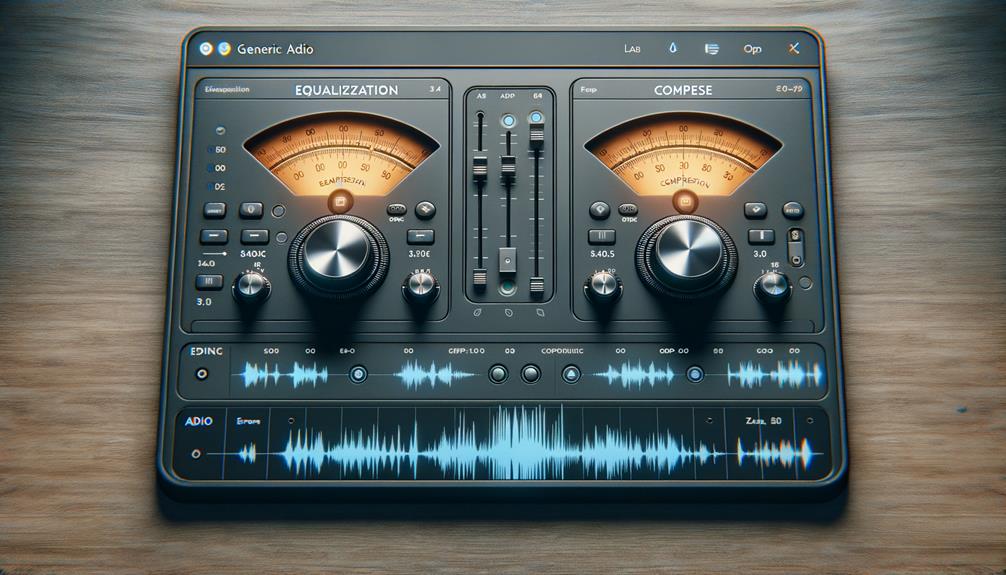
Adding Static and Distortion Effects
Consider utilizing the ‘Distortion’ effect in Audacity to introduce static and distortion to your audio, allowing for precise control over the level of these effects. When adding static and distortion effects, adjusting the distortion settings such as ‘Threshold’ and ‘Amount’ is crucial for achieving the desired level of static.
Experiment with different settings to find the perfect balance of distortion and static for your audio. Additionally, combining the ‘Distortion’ effect with equalization and a high-pass filter can enhance the complexity and authenticity of the radio effect. To further enhance the vintage sound, consider adding a vinyl crackle effect to simulate the warmth and imperfections of analog recordings.
After applying the ‘Distortion’ effect, preview the audio to ensure the desired level of static and distortion is achieved. Finally, using compression can help achieve a polished sound by controlling the dynamics of the audio and ensuring that the static and distortion effects are well-integrated.
Experimenting with these techniques will allow you to create a unique and authentic radio effect in Audacity.
Using Reverb for Depth and Atmosphere
Explore how applying reverb can add depth and atmosphere to your audio, seamlessly complementing the static and distortion effects previously discussed.
Reverb is a crucial tool for creating a sense of space and ambience in your audio. By simulating natural sound reflections in diverse environments, reverb enhances the listening experience by adding richness and depth.
Experimenting with different reverb types and room sizes allows you to tailor the atmospheric quality of your audio to your specific needs. Adjusting reverb settings can range from subtle to dramatic, giving you the flexibility to achieve the desired effect.
Whether you’re aiming for a small, intimate setting or a large, cavernous space, reverb can help you create the perfect sonic environment. Proper use of reverb not only enhances the overall listening experience but also adds a layer of depth and realism to your audio production.
Finalizing the Radio Effect Audio
To achieve the desired radio effect, carefully listen to the audio sample and ensure that the effect meets your requirements before proceeding with the final export in a suitable file format for your project.
After confirming the radio effect’s quality, consider adjusting audio levels to maintain clarity and balance.
Export the finalized audio in a format compatible with your project’s requirements, such as WAV or MP3.
Additionally, if you aim to enhance the radio effect further, you may want to experiment with additional effects like distortion or reverb.
Before finalizing the project, ensure that the audio levels are optimized for the desired impact.
Save the project settings with the finalized radio effect to allow for future editing or adjustments.
Frequently Asked Questions
How Do I Make My Audio Sound Like Old Radio Audition?
To achieve a vintage radio broadcast sound in your audio editing, apply a retro filter and manipulate the equalization settings to create a distorted, retro effect. Experiment with different settings to refine the sound and preview for adjustments.
How Do You Make a Megaphone Effect in Audacity?
To create a megaphone effect in Audacity, start by using the equalization and high-pass filter to amplify vocals and achieve a distorted voice effect. Fine-tune the frequencies and preview the audio for desired results.
How Do You Make a Walkie-Talkie Effect?
To create a walkie-talkie distortion in Audacity, simulate a radio frequency effect by using equalization to amplify select frequencies for a communication simulation. Apply a high-pass filter to refine the effect and experiment with settings for fine-tuning.
How Do I Make My Mic Sound Like a Walkie-Talkie?
To make your mic sound like a walkie-talkie, adjust the microphone settings in Audacity. Use Audacity filters for walkie-talkie simulation, such as equalization and high-pass filter. Experiment with voice modulation for a realistic walkie-talkie sound effect.
Conclusion
Experiment with equalization, high-pass filters, static, distortion, and reverb in Audacity to create a customized radio effect.
Adjusting EQ settings can help achieve a vintage sound, while adding static and distortion effects can enhance the overall effect.
Utilizing reverb can add depth and atmosphere to the audio.
Make sure to preview and make additional adjustments to fine-tune the radio effect for a more creative and professional result.