No products in the cart.
When working on a project in Logic Pro X, you may not know that exporting a movie along with your audio is a straightforward process that can enhance the visual impact of your music.
The ability to synchronize your audio with video can elevate your project to a professional level, but it’s essential to ensure that the export settings are optimized for the best quality.
Understanding the steps to export a movie in Logic Pro X will not only enhance the visual aspect of your music but also provide a more comprehensive experience for your audience.
Contents
hide
Key Takeaways
- Access the File Menu and select Movie to export audio to a movie file.
- Import the movie into Logic and extract the audio track for further editing and mixing.
- Use the Cycle Range feature to accurately set the start and stop time for the exported video.
- Adjust the export settings to ensure the exported movie includes the project audio within the specified start and end points and verify the quality and integrity of the audio.
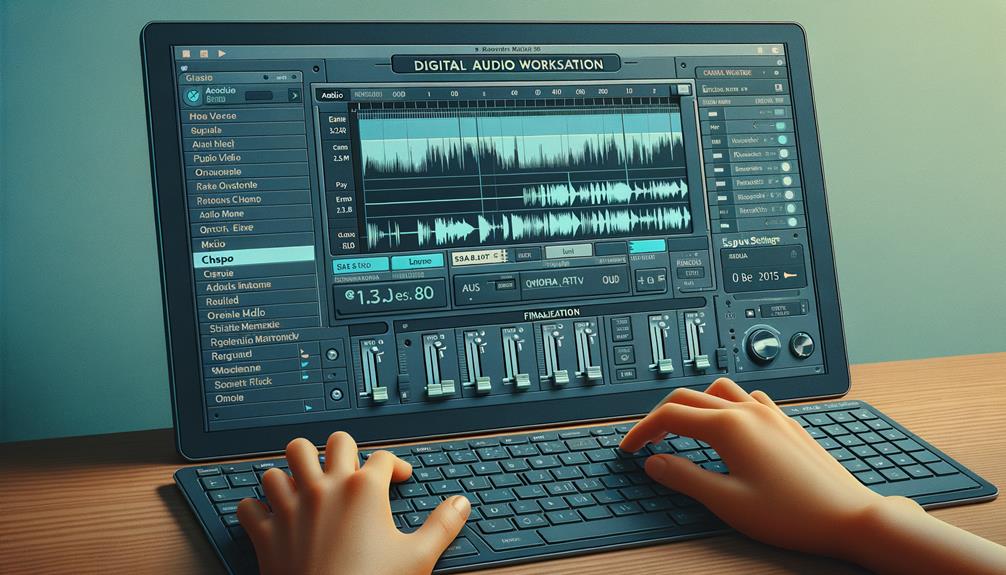
Setting Up Your Project
To set up your project for exporting movies in Logic Pro X, follow these steps:
- Access the File Menu and select Movie.
- Choose ‘Export Audio To Movie’ and specify the file destination.
- Make sure the audio track is mixed with the Logic Project.
- Import the movie into Logic.
- Extract the audio track or import it later using the ‘Import Audio from Movie’ command.
- Set the start and stop time for the movie export by enabling the Cycle Range.
- Customize the length of the exported video.
- Access additional resources like ‘Logic Pro X – The Details’ book, LogicProGEM.com, and the Logic Pro User Guide for detailed instructions and explanations.
Importing the Movie File
When importing the movie file into Logic Pro X, you can select the movie file from the File or Movie menu. Here’s how to proceed:
- Extract the audio track: Once the movie file is imported, you have the option to extract the audio track from the imported movie. Alternatively, you can use the ‘Import Audio from Movie’ command to directly import the audio track into your Logic Pro X project.
- Mix with other tracks: After importing the audio track, you can choose to mix it with other Logic Pro X tracks. This provides better control and flexibility for mixing the audio track with your project.
- Customize the export range: To ensure the precise timing and length of the exported video, you can customize the start and stop time. Enable the Cycle Range and carefully determine the desired portion of the video to export.
- Set start and stop time: To further refine the exported video, set the start and stop time accurately. This ensures that the exported video aligns perfectly with your project’s audio and other elements.
Synchronizing Audio and Video
After importing the movie file into Logic Pro X and extracting the audio track, the next crucial step is ensuring the synchronization of the audio and video elements for the export process.
To synchronize the audio and video, first select the audio track and the original movie in Logic Pro. Then, ensure that both the audio and video tracks are aligned perfectly. Use the Cycle Range feature to determine the precise start and stop time for the movie export, guaranteeing accurate synchronization.
To prevent any phasing effects that may affect synchronization, check the alignment of the audio with the video timeline and make necessary adjustments. It’s essential to maintain synchronization throughout the export process to ensure the exported movie has perfectly aligned audio and video components.
In cases where synchronization issues arise, consider separating the audio and video tracks to troubleshoot any discrepancies. Seeking feedback from other users or utilizing tutorials can also provide valuable insights into resolving synchronization challenges during the export process.
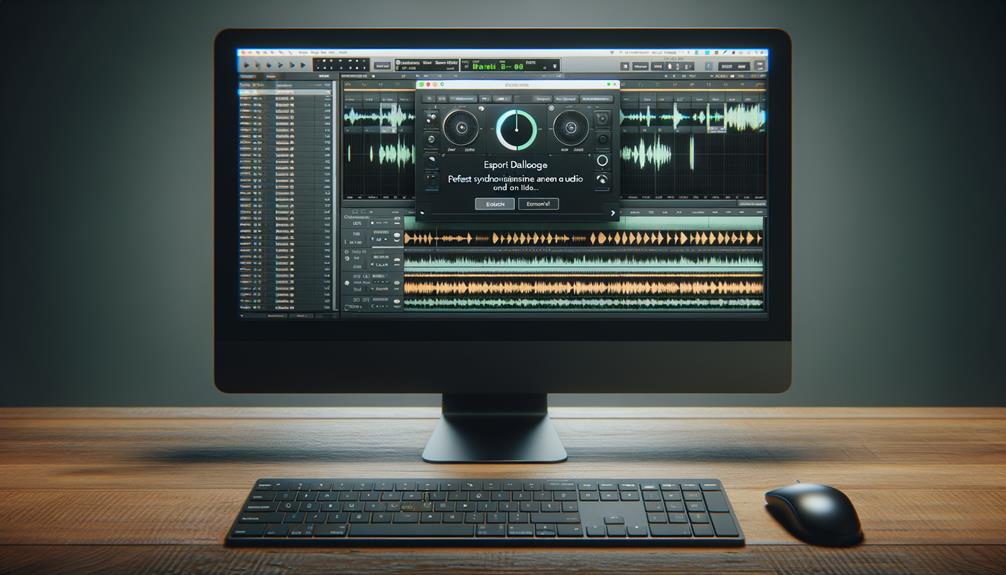
Adjusting Export Settings
You may optionally adjust the export settings to customize the audio format, sample rate, and bit depth when exporting audio to a QuickTime movie. To do this, follow these steps:
- Select the desired audio format, sample rate, and bit depth that match the desired audio quality. This ensures that the exported audio maintains the intended fidelity and integrity.
- Set the start and stop time for the movie export by enabling the Cycle Range and determining the desired portion of the video to export. This allows you to export specific sections of the project, providing more control over the content of the movie.
- Ensure the exported movie includes the project audio within the specified start and end points by choosing ‘Export Audio to Movie’ and setting the file format, location, and other export settings. This guarantees that the exported movie contains the audio you want and is located where you expect it to be.
- Verify the exported video quality and audio integrity by checking for any phasing effects and ensuring seamless integration with QuickTime and other media players. This step ensures that the exported movie meets your quality standards and is ready for distribution or further editing.
Finalizing the Movie Export
To ensure a seamless and high-quality export, carefully review and adjust the audio and video settings before finalizing the movie export in Logic Pro X.
Start by choosing ‘Export Audio to Movie’ from the ‘File’ or ‘Movie’ menu. This action opens a dialog where you can select the desired audio format, sample rate, and bit depth for the exported movie.
After setting the audio preferences, designate the file destination and enter a name in the ‘Save As’ field.
Before exporting your movie, it’s crucial to determine the start and stop time for the movie export by enabling the Cycle Range.
Additionally, you can gain better control over the audio by mixing it with the Logic Project and exporting it as a movie. When exporting, select the movie file and the Movie track, along with the stereo mix and the audio track you want to include.
Frequently Asked Questions
How Do You Bounce Audio and Video in Logic X?
To bounce audio and video in Logic Pro X, access export settings and choose the desired video format. Ensure audio synchronization, explore export options and playback controls, and use video editing features. Consider movie export plugins for more advanced capabilities.
How Do I Export a Movie From Logic?
To export a movie from Logic, set the export settings, choose the video format, ensure audio synchronization, adjust the frame rate and project settings, select the video track, and specify the export location.
How Do I Split a Movie in Logic Pro X?
To split a movie in Logic Pro X, click and drag the movie in the arrangement area to create multiple regions. Ensure sound synchronization and time alignment for precise editing. Incorporate audio mixing and visual effects before exporting the edited movie.
How Do I Show Movies in Logic Pro X?
To show movies in Logic Pro X, enable video synchronization for precise timing, use editing tools for visual cues, and integrate audio seamlessly. Playback various file formats and utilize time markers to enhance the movie playback experience.
Conclusion
In conclusion, exporting a movie in Logic Pro X is a straightforward process. It involves the following steps:
- Setting up your project
- Importing the movie file
- Synchronizing audio and video
- Adjusting export settings
- Finalizing the movie export
By following these steps, you can ensure that your movie is exported with the desired settings and saved in a location of your choice on your computer for future use.