No products in the cart.
When exporting an MP3 from Logic Pro X, you want to ensure that the quality of your audio file is preserved. The process may seem straightforward, but there are key settings and options that can make a significant difference in the final output.
Understanding how to navigate these options will not only affect the quality of your MP3 but also the file size and compatibility with various devices and platforms.
Let’s explore the essential steps to export an MP3 from Logic Pro X and how you can optimize the settings for the best results.
Contents
hide
Key Takeaways
- Set the bounce range using the cycle range or yellow range on the timeline.
- Choose the desired format options, such as PCM or MP3, when bouncing the project.
- Consider the specific requirements and intended use of the final audio file when choosing MP3 as the format.
- Provide a descriptive name and choose a location for the exported MP3 file that aligns with your workflow and organization.
Setting the Bounce Range
You can set the bounce range in Logic Pro X by using the cycle range or the yellow range on the timeline. To do this, simply drag the cycle range bar to encompass the section you want to bounce, or adjust the yellow range on the timeline to the desired start and end points.
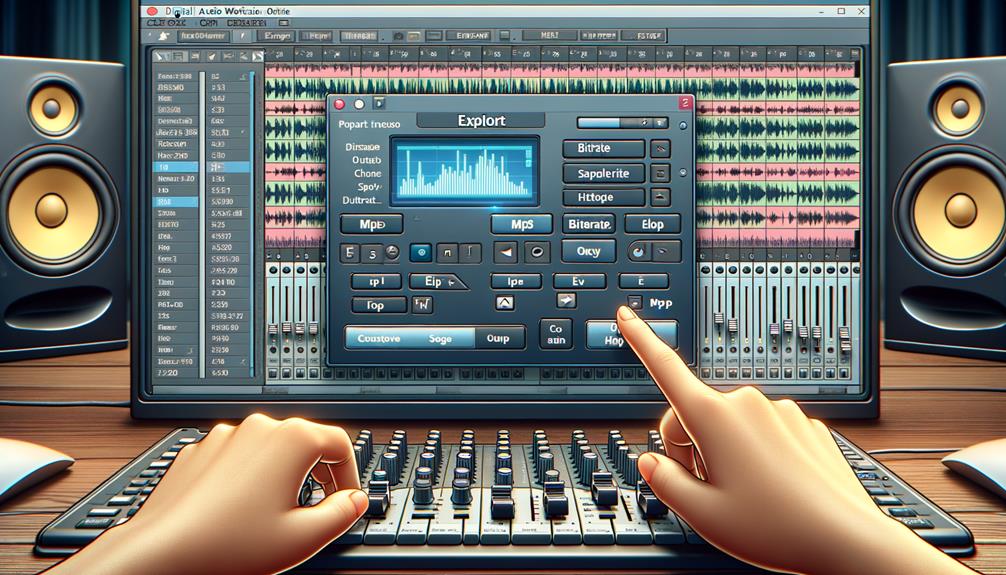
Once you have set the bounce range, proceed to the File menu and select Bounce, then Project or Section (shortcut: ⌘B). In the Bounce window that appears, you can choose your desired format options, such as PCM (uncompressed) or MP3 (compressed), and also name the file and select a location to save it.
If you plan to upload your song to a streaming service, it’s important to consider mastering it. Logic Pro X offers powerful mastering tools, but you may also opt to work with a professional mastering engineer to ensure the best results.
Bouncing the Project
After setting the bounce range using the cycle range or yellow range on the timeline, proceed to bounce the project by navigating to the File menu and selecting Bounce, then Project or Section (shortcut: ⌘B).
When you reach this stage, you’re ready to finalize your project and export it to a shareable format. Here’s what to do next:
- Select your desired format options, such as PCM (uncompressed) or MP3 (compressed).
- Name the file and choose a location to save it. This is the time to give your project a meaningful name and decide where it will be stored on your computer.
- Consider mastering your song or getting a mastering engineer if you plan to upload it to a streaming service. Mastering can enhance the overall sound quality and loudness of your final mix, ensuring it meets professional standards.
- Take a moment to appreciate your hard work and the creative journey you’ve been on. Bouncing the project is a crucial step in bringing your musical ideas to life, and you’re one step closer to sharing your creation with the world.
Choosing MP3 as the Format

When selecting the format for exporting your project, carefully consider whether the MP3 (compressed) option aligns with the specific requirements and intended use of the final audio file.
Logic Pro X offers the choice between PCM (uncompressed) or MP3 (compressed) format options when bouncing your project. It’s crucial to understand the differences in file size and quality between PCM and MP3 formats before making a selection.
If the purpose of the exported file is for distribution or online streaming, MP3 may be suitable due to its smaller file size. However, if the highest quality is essential, PCM might be the preferred option. Consider the intended use of the audio file and whether compression is suitable for that purpose.
Additionally, ensure that the chosen MP3 format aligns with the requirements of the destination or intended playback platform. It’s also important to confirm the compatibility of the MP3 format with the target device or application to ensure seamless playback.
Naming the MP3 File
When naming the MP3 file, it’s essential to provide a descriptive name that aligns with its content or purpose, ensuring easy identification and retrieval in the future.
To ensure the best naming practices, consider the following:
- Choose a name that accurately reflects the content or purpose of the MP3 file, such as ‘Podcast_Interview_with_Artist_Name_Date.mp3.’
- Select a location that’s easily accessible and aligns with your workflow. This could be a dedicated folder for Logic Pro X exports or a specific project folder.
- Consider creating a separate folder specifically for exported MP3 files to keep them organized and easily accessible.
- Use a consistent naming convention to ensure uniformity and avoid confusion. This could involve including project names, dates, or specific identifiers.
Exporting the MP3 File


To export the MP3 file from Logic Pro X, access the ‘Bounce’ function to convert the project to the desired MP3 format.
In Logic Pro X, go to the File menu and select ‘Bounce’ or use the shortcut Command + B.
In the Bounce window, choose the MP3 format from the File Type drop-down menu. Adjust the quality settings to your preference, keeping in mind that higher quality settings result in larger file sizes.
Once the settings are confirmed, select the destination where you want to save the MP3 file.
After clicking ‘Bounce’, Logic Pro X will convert the project to an MP3 file and save it to the specified location. Remember to review the exported MP3 file to ensure it meets your quality standards.
If adjustments are necessary, make them before finalizing the export.
With the MP3 file successfully exported, you can proceed to upload it to your desired platforms or share it with others.
This efficient process ensures that your music is ready for distribution and enjoyment.
Frequently Asked Questions
How Do I Export From Logic to Mp3?
To export from Logic to MP3, select ‘File’ and ‘Bounce.’ Choose the MP3 format and adjust settings for desired quality. Consider mastering your song or getting a mastering engineer if uploading to a streaming service. Explore other software and online converters as alternatives.
How Do I Bounce an MP3 in Logic Pro X?
To bounce an MP3 in Logic Pro X, first, ensure your project is ready. Then, choose the “File” menu, select “Bounce,” and pick “Project or Section.” Set your parameters and choose MP3 as the audio file format.
What Are the Best MP3 Export Settings for Logic Pro X?
For the best MP3 export settings in Logic Pro X, prioritize audio compression and quality. Choose a bit rate of 320 kbps for high-quality output. Consider file format compatibility and adjust settings for desired output.
How Do I Export All Audio Tracks From Logic?
To export multiple tracks from Logic Pro X, use the batch export feature. You can convert to different formats like MP3 by bouncing. When exporting stems, adjust settings for bit rate and sample rate to achieve desired quality.
Conclusion
Now you know how to export an MP3 file from Logic Pro X.
By following the steps to set the bounce range, select MP3 as the format, and name the file, you can easily export your audio project in the desired format.
Make sure to choose the appropriate bit rate for the best quality, and you’ll have your MP3 file ready to go in no time.
Happy exporting!


