No products in the cart.
If you think recording vocals in FL Studio is complicated, think again. With the right guidance, it can be a straightforward process that yields professional results.
From setting up your recording environment to choosing the right microphone and adjusting input levels, there are several key steps to ensure a successful vocal recording session.
But once you understand the basics and grasp some advanced techniques, you’ll be well on your way to creating high-quality vocal tracks that stand out in your music.
So, let’s dive in and explore the essential steps to get you started on recording vocals in FL Studio.
Contents
hide
Key Takeaways
- Select appropriate input and output devices and adjust settings in your audio preferences for optimal recording quality and performance.
- Choose the right microphone based on factors such as microphone type, frequency response, polar pattern, sensitivity, and sound pressure level.
- Adjust input levels and settings on your audio interface and in FL Studio to avoid clipping and achieve the desired input level range.
- Enhance vocal recordings by applying effects like reverb, delay, compression, and pitch correction, and use parallel processing techniques for blending dry and processed vocal signals.
Setting up Your Recording Environment

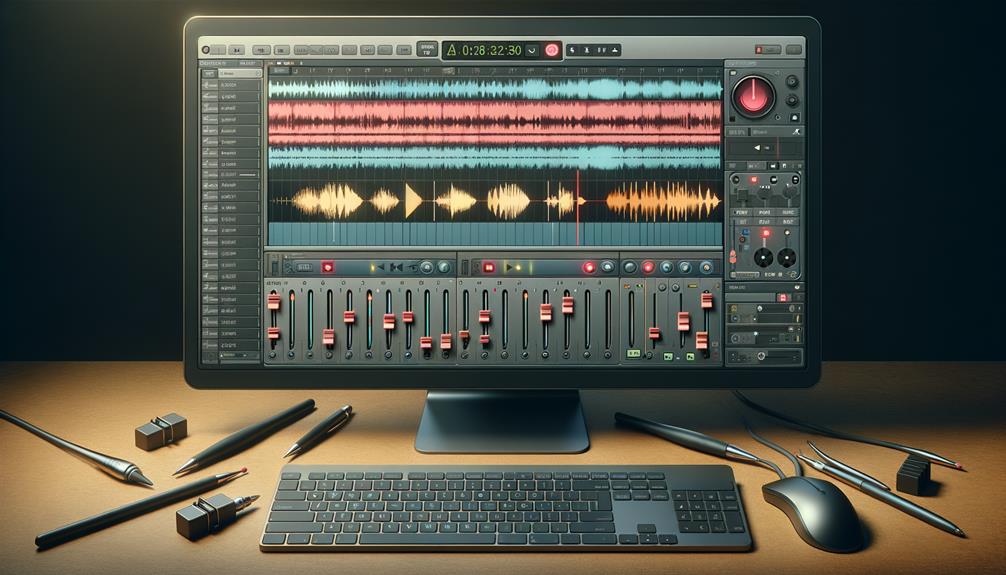
Before you begin recording vocals in FL Studio, make sure you have selected the appropriate input and output devices in the audio settings. This is crucial for ensuring that the signal flow is optimized and that you can capture high-quality vocal recordings.
In FL Studio, you can easily access the audio settings by navigating to the options menu and selecting ‘Audio Settings.’ Here, you can choose your audio device and set the input and output configurations according to your recording setup.
FL Studio provides a comprehensive range of options for customizing your recording environment. One key aspect to consider is adjusting the metronome track volume to create a smooth vocal recording experience. This ensures that the metronome is audible enough for timing purposes without overpowering the vocal performance.
Additionally, adding and renaming audio tracks can contribute to better organization and management of your vocal recordings. This allows you to keep track of different takes and vocal layers effectively.
Furthermore, setting up the recording options, such as pre-count and auto-quantize, is essential for starting and stopping vocal recordings seamlessly. These features help maintain precision and consistency throughout the recording process.
For advanced control and organization, you can utilize options like clip gain and grouping recordings, providing you with a higher level of flexibility and efficiency.
Choosing the Right Microphone
When selecting the right microphone for recording vocals in FL Studio, consider the type of microphone, frequency response, polar pattern, sensitivity, and maximum sound pressure level that best suit your specific recording needs and environment.
In the realm of microphone comparison, dynamic microphones are robust and suitable for loud sound sources, making them ideal for live performances or recording rock vocals. On the other hand, condenser microphones are more sensitive and capture a broader range of frequencies, making them a popular choice for studio vocals and acoustic performances.
Understanding polar patterns is crucial. Cardioid microphones capture sound from the front while minimizing background noise, making them suitable for solo vocal recordings. Omni-directional microphones capture sound from all directions, best for capturing ambient sounds or group vocals.
Finding the perfect frequency response for your voice involves matching the natural tonal qualities of your voice with a microphone’s frequency range. This ensures that your vocals are accurately captured without overemphasizing or attenuating specific frequencies, resulting in a rich and natural sound.
Adjusting Input Levels and Settings


After selecting the right microphone for recording vocals in FL Studio, the next crucial step is adjusting input levels and settings to ensure a clean and optimal signal. Here are the essential steps to achieve this:
- Set the input level on your audio interface to avoid clipping and ensure a clean signal.
- Adjust the input gain knob on your audio interface until the signal level is consistently hitting around -12dB to -6dB on the input meter.
- If your audio interface has a pad switch, consider engaging it if the signal is too hot.
Use the FL Studio mixer to adjust the input level of your vocal recording.
- Ensure that the level on the mixer channel is peaking around -6dB to -3dB to leave headroom for additional processing.
Enabling input monitoring allows you to hear your vocals in real-time while recording. Additionally, adjusting the input settings in FL Studio to match the specifications of your microphone and audio interface is crucial for optimal performance. Utilize the ‘Input Processing’ options in FL Studio to apply effects like compression or EQ to your vocal input, troubleshooting common recording issues and optimizing vocal performance techniques.
These practices contribute to achieving professional quality vocal recordings.
Using Effects and Processing
Consider applying effects such as reverb, delay, and compression to enhance the vocals in your recording.
Reverb techniques can add depth and spaciousness to the vocals, creating a sense of ambiance. Experiment with different reverb settings to find the right balance between a natural sound and an effect that complements the style of the song.
Vocal pitch correction can be achieved using software tools that allow for subtle adjustments to the pitch of the vocals, ensuring a polished and professional sound.
Additionally, parallel processing techniques can be used to blend the dry and processed vocal signals, providing greater control over the overall sound. By utilizing parallel processing, you can maintain the clarity and intimacy of the original vocals while adding depth and character through the processed signal.
These techniques, when used thoughtfully, can elevate the quality of your vocal recordings and contribute to a more engaging and captivating listening experience.
Editing and Compiling Vocal Takes


To compile and edit multiple vocal takes seamlessly, utilize the playlist’s cut, copy, and paste functions for efficient management.
Here are some best practices for vocal editing and vocal comping techniques:
- Vocal Compiling Techniques
Use FL Studio’s comping feature to compare and combine the best parts of multiple vocal takes into one cohesive performance. This allows you to easily select the most suitable sections from different takes and create a composite vocal track.
- Vocal Compiling Workflow
Start by recording multiple takes of the vocals. Then, use the playlist’s cut, copy, and paste functions to arrange and edit the vocal takes seamlessly. Next, employ the comping feature to compile the best segments of each take into a single cohesive vocal track.
Frequently Asked Questions
Is FL Studio Good for Recording Vocals?
Yes, FL Studio is excellent for recording vocals. Its flexible audio settings and advanced recording options allow you to optimize vocal recording techniques, experiment with vocal effects, and apply effective vocal mixing strategies to enhance your recordings.
How Do I Connect My Mic to FL Studio?
To connect your mic to FL Studio, ensure your audio interface is connected to your computer. Plug your mic into the interface and select it as the input device in FL Studio’s audio settings. Adjust the input gain and start recording.
Can You Record Audio Directly Into FL Studio?
You can record audio directly into FL Studio by ensuring proper microphone placement, adjusting recording levels for optimal signal-to-noise ratio, and checking audio interface compatibility for seamless integration with your system.
How Do I Hear Vocals While Recording in FL Studio?
To hear vocals while recording in FL Studio, ensure the audio interface has a direct monitoring feature. Enable this option in the audio settings to hear real-time feedback and control input levels for optimal recording quality.
Conclusion
Once you have successfully recorded your vocals in FL Studio, you can further enhance and edit the takes using effects and processing tools.
Make sure to adjust input levels and settings for optimal sound quality, and choose the right microphone for your recording needs.
By following these steps, you can create professional-quality vocal recordings that are ready for mixing and mastering.


