No products in the cart.
So, you’ve got your musical ideas ready to be captured and polished in FL Studio. But how do you ensure a seamless recording process that translates your creativity into a professional sound?
Well, it all starts with setting up your recording devices and configuring the input settings to match your needs.
Once you have the technical aspects in place, it’s about preparing for the recording, capturing your performance, and optimizing your workflow for a polished final product.
Each step plays a crucial role in achieving a high-quality recording, and we’ll guide you through the process to ensure your music shines.
Contents
hide
Key Takeaways
- Set up and configure your recording devices properly to ensure optimal audio quality and minimize latency.
- Adjust input gain or volume levels to avoid clipping and monitor volume meters for optimal input levels.
- Arm the desired channel for recording, set the recording range, and enable features like metronome or countdown for timing.
- Review and edit recorded takes to ensure the best performance and consolidate multiple takes into a single track if needed.
Setting Up Your Recording Devices
To set up your recording devices in FL Studio, begin by configuring your input and output devices through the Audio Settings in the Options menu. Select your audio interface as the input device and ensure the appropriate driver is set. Adjust the buffer length to minimize latency, and test the input device by making sound into the microphone while observing the input level meters. Avoid clipping by adjusting the input gain or volume levels to maintain a clean signal.
In the mixer, choose the mixer track for recording and select the input source, such as your microphone or instrument input. Adjust the input gain levels to capture the desired audio quality and ensure that the input source is properly connected and powered.
Access the mixer track’s settings to enable recording, set the recording mode, format, quality, and file type according to your project’s requirements, and specify the recording path. Check the recording settings to ensure the audio is captured at the desired sample rate and bit depth.
Activate input monitoring to hear the incoming audio signal, test the recording setup, monitor input levels, and use the metronome or click track to maintain timing. Perform a test recording to ensure everything is set up correctly.
Configuring Input Settings
When configuring input settings in FL Studio, you can access the input source in the insert section and select the desired channel for recording. Determine the available inputs on the interface and specify the input to be used; for example, select input 1 for a live microphone.
Observe the volume meters in the selected channel and master to monitor input levels, ensuring optimal recording levels without distortion.
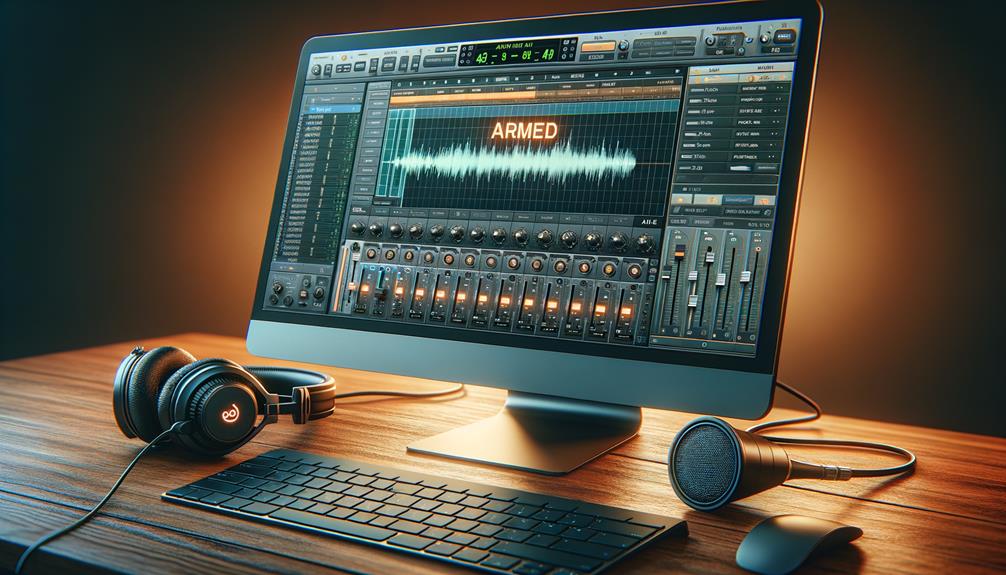
Understand the concept of arming a channel for recording and press the designated button to arm a channel, indicated by a red color, enabling it to receive input for recording.
Set a specific recording range to define the portion of the project that will be recorded, and enable the playback of a metronome or countdown to assist with timing. Additionally, adjust tempo or metronome settings as needed to align with the desired recording parameters.
Preparing for Recording
Before beginning the recording process, ensure that you have selected the appropriate channel and input source and that the volume meters are monitored for optimal input levels without distortion.
Understanding the concept of arming a channel for recording is crucial. Press the designated button to arm a channel and verify that it’s armed for recording.
Set up the recording range by selecting a specific range, enabling playback of a metronome, and adjusting tempo or metronome settings as needed. This will help you to capture the desired audio within the specified range.
It’s also important to review and edit recorded takes. Analyze, mute, and use the draw tool to trim and edit sections as necessary for a cohesive sound.
Additionally, consolidating multiple takes into one is a valuable technique. Consider consolidating the best takes, unmute desired takes, and use the draw tool to select and trim sections for consolidation.
Capturing Your Performance
Ensure you have selected the correct channel and input source in FL Studio 20 before arming the channel for recording, indicating it’s ready to capture your performance. Once armed, set the recording range to include the desired measures or sections. Adjust metronome settings if necessary to ensure a steady tempo during your performance.
When capturing your performance, it’s essential to focus on precision and clarity. After recording, review and edit the takes by analyzing the quality of each. Use tools like mute and draw to trim and edit sections as needed.
To consolidate multiple takes into a single track, select and trim sections from each take, and combine them into a final take. This process ensures that the best parts of each take are included in the final recording, resulting in a polished and professional performance.
Optimizing Recording Workflow

To enhance your recording workflow in FL Studio 20, consider streamlining your process by optimizing your channel and input source selection for efficient and precise recording. Here are four key steps to optimize your recording workflow:
- Select the Desired Channel and Input Source: Before recording audio in FL Studio, carefully choose the channel and input source that you want to record from. This ensures that you capture the desired audio source accurately.
- Arm the Channel for Recording: Understand the process of arming a channel for recording and verify its status to avoid any potential recording mishaps.
- Set Up the Recording Range: Configure the recording range, including measures, metronome, and tempo settings, to align with your project’s requirements and ensure a smooth recording process.
- Review and Edit Recorded Takes: After recording, utilize tools like mute and draw to make precise adjustments and edits to the recorded audio, ensuring that it meets your desired standards.
Frequently Asked Questions
How Do I Record My Music on FL Studio?
To set up your recording in FL Studio, ensure your channel is armed, select the input source, set recording range, and adjust tempo settings. Edit and consolidate your takes into a final track using the draw tool and trimming.
What Is the Record Button on FL Studio?
To start recording in FL Studio, click the Record button. It arms the track for capturing audio or MIDI data. When pressed, it captures input signals. Toggle it to start and stop recording takes. After recording, use it to playback the recorded data.
Why Can’t I Record on FL Studio?
You can’t record on FL Studio due to potential issues with input sources, arm settings, or recording range. Troubleshoot by checking your channel and input source, arming the channel, and setting the recording range properly.
How Do I Connect My Mic and Record in FL Studio?
To connect your mic and record in FL Studio, ensure the mic is plugged into the interface. In FL Studio, select the mic input in the channel settings. Arm the channel for recording, adjust levels, and hit record.
Conclusion
In conclusion, recording in FL Studio requires careful setup of recording devices and input settings, as well as preparation and optimization of the recording workflow.
By following the outlined steps, you can ensure a smooth and efficient recording process, allowing you to capture and edit your performances with ease.
With practice and familiarity with the tools and features of FL Studio, you can create high-quality recordings for your music projects.