No products in the cart.
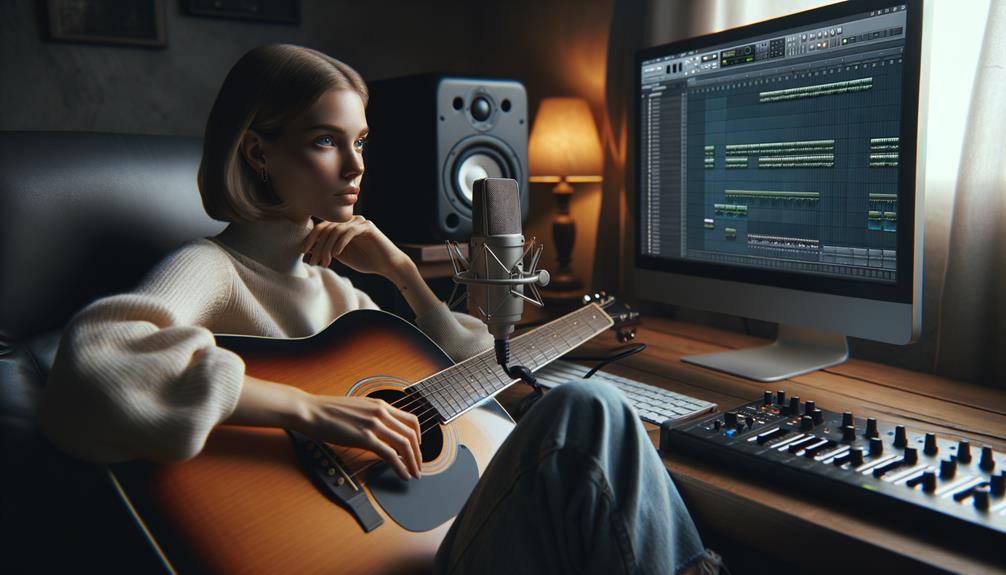
When it comes to recording guitar in FL Studio, the process can seem daunting at first, but with the right guidance, it becomes a smooth and rewarding experience. Whether you’re a seasoned producer or just starting out, understanding the nuances of capturing the perfect guitar sound can elevate your music to a whole new level.
From setting up your equipment to fine-tuning the software settings, there are crucial steps that can make all the difference in achieving professional results.
So, let’s dive into the essential techniques and tips for recording guitar in FL Studio, and unlock the potential of your musical creativity.
Contents
hide
Key Takeaways
- Ensure you have the appropriate audio interface or USB microphone for high-quality sound recording
- Use FL Studio Producer version for audio recording, as Fruity Edition does not support it
- Configure the audio settings and select the input device for recording in FL Studio
- Utilize the ASIO panel to minimize latency and select input and output from the audio interface
Setting Up Your Guitar for Recording
To set up your guitar for recording in FL Studio, ensure you have the appropriate audio interface or USB microphone for capturing high-quality sound.
The first step is to make sure you have the FL Studio producer version, as the Fruity Edition doesn’t support audio recordings. Once you have the right version, open FL Studio and navigate to the options and audio settings menu. Here, you can select the audio interface or built-in output driver for Windows, or the Core audio driver for Mac.
After choosing the appropriate audio settings, press ‘F’ to open the mixer. Then, configure the input and output using the ASIO panel to select the desired input and output, compatible sample rate, and adjusted buffer length to minimize latency.
Arm the desired track in the playlist window and mixer view, and select the input device for the track. Ensure you manage proper audio levels to avoid clipping during recording.
Choosing the Right Gear and Settings
After setting up your guitar for recording in FL Studio, the next crucial step is to choose the right gear and settings to ensure optimal sound capture and quality. When it comes to recording guitar in FL Studio, selecting the appropriate gear and settings is vital for achieving professional results. Here’s a breakdown of the essential gear and settings for recording guitar in FL Studio:
| Gear | Settings |
|---|---|
| Audio Interface | Configure the audio device, sample rate, and buffer length in FL Studio’s audio settings. Select the desired devices using the ASIO panel. |
| USB Microphone | Set up the input and output devices in FL Studio, ensuring proper configuration in the ASIO panel. |
| Recording Tracks | Arm tracks for recording, select input devices, and manage audio levels to prevent clipping. Adjust recording options such as countdown in FL Studio. |
| Monitoring | Use headphones or studio monitors for accurate monitoring while recording. Ensure the monitoring level is comfortable and not too loud. |
| Effects and EQ | Set up any desired effects or EQ within FL Studio to enhance the guitar’s tone during recording. Experiment with different plugins to achieve the desired sound. |
Configuring FL Studio for Guitar Recording

When configuring FL Studio for recording guitar, ensure that you select the appropriate audio device and adjust the settings according to the specific requirements of your audio interface or USB microphone.
In FL Studio Producer version, navigate to the options and audio settings menu to configure the audio device.
If you’re using an audio interface or USB microphone like the iRig HD 2, utilize the ASIO panel to select the input and output from the audio interface. Adjust the buffer length in the ASIO panel to minimize latency during recording.
Arm the tracks for recording and select the input devices for your guitar.
Once recorded, manage the recorded clips in the playlist and mixer views. This will allow you to mix and adjust the guitar recordings seamlessly within FL Studio.
Tips for Capturing the Perfect Guitar Sound
Experiment with various audio interfaces to discover the optimal sound for your guitar recordings. Different interfaces can have a significant impact on the quality and character of the recorded sound. Ensure that the input and output device settings are correctly configured to capture the best possible recording.
In FL Studio, utilize the ASIO panel to select the input and output from the audio interface. Adjust the buffer length to minimize latency, providing a more responsive recording experience. When you’re ready to record, arm the desired track and select the input device to capture the perfect guitar sound. This ensures that you’re capturing the full tonal range and dynamics of your performance.
Additionally, managing recorded clips efficiently by renaming and organizing them in the arrangement view can help streamline your workflow and make it easier to access and edit your recordings. By following these tips, you can optimize your recording setup in FL Studio and achieve the perfect guitar sound.
Recording and Editing Your Guitar Tracks


To start recording and editing your guitar tracks in FL Studio, ensure that you have the FL Studio Producer version, as the Fruity Edition doesn’t support audio recording.
Here are the steps to record and edit your guitar tracks effectively:
- Research and acquire an audio interface or USB microphone suitable for recording, such as the iRig HD 2.
- Set up the audio device in FL Studio by configuring the input and output devices, sample rate, and buffer length in the options and audio settings menu.
- Utilize the ASIO panel to select the input and output from the audio interface, arm the desired track for recording, and choose the input device for the track.
Once you have completed these steps, you can easily record and manage your guitar tracks in FL Studio. Simply click the record button to start recording, choose the ‘audio in the playlist as an audio clip’ option, and adjust the countdown or disable it before recording.
With these techniques, you can efficiently capture and refine your guitar tracks through the process of recording and editing, enhancing your audio recording experience in FL Studio.
Frequently Asked Questions
Can You Use FL Studio to Record Guitar?
Yes, you can record guitar in FL Studio. Use FL Studio plugins for guitar, apply guitar recording techniques, and mix guitar tracks. Arm tracks for recording, select input devices, and adjust audio levels to avoid clipping.
How Do I Record My Guitar on Time in FL Studio?
To record your guitar on time in FL Studio, set up your audio interface, select the right input, and adjust buffer length for minimal latency. Arm the track for recording, use proper guitar recording techniques, and ensure precise timing. Mix the guitar tracks for a polished sound.
How Do I Record What I Play in FL Studio?
To record what you play in FL Studio, utilize recording techniques and connect a guitar interface. Then, engage in the mixing process, applying effects as needed. This ensures a seamless recording of your guitar performance.
Can You Record Real Instruments in FL Studio?
Yes, you can record real instruments in FL Studio. Ensure your audio interface is set up correctly, place the microphone appropriately for optimal sound, and establish a clear signal chain for high-quality recordings.
Conclusion
In conclusion, recording guitar in FL Studio requires the producer version of the software and the right gear, such as an audio interface or USB microphone.
By configuring the audio settings, arming the track for recording, and ensuring proper audio levels, you can capture the perfect guitar sound.
With these steps, you can easily record and edit your guitar tracks in FL Studio.


