

No products in the cart.
Imagine your music seamlessly pulsing to the rhythm, with each beat propelling the energy forward. Sidechaining in FL Studio is the key to achieving this dynamic effect, but it can be a bit tricky to master.
By understanding the various methods and plugins available, you can effortlessly integrate sidechain compression into your tracks, creating a polished and professional sound.
Whether you’re new to sidechaining or looking to elevate your skills, learning how to sidechain in FL Studio is a valuable technique that can take your music to the next level.
Contents
hide
Key Takeaways
- Identify the trigger sound and route it to a dedicated mixer track for sidechain processing
- Use plugins like Fruity Limiter or Gross Beat to set up the sidechain input and adjust parameters such as threshold, ratio, attack, and release
- Experiment with different triggers and fine-tune the sidechain effect to create unique and desired results
- Utilize tools like Edison to visualize the impact of sidechaining and compare waveforms with and without sidechain compression
Setting Up Sidechain Inputs
When setting up sidechain inputs in FL Studio, you can identify the trigger sound, such as a kick, and route it to a dedicated mixer track. This allows you to establish a clear connection between the trigger sound and the sidechained channel.
Once the trigger sound is routed, you can right-click on the sidechained sound’s channel, such as the bass, and select ‘Sidechain to this track’ to initiate the connection.
After this, you can utilize the Fruity Limiter plugin or Gross Beat plugin on the sidechained channel to set up the sidechain input. Within these plugins, you have the ability to adjust the threshold, ratio, and sidechain curve, providing precise control over the amount and shape of sidechain compression.
This level of control allows you to create innovative and unique sidechain effects that enhance your overall mix. As you experiment with different triggers and fine-tune the sidechain effect, you can ensure that it seamlessly integrates within your mix, adding depth and dynamics to your music production in FL Studio.
Configuring Sidechain Channels
To configure sidechain channels in FL Studio, follow these steps:
- Create a dedicated mixer channel for the triggering sound, such as a kick.
- Establish the connection to the receiving sound’s channel, such as the bass, by right-clicking and selecting ‘Sidechain to this track’.
Once the sidechain is set up, you can use plugins like Fruity Limiter or Gross Beat to apply sidechain compression or volume manipulation to the receiving sound. Adjust the following parameters within these plugins to control the sidechain effect’s intensity and timing: threshold, ratio, attack, release, and sustain.
This level of control allows you to precisely tailor the sidechain effect to suit your specific mix. It’s essential to experiment with different triggers and carefully listen to the mix to ensure the sidechain effect enhances the overall groove and balance.
Applying Sidechain Compression
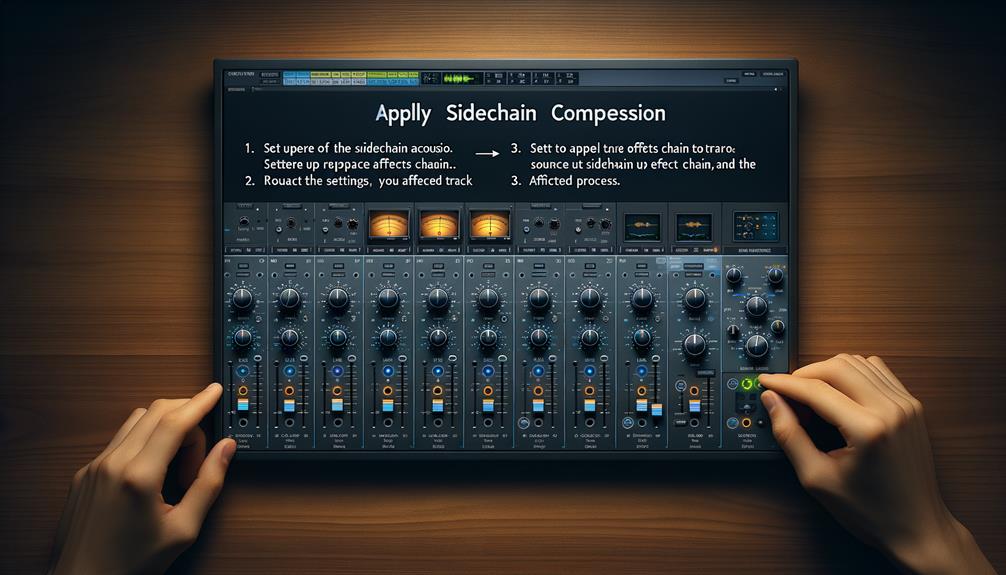
After configuring your sidechain channels in FL Studio, the next step is to apply sidechain compression to achieve the rhythmic pumping effect in your music.
In FL Studio 20, you can use the Fruity Limiter plugin or the Gross Beat plugin for this purpose. When using the Fruity Limiter, right-click on the channel of the sidechained sound and select ‘Sidechain to this track’ to establish the connection. This enables the sound on the sidechain track to control the compression of the main track.
Adjust the threshold, ratio, attack, and release parameters to fine-tune the sidechain compression effect. Visualize the impact of sidechaining using tools like Edison to compare the waveforms with and without sidechaining.
Experiment with different triggers such as snares, shakers, or guitars to create unique sidechain effects. It’s essential to listen to the mix as a whole to ensure that the sidechain compression blends well with other elements in your music.
Adjusting Sidechain Parameters
You may need to adjust the threshold and ratio parameters in the Fruity Limiter plugin to precisely control the amount of sidechain compression in your music production. This will allow you to tailor the intensity of the effect to suit the specific requirements of your track.
In addition to these adjustments, consider the following tips to further refine your sidechain parameters:
- Be mindful of the release time when using the Fruity Limiter to avoid distorting the sub bass.
- Use Edison to compare the waveforms with and without sidechaining, and adjust the attack, release, and sustain parameters to fine-tune the effect.
- In Gross Beat, utilize the attack, release, tension, and volume dials to shape the sidechaining effect, and listen to the mix as a whole to ensure it fits well in the context.
- Experiment with different triggers, such as snares, shakers, or guitars, to create unique sidechain effects.
Fine-tuning Sidechain Effects

When fine-tuning sidechain effects, consider adjusting the threshold and ratio settings in the Fruity Limiter plugin to precisely control the compression applied to the audio signal. By carefully setting the threshold, you can determine the level at which the compression begins to take effect, while the ratio allows you to specify the amount of compression applied once the signal surpasses the threshold.
Additionally, utilize the visual feedback from Edison to fine-tune the attack, release, and sustain parameters, ensuring an exact sidechain effect. Experiment with different sidechain curve shapes in Gross Beat, and fine-tune them by adjusting the attack, release, and tension settings to achieve the desired rhythmic effect.
As you make these adjustments, listen attentively to the mix, making subtle tweaks to seamlessly integrate the sidechain effect into the context of the song. It’s crucial to balance the sidechain effect with other elements in the mix, paying close attention to the overall rhythm and energy it adds.
Frequently Asked Questions
How Do You Sidechain in Fl?
To sidechain in FL Studio, you implement the sidechain technique using Fruity Limiter or Gross Beat. Adjust threshold, ratio, and release time for a rhythmic pumping effect. Experiment with triggers and elements in Edison for unique results.
How Do You Properly Sidechain?
To properly sidechain, apply sidechain compression to create rhythmic effects and emphasize specific elements in your mix. Set up the trigger sound on a mixer track and adjust threshold, ratio, attack, release, and tension to control the compression.
Does Sidechain Go Before or After Reverb?
When deciding on sidechain placement, consider the rhythmic and dynamic impact you want. Before reverb creates a pumping effect with the reverb tail, while after results in a smoother, more blended sound. Experiment to achieve desired results.
How Do I Sidechain Reverb to Vocals in FL Studio?
To sidechain reverb to vocals in FL Studio, route the vocal track to a send track with the reverb effect. Insert a compressor on the reverb track, engage the sidechain function, and set the vocal track as the sidechain source. Adjust threshold and ratio for a dynamic reverb effect.
Conclusion
Now that you have set up the sidechain inputs, configured the channels, applied sidechain compression, and adjusted the parameters, you can fine-tune the sidechain effects to achieve the desired sound.
Experiment with different triggers and listen to the mix as a whole to ensure the sidechaining fits well in the context.
With practice and experimentation, you’ll be able to master the art of sidechaining in FL Studio.
Keep refining your techniques and exploring new possibilities to enhance your music production skills.


