No products in the cart.
In the world of music production, silence and sound dance together, creating a canvas for your creativity—yet without the right tools, that canvas remains blank.
You’re about to embark on a journey that’ll transform the way you interact with music, equipping you with the knowledge to fill that canvas with your unique auditory art.
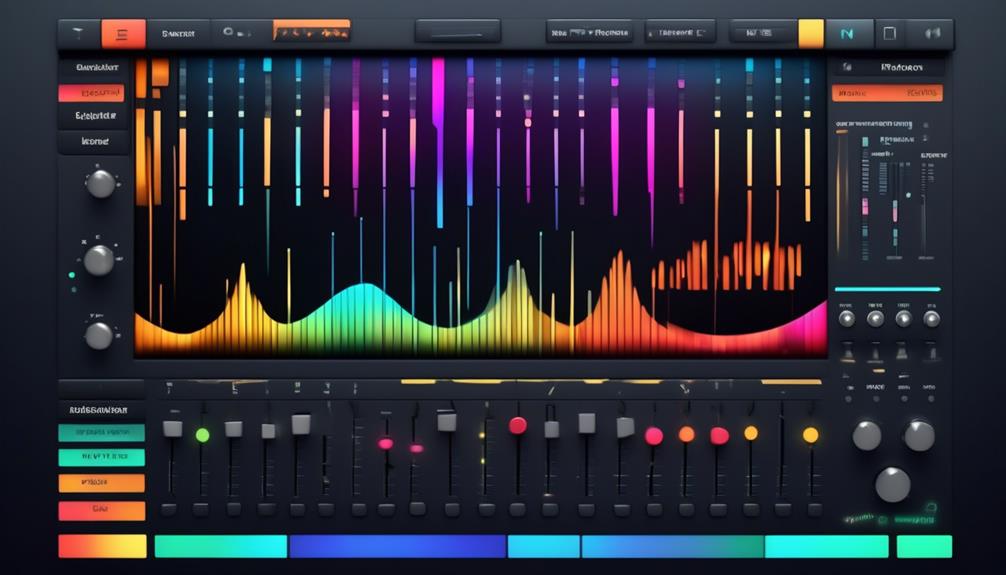
Let’s start by demystifying the digital audio workstation (DAW), the cornerstone of all music production, and ensure you’re set up with the right one.
As you familiarize yourself with the capabilities of your chosen DAW, you’ll begin to understand how it can serve as your digital instrument, your recording studio, and your mixing engineer, all in one.
By the end of this guide, you’ll not only grasp the basics of music software but also harness the power to craft your first track—though the nuances of editing, mixing, and mastering still lie ahead, waiting to elevate your sound to professional heights.
Key Takeaways
- Choose a DAW (Digital Audio Workstation) that aligns with your creative goals and budget, considering both free and paid options.
- Understand the basics of pitch, scales, and musical structure to create melodies and harmonies.
- Explore rhythm, beat, and MIDI/virtual instruments to create unique sounds and patterns.
- Learn about mixing, audio effects, and filters to balance frequencies and enhance the overall sound of your music.
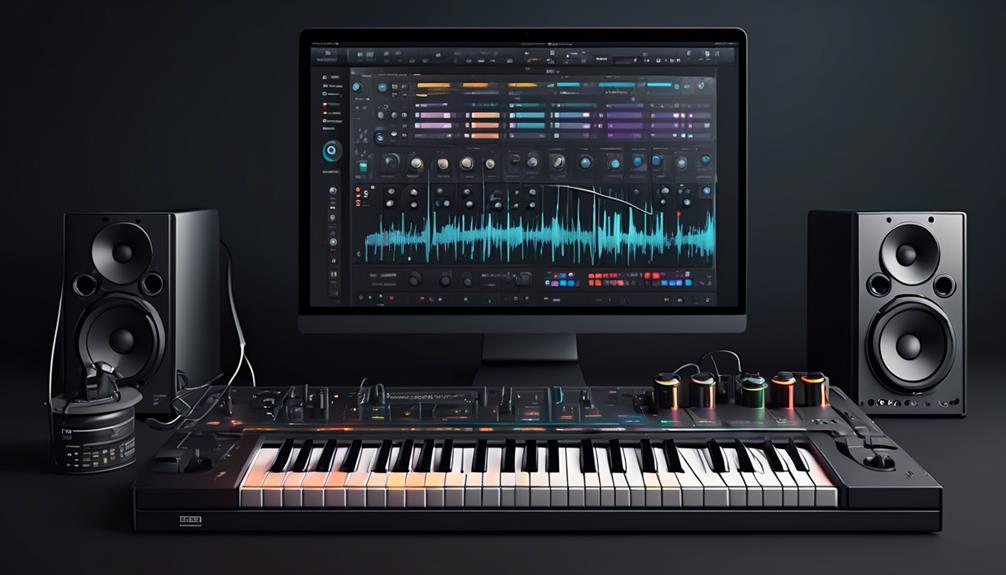
Choosing Your DAW
When selecting a Digital Audio Workstation (DAW), align your choice with your creative goals and budget, considering both free and paid options to find the tool that best facilitates your musical endeavors. Understanding different DAW features is crucial as they define your workflow and the intricacies of your productions.
Free DAWs offer a launching pad for beginners, providing foundational tools without financial investment. Explore these options if you’re dipping your toes into music creation, focusing on user-friendly interfaces and essential functionalities.
However, if you’re leaning toward a professional setup from the get-go, comparing free and paid DAW options reveals a stark contrast in capabilities. Paid DAWs like Logic Pro X, Pro Tools, and Ableton Live 11 come with a more comprehensive suite of features, including advanced mixing, mastering plugins, and a vast array of virtual instruments. These premium platforms cater to nuanced production needs and are designed with the forward-thinking artist in mind.
For instance, Logic Pro X users should check out a beginner’s guide to navigate its sophisticated ecosystem. Your DAW choice should mirror your ambition, whether it’s starting simple with a no-cost program or diving deep into the expansive world of a paid DAW.
Understanding Sound Waves
Having chosen your DAW, it’s essential to grasp the fundamentals of sound waves, as they’re the building blocks of all audio you’ll be working with in music production. Sound waves in the context of acoustics are vibrational forces that travel through mediums like air, creating the sounds we hear. These waves are depicted as waveforms on your DAW, providing a visual representation of sound.
Delving into sound propagation, you’ll find that frequency determines pitch. High-frequency waves produce high pitches, while low frequencies yield deeper tones. Similarly, amplitude affects volume; larger amplitudes mean louder sounds. The waveform’s shape reveals the sound’s timbre, which is its unique quality or color.
To innovate in music production, you’ll employ sound wave manipulation techniques. These include equalization to sculpt frequency response, compression to manage dynamic range, and reverb to simulate spatial environments. Tools like synthesizers and samplers allow you to generate and modify waveforms, crafting new textures and sonic landscapes.
Understanding these principles is pivotal. It enables you to shape your audio with intention and precision, turning raw sounds into compelling musical elements. Remember, your DAW is a powerful ally, harnessing the complex nature of sound waves to fuel your creative expression.
Exploring Pitch and Scales

You’ll find that grasping pitch and scales is crucial for crafting melodies and harmonies in your music.
By utilizing software instruments and MIDI controllers, you can experiment with various scales—major, minor, pentatonic, to name a few—and discover their distinct tonal characters and emotional impacts.
Mastering the intervals within these scales and employing pitch correction tools can significantly enhance the expressive quality of your compositions.
Understanding Musical Scales
Delving into musical scales reveals a world where specific patterns of notes shape the emotional and sonic landscape of a composition. By mastering scales, you’re equipping yourself with the essential tools for creating melodies with scales and improvising with different scales. These foundational sequences of pitches, constructed from whole and half steps, are crucial for establishing the tonal framework of your music.
Understanding scales is more than memorizing notes; it’s about recognizing the intervals that give each scale its characteristic feel. Whether it’s the bright optimism of a major scale, the somber nuance of a minor, or the raw expressiveness of the blues scale, each brings a distinct flavor to your creative palette. They’re the building blocks for harmonies and the backbone of musical structure, empowering innovation in your compositions.
Pitch: Basics Decoded
To fully grasp the essence of melody and harmony in music, it’s imperative to understand pitch, the attribute of sound that dictates the perceived highness or lowness of a note.
Choosing the right pitch for a song is fundamental; it can influence the song’s emotional impact and its compatibility with different vocal ranges.
The importance of pitch in vocal performances can’t be overstated, as it affects the clarity and expressiveness of the singer’s voice.
Scales provide a structured framework for pitch, enabling you to craft melodies that resonate with listeners.
When you’re innovating with music software, delving into the nuances of pitch helps you to manipulate sound with precision, ensuring your compositions and arrangements hit the right notes, both figuratively and literally.
Rhythm and Beat Essentials
Understanding rhythm and beat is crucial as they form the heartbeat of music, guiding the flow and timing of your compositions within music software. When delving into beat making, you’re essentially laying down a framework that will dictate the groove and feel of your track. It’s about crafting a pattern of sounds that repeat cyclically, compelling the listener’s body to move in sync with the pulse.
Engaging in rhythm training is fundamental to sharpening your innate sense of timing and groove. Utilize your music software’s metronome feature to develop a steady internal clock. Experiment with setting different time signatures and BPM (beats per minute) to challenge your adaptability across various musical styles.
In technical terms, beats are the basic units of time in a piece, and they’re what you count when you tap your foot to a song. Rhythms are the arrangement of sounds as they’re played in time with these beats. To innovate, combine unconventional rhythmic patterns and syncopation to create a distinctive sonic landscape. Push the envelope by manipulating the software’s grid-based sequencing to juxtapose rhythmic elements in novel ways, fostering a signature sound that resonates with your artistic vision.
MIDI and Virtual Instruments
Let’s explore how MIDI and virtual instruments revolutionize music creation by enabling you to play a vast array of sounds through your digital audio workstation with precision and ease.
MIDI, established as the universal pulse of digital music, translates your performance into a language that your computer understands, driving virtual instruments to produce everything from classical pianos to futuristic synths.
Creating unique soundscapes with virtual instruments becomes a streamlined process when you harness the power of MIDI controllers. These tactile interfaces offer hands-on control, transforming your creative impulses into tangible musical expressions. Here’s how they work together:
- MIDI Controllers: Serve as the physical touchpoint, capturing your performance nuances and sending MIDI data to your DAW.
- Virtual Instruments: React to MIDI signals, generating audio that mirrors acoustic instruments or spawns entirely novel sonic textures.
- Effects: Process the generated sounds, adding depth, movement, and character to shape your signature sound.
Integrating MIDI and virtual instruments into your DAW equips you with an expansive sonic toolkit. It allows for intricate layering and manipulation, vital for producing complex arrangements that were once unattainable without a cadre of musicians and a plethora of instruments.
Dive into this digital ecosystem and push the boundaries of musical innovation.
Basic Mixing Techniques
Once you’ve laid down your tracks using MIDI and virtual instruments, it’s crucial to delve into basic mixing techniques to ensure your music sounds polished and professional. Balancing frequencies is essential; use equalization (EQ) to sculpt the frequency spectrum of each track. Cut unwanted frequencies to reduce muddiness and boost those that enhance the instrument’s character.
Panning plays a pivotal role in creating a balanced stereo image. Position elements across the stereo field to mimic a live stage setup, allowing each instrument its own space. Use compression judiciously to even out dynamic ranges, imparting punch and consistency to your mix. This ensures that all elements are heard clearly, without any one part overpowering the others.
Creating spatial depth transforms a flat mix into a three-dimensional soundscape. Reverb and delay are indispensable tools here, giving tracks a sense of place and dimension. But remember, subtlety is key—too much can wash out your mix.
Introduction to Audio Effects
As you venture into the realm of audio effects, you’ll encounter filters, which are pivotal in sculpting your track’s tonal quality by attenuating or boosting certain frequency ranges.
Dynamics processing, including tools like compressors and limiters, is crucial for controlling the volume levels and enhancing the punch and clarity of your audio.
Mastering these effects allows you to fine-tune your mix, ensuring each element sits perfectly within the sonic landscape.
Understanding Audio Filters
Audio filters, critical components in sound engineering, shape the sonic landscape of a recording by selectively altering specific frequency ranges. Understanding the types of audio filters and their common applications is fundamental to crafting your desired sound.
Here’s a concise look at what you need to know:
- Low-pass filters allow frequencies below a certain cutoff point to pass through, often used to reduce harshness or rumble.
- High-pass filters do the opposite, removing low-frequency noise and clearing up the mix.
- Band-pass filters isolate a particular frequency band, which can be useful for effects like telephone voice simulations.
Each filter type offers distinct manipulation of audio signals, enabling you to refine and innovate the textures and clarity of your music.
Dynamics Processing Explained
Dynamics processing, a vital tool in music production, manages the loudness and punch of your tracks by manipulating the volume and intensity of audio signals. Understanding the impact of dynamics processing on audio quality is crucial for achieving professional results. It shapes the sound character and ensures consistency across various playback systems.
| Type | Purpose | Analog vs Digital |
|---|---|---|
| Compression | Reduces dynamic range | Analog warmth vs Digital precision |
| Expansion | Increases dynamic range | Analog coloration vs Digital clarity |
| Limiting | Caps maximum audio level | Analog saturation vs Digital limiting |
Differences between analog and digital dynamics processing are noteworthy. Analog processors often add a distinctive warmth and musicality, while digital processors offer more precision and flexibility. Both have unique attributes that can be harnessed innovatively, depending on your artistic vision.
Structuring Your First Song
Often, the first step in structuring your song is to distill your creative vision into a cohesive idea, utilizing tools like moodboard playlists or sample libraries to spark inspiration. Delve into song structure analysis to comprehend how to shape your track’s narrative. Whether it’s a traditional verse-chorus form or something avant-garde, understanding the flow is crucial.
As you embark on your creative composition techniques, consider the following elements:
- Ideation: Forge the core of your song by improvising in your DAW, manipulating drum loops, or exploring VST instruments to find the unique sound that resonates with your concept.
- Instrumentation & Texturing: Select your instruments carefully. Layer melodies, harmonies, and rhythms using MIDI controllers and VST plugins. Add depth with effects and sound design to create a rich sonic palette.
- Editing & Refinement: Once your recording is complete, enter the editing phase. Mix and master your track to achieve balance and polish. Use studio monitors for accurate playback and apply critical listening to refine each element.
Recording and Editing Audio
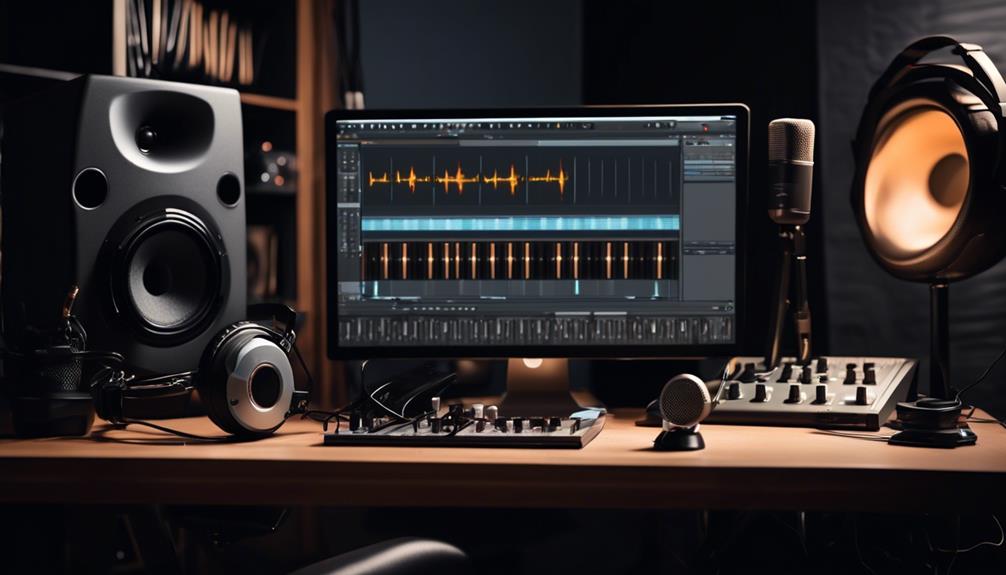
Now that you’ve structured your first song, it’s time to focus on capturing and refining your sound.
You’ll need to select a digital audio workstation that fits your workflow, ensuring it offers the recording features and editing tools necessary for your project.
Understanding the techniques for basic audio recording and applying simplified editing procedures, such as comping takes and adjusting levels, will be your next steps toward polished audio production.
Choosing Your Software
When selecting your recording and editing software, it’s crucial to assess your specific needs and budget to ensure the Digital Audio Workstation (DAW) aligns with your music production objectives. Understanding file formats and mastering the basics of music theory are foundational steps that will guide your choice.
Here are factors to consider:
- Compatibility and System Requirements: Ensure your computer meets the specifications for running the DAW smoothly.
- Features and Workflow: Look for a DAW that complements your workflow, whether that’s beat-making or multi-track recording.
- Support and Resources: Choose software with robust support and educational resources to help you grow.
Basic Audio Recording
To start your journey into audio recording, you’ll need to familiarize yourself with the use of microphones and audio interfaces to capture sound effectively. Microphone placement techniques are crucial for achieving the desired sound quality. You’ll often experiment with positioning to avoid phase issues and capture the best tonal balance. Recording equipment essentials include a reliable microphone, an audio interface, headphones, and studio monitors. These tools are indispensable for monitoring and editing your audio with precision.
Here’s a snapshot of basic recording and editing components:
| Component | Purpose |
|---|---|
| Microphone | Captures sound waves and converts them into electrical signals. |
| Audio Interface | Connects microphones to your computer, providing power and conversion of signals. |
| Headphones | Allows for detailed monitoring of audio without room noise interference. |
| Studio Monitors | Provides accurate sound reproduction for mixing and editing. |
| Editing Software | Enables manipulation of recorded audio for improved sound quality. |
Editing Techniques Simplified
Having equipped yourself with the essential recording gear, it’s time to explore the core editing techniques that will refine your audio captures into polished tracks. In the realm of audio editing, precision is paramount, and innovative methods can make or break the end result.
Your toolkit should include:
- Splitting tracks: Segmenting audio to isolate or rearrange sections seamlessly.
- Noise reduction: Minimizing unwanted background sounds to ensure clarity.
- Time stretching techniques: Adjusting the tempo without altering pitch, maintaining the integrity of the original recording.
Master these essentials alongside monitoring your work with reliable equipment. As you hone your skills in mixing and mastering, you’ll appreciate the nuance of balancing and shaping sounds for that flawless final product.
Exporting and Sharing Tracks

Ensure you select high-quality, stereo WAV or AIFF formats during the export process to preserve the audio fidelity of your tracks. These lossless formats maintain the integrity of your music, ensuring that every subtle nuance in your mix is captured. Exporting techniques aren’t just about file types; they also involve the methodical process of rendering each individual element, often referred to as stems, which can then be easily integrated or remixed in future projects.
When you’re ready to share your creations, consider the security of your files. Utilize trusted cloud storage services or specialized file-sharing platforms that offer encryption to keep your tracks safe from unauthorized access. Sharing files securely is paramount, especially when collaborating remotely or sending demos to labels and producers.
To streamline distribution, embed essential metadata into your exported files. This includes the artist name, track title, and any pertinent copyright information. This data is crucial for identification and rights management once your tracks are circulated.
For exposure, leverage online platforms and streaming services. These avenues not only facilitate easy access for your audience but also provide you with analytics to gauge the reach and impact of your music.
Frequently Asked Questions
What Is the Best Program to Make Music for Beginners?
You’ll find FL Studio ideal for beat making, offering an intuitive platform that simplifies music theory application, perfect for innovators eager to dive into music creation with a detailed, user-friendly approach.
How Do Beginners Start Producing Music?
To start producing music, you’ll need essential equipment like a DAW and an audio interface. Dive into genre exploration to find your sound, learning the tools and techniques that bring your vision to life.
What Is a Good DAW for Beginners?
A good DAW for you offers intuitive design, robust editing tools, and plentiful software tutorials to streamline your music production journey, prioritizing innovation with a comprehensive DAW comparison to find your ideal match.
How to Do Music for Beginners?
To start making music, you’ll need to grasp music theory basics and follow instrument tutorials that challenge traditional methods, ensuring your approach remains innovative and at the cutting edge of current trends.
Conclusion
You’re now equipped with the essentials of music production software. With your chosen DAW, a grasp of sound waves, pitch, and rhythm, plus MIDI know-how and audio effects, you’re ready to structure, record, and edit your first track.
Dive in, experiment, and let your creativity soar. Remember, producing is a skill honed over time. Share your music, gather feedback, and keep refining.
Your journey’s just begun, and the possibilities are endless. Happy producing!