No products in the cart.
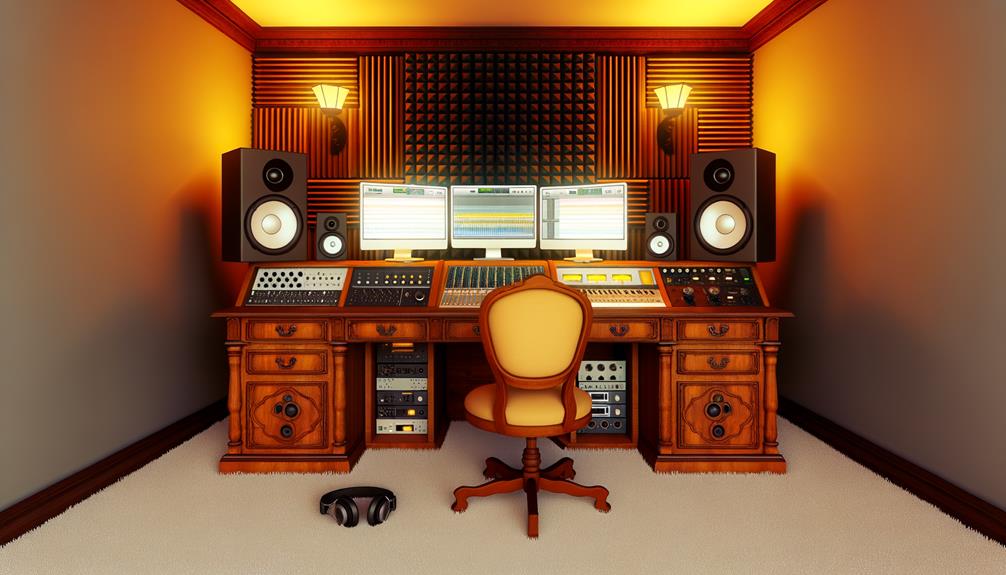
To set up your home audio mastering studio, first establish a budget that reflects your financial situation and prioritizes essential hardware for accurate sound reproduction. Choose a powerful computer with ample RAM, a solid-state drive, and sufficient ports. Invest in high-quality monitor speakers, positioning them strategically to optimize sound dynamics and calibrate for acoustical precision. Incorporate effective acoustic treatment using bass traps, diffusers, and absorption panels to create a balanced environment. Select headphones that offer detailed soundstage and isolation, suited to your mixing needs. Finally, make sure your desk and equipment arrangement enhances workflow efficiency and comfort. Continuing will uncover further intricacies and optimization techniques.
Contents
hide
Key Takeaways
- Invest in high-quality monitor speakers and headphones for accurate sound reproduction.
- Implement effective acoustic treatment using bass traps, diffusers, and absorption panels.
- Choose a powerful computer with sufficient RAM, storage, and processing capability.
- Select a reliable audio interface compatible with your DAW and operating system.
- Arrange your desk and studio equipment for easy access and optimal workflow efficiency.
Define Your Budget
Before delving into the technical aspects of setting up your home audio mastering studio, it’s important to first establish your budget. You’ve got to decide how much you’re willing to spend and stick to it. Effective budget allocation is important for balancing financial planning with hardware investment. Start by determining a budget range that reflects your current financial situation and your studio’s needs.
Once you’ve set your budget, your next step is equipment selection. It’s essential to research the average costs of key components like speakers, EQs, and compressors. Make sure these stay within your budget constraints. Allocate funds strategically, ensuring you invest in high-quality items where they matter most. Remember, it’s not just about picking the cheapest options; it’s about getting the best value for your money.
Prioritize the purchase of critical hardware that aligns with your financial plan. For instance, high-quality speakers and reliable outboard gear are essential for accurate sound reproduction and dynamic processing in mastering. Also, don’t overlook the importance of room treatment and monitoring setup—these are essential for achieving excellent mastering conditions. Your budget should reflect all these considerations to ensure a balanced and effective investment in your studio’s capabilities.
Choose Your Computer
Having established your budget, you’ll next need to select a computer that meets the specific demands of audio mastering. Delving into computer specifications, start by considering the processor options. A powerful processor is key, as audio mastering software demands high processing power for tasks such as rendering tracks and applying effects. Look for recent models in the Intel Core i7 or AMD Ryzen series to make sure you have enough muscle to handle these operations smoothly.
Next, focus on RAM and storage. Ideally, you’ll want at least 16GB of RAM to manage multiple large files simultaneously without a hitch. For storage, a solid-state drive (SSD) is your best bet. SSDs greatly enhance data retrieval speeds, which means quicker load times and less waiting around during your sessions. Aim for a minimum of 500GB, though 1TB is preferable if your budget allows. This ensures ample space for large audio files and any additional plugins or samples you may require.
Lastly, make certain your computer has enough ports for all your peripherals. You’ll need sufficient USB or Thunderbolt ports to connect essential equipment like audio interfaces and controllers, which are important for a seamless mastering workflow.
Select Monitor Speakers
After selecting your computer, the next essential step is to choose monitor speakers that accurately represent sound for precise audio mastering. You’ll need to invest more in high-quality monitor speakers as they’re pivotal for your studio’s reliability. These speakers shouldn’t only fit your budget but also meet the specific needs of your studio to guarantee sound accuracy. High-quality speakers will help you catch important sound details, enhancing your ability to make precise mixing decisions.
When you’re setting up your speakers, focus on speaker placement and sound calibration. This is critical for optimizing room acoustics. You’ll want to position your speakers so they create an equilateral triangle with your listening position, making sure that sound waves hit your ears symmetrically. Additionally, understanding the unique characteristics of your chosen monitor speakers can greatly aid in mastering the intricacies of sound dynamics.
Install Acoustic Treatment
To achieve excellent sound quality in your studio, it’s essential to install acoustic treatment that minimizes unwanted reflections and reverberations. You’ll want to focus on enhancing room acoustics and soundproofing to guarantee a neutral listening environment, vital for precise audio mastering.
Start by evaluating your studio space to identify areas that cause problematic sound reflections. Typically, these are hard surfaces like walls and ceilings. Here are key components to take into account:
- Bass traps: Install these in room corners to absorb low-frequency sounds, reducing muddiness and enhancing clarity in your mixes.
- Diffusers: Place them strategically to scatter sound waves, ensuring a more even distribution of sonic energy across the room.
- Absorption panels: Mount these on walls to tackle mid and high-frequency reflections, significantly improving sound accuracy.
You can choose between DIY acoustic panels and professional installation. DIY might save costs but requires precise knowledge and skills to ensure effectiveness. On the other hand, professional installation guarantees ideal placement and performance but at a higher expense. Whichever route you choose, the goal is to achieve a balanced acoustic environment that allows for critical listening and accurate sound reproduction.
Pick the Right Headphones
When selecting headphones for your mastering studio, consider open-back models for their accurate sound representation and closed-back types for minimizing sound bleed in specific recording scenarios. Open-back headphones excel in delivering a natural soundstage, important for evaluating the stereo imaging and depth of your mixes. However, their design allows for some sound leakage, which can be problematic in live recording environments.
On the other hand, closed-back headphones provide excellent sound isolation, essential when you need to focus on details without external noise interference. This feature is particularly valuable during vocal recordings or when laying down overdubs, as it prevents the microphone from picking up the headphone’s output.
The frequency response of the headphones is a critical factor, ensuring that they can accurately reproduce all frequencies in your audio, from the deepest bass to the highest treble. Look for headphones that offer a wide and flat frequency response to make sure that no particular frequency is exaggerated or subdued, which could mislead your mastering decisions.
Set Up Your Desk
Having selected the right headphones, you’ll next want to focus on setting up your desk to create an efficient and comfortable mastering environment. First, consider the essential setup of your desk. It’s vital that your desk and chair are adjustable to maintain posture and prevent fatigue during long sessions. This adjustment capability directly impacts your productivity and physical health.
Desk organization and workflow optimization are equally important. Arrange your equipment and accessories in a manner that keeps the most-used tools within easy reach. This minimizes unnecessary movements and allows for a smoother mastering process. Here are a few key points to keep in mind for an effective setup:
- Adjustable Desk Features: Make sure your desk can be adjusted in height for standing or sitting to suit different tasks and moods.
- Cable Management Solutions: Invest in quality cable organizers to avoid clutter. Proper cable management prevents accidents and interference in signal paths.
- Strategic Equipment Layout: Position your monitor, speakers, and interface strategically to minimize reaching and twisting.
Additionally, ensure that your workspace has adequate lighting and ventilation. Good air circulation and balanced lighting keep you alert and focused, enhancing your overall mastering experience.
Decide on Audio Interface
Selecting the appropriate audio interface is essential for ensuring high-quality sound reproduction and efficient data flow in your home mastering studio. As you begin the process of choosing an audio interface, start by evaluating how many inputs and outputs match your specific needs. This decision impacts how effectively you can manage multiple instruments and tracks simultaneously.
Focus on interfaces that offer high-quality preamps and converters. These components are vital as they greatly influence the clarity and detail of both your recordings and playback. Superior preamp quality ensures that the micro-detail of your audio is captured, while high-end converters preserve the integrity of the sound during digital-to-analog and analog-to-digital conversions.
Make sure your chosen interface is compatible with both your computer’s operating system and your preferred DAW software. This compatibility is crucial to avoiding workflow interruptions and technical issues, which can hinder your mastering process.
Consider the interface’s connectivity options—whether USB, Thunderbolt, or FireWire—to align with your studio’s setup requirements. Even if budget constraints are a concern, numerous interfaces offer reliable performance and essential features without compromising on the necessary quality for a proficient home mastering studio.
Frequently Asked Questions
Can You Master Music at Home?
Yes, you can master music at home. You’ll need advanced mastering software and effective acoustic treatment to guarantee precision. Proper setup and expertise are essential for achieving professional-grade audio quality in your productions.
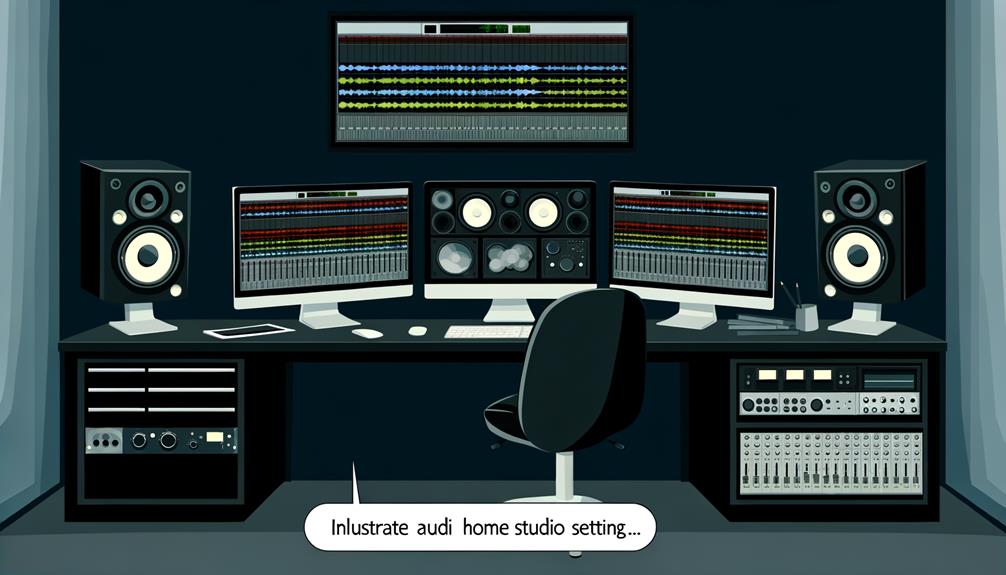
How to Set up a Home Audio Studio?
To set up a home audio studio, prioritize room acoustics and equipment selection. Treat your space for sound, choose high-quality monitors, and select an audio interface that guarantees pristine signal integrity.
How Do I Get Professional Sound in My Home Studio?
To achieve professional sound, you’ll need to focus on acoustic treatment and monitoring quality. Properly treat your space and invest in high-quality monitors to guarantee precise audio evaluation and mixing in your studio.
What Are Ideal Mastering Studio Dimensions?
Ideal mastering studio dimensions optimize room acoustics; aim for 12’x12′ to 18’x22′, with a ceiling height of 8-10 feet. Avoid square shapes to reduce sound reflection and enhance audio precision.
Conclusion
Now that you’ve structured your home audio mastering studio, make sure every component integrates seamlessly.
Monitor your budget closely, as quality often correlates with investment.
Regularly evaluate your acoustic setup and speaker placement for the best sound fidelity.
Don’t underestimate the importance of a reliable audio interface; it’s the backbone of digital sound processing.
Continually refine your environment and equipment choices to meet the evolving standards of audio production, maximizing the accuracy and detail in your mastering projects.