No products in the cart.
For ideal home audio finishing, start by selecting the right materials. Wipe-On-Poly is great for scratch resistance, while varnish spray ensures a glossy look and durability. For a safer option, choose water-based formulas that are less harmful and environmentally friendly. Installing acoustic panels correctly is vital; mount them on aligned wooden studs and make sure everything is level for effective soundproofing. Lastly, optimize room acoustics by positioning panels at first reflection points and using bass traps in all corners. Larger panels on the back wall and a ceiling cloud above the listening area will further enhance your sound quality. Further exploration will reveal additional techniques to refine your setup.
Key Takeaways
- Apply Wipe-On-Poly for a durable, scratch-resistant finish on audio equipment surfaces.
- Use varnish spray cans to achieve a glossy, protective coating that enhances equipment appearance.
- Opt for water-based formulas to ensure safe application and environmental friendliness.
- Install bass traps in room corners to improve low-frequency sound absorption.
- Position acoustic panels at first reflection points to optimize room acoustics and sound quality.
Choosing the Right Materials
When selecting materials for your DIY audio project, it’s essential to ponder how different finishes affect not just the aesthetics but also the durability and safety of your speakers. You’ll find that oil finishes, while offering a vibrant look, mightn’t serve well in the long term due to their tendency to yellow, affecting both finish durability and color consistency. On the other hand, Wipe-On-Poly is a more robust option. Applied in thin, even coats, it builds up a scratch-resistant layer, preserving the finish’s integrity over time.
For a finish that combines durability with a flawless appearance, consider varnish spray cans. Although requiring multiple applications, they achieve a glossy, mirror-like finish that not only enhances the visual appeal but also provides a protective shield against environmental factors.
Moreover, if environmental concerns and safety are high on your priority list, water-based formulas are advisable. These finishes offer good protection and maintain color consistency without the harmful effects associated with more toxic substances. As a result, they represent a safer choice for both you and the environment while ensuring your project remains visually appealing and durable.
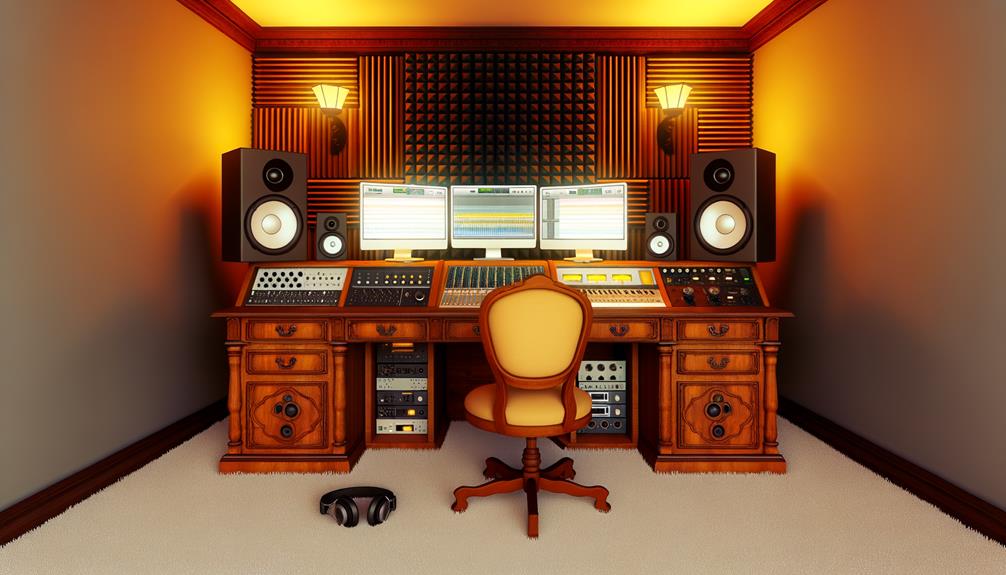
Effective Panel Installation
For the sake of stability and professional aesthetics, you must securely mount acoustic panels on wooden pieces that have been precisely drilled into the wall. Start by ensuring that the wooden mounts are aligned with the structural studs behind the wall surface for maximum support. Use a level to verify that each mount is perfectly horizontal to maintain the aesthetics and functionality of the panel positioning.
Next, attach the panels to the mounts. It’s important to align the corners and edges precisely; any misalignment can disrupt the visual harmony and compromise the soundproofing effectiveness. You’ll want to use small screws, which not only secure the panels but also maintain a consistent gap between the top and bottom. This gap is essential for the acoustics to function efficiently.
Optimizing Room Acoustics
After installing the panels as described, optimizing room acoustics further involves strategically placing acoustic panels at first reflection points to enhance sound quality. Identifying these points requires you to assess the room layout and speaker positioning carefully. Typically, they’re found on the side walls, directly in line with and opposite the speakers, where sound waves first bounce off after leaving the speakers.
In addition to side wall placements, consider installing bass traps in all four corners of your room. Bass traps are essential for absorbing low-frequency sounds, which are often important in smaller spaces. This placement helps in smoothing out bass frequencies and reduces muddiness in your audio output.
For the back wall, larger acoustic panels are recommended. These panels catch the sound waves as they travel back from your listening position, important for maintaining recording and mixing accuracy. It prevents the sound from reflecting back to you, which can cause phase issues and distort your perception of audio clarity.
Lastly, don’t overlook the ceiling. Installing a ceiling cloud directly above your main listening area optimizes sound dispersion, providing a more balanced listening experience. The integration of materials like wood and textiles around the room also adds to the overall acoustic efficacy, absorbing excess sound waves effectively.
Frequently Asked Questions
How to Treat a Bedroom for Recording?
To treat a bedroom for recording, place acoustic panels at first reflection points and install bass traps in corners for noise reduction. Add a ceiling cloud, use larger back wall panels, and incorporate soft furnishings.
How Do You Finish a MDF Speaker Box?
To finish an MDF speaker box, start by sealing edges and surface sanding for smoothness. Choose from oil finishes, wipe-on-poly, or spray-on lacquers for durability, and apply meticulously to guarantee even coverage and protection.
Conclusion
You’ve now explored the top DIY audio finishing techniques for your home. Remember, selecting the right materials is important for sound quality and durability.
Properly installing acoustic panels will greatly improve sound clarity.
Finally, optimizing room acoustics enhances your overall listening experience.
By applying these precise techniques, you’ll achieve professional-grade sound in your own space.
Make sure each step is meticulously executed to fully enjoy your audio environment’s enhanced acoustics.