No products in the cart.
Imagine creating beats on FL Studio as building a house from scratch. Each element – the melody, drums, and additional instruments – serves as a foundational brick, contributing to the overall structure and vibe of your beat. As you meticulously arrange and layer these components, you’re essentially constructing a sonic landscape that resonates with your artistic vision.
But before you can start building, you need to understand the blueprint, and that’s where FL Studio comes into play. It offers a plethora of tools and features to help you bring your musical architecture to life.
So, let’s dive into the process of crafting beats on FL Studio, starting from the very first step.
Contents
hide
Key Takeaways
- Setting up FL Studio involves installing and updating the software, connecting headphones or speakers, configuring audio settings, and setting up MIDI controllers or keyboards.
- When selecting instruments, explore the variety of sounds available, drag and drop selected instruments into the channel rack, use the piano roll to create melodies, assign instruments or drums their own patterns, and experiment with different sounds for the perfect combination.
- Creating beat patterns involves starting with the kick drum, introducing the hi-hat for accents, paying attention to beat placement for desired groove, experimenting with different instruments for unique sounds, and adjusting the volume of each element for a balanced mix.
- When arranging and mixing tracks, structure patterns in the Playlist, utilize automation for dynamic changes, experiment with effects like reverb and delay, fine-tune levels and effects in the mixer, and use EQ and compression to balance and shape the mix.
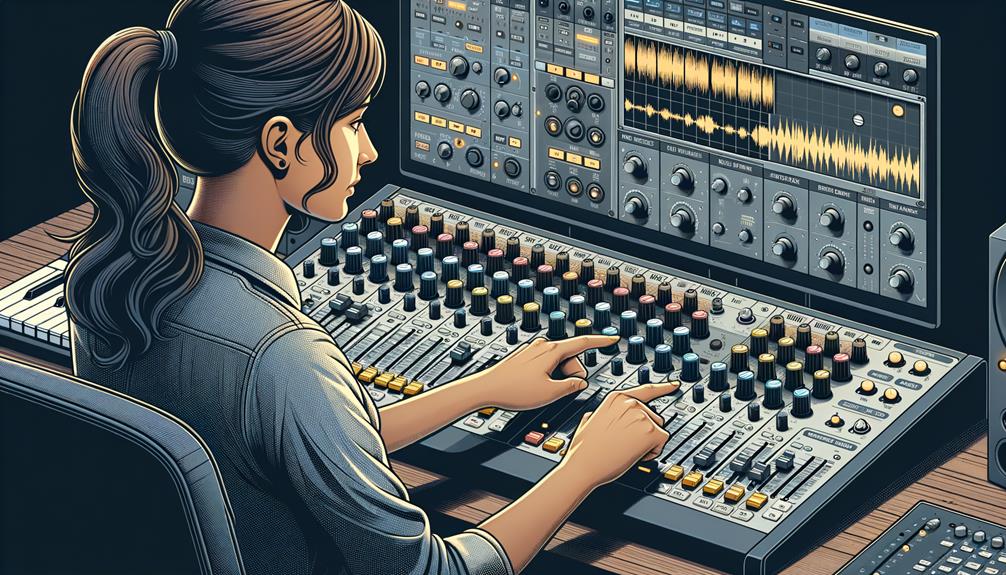
Setting Up FL Studio
When setting up FL Studio, ensure that your desktop or laptop has the latest version installed and that all updates are completed. This is crucial to ensure that you have access to the most up-to-date features and improvements that FL Studio has to offer.
Once FL Studio is installed and updated, connect your headphones or speakers to your computer for audio output. You want to hear every detail of the beats you’ll be creating.
Next, configure FL Studio’s audio settings to ensure it’s using the correct input and output devices. This step is essential for a smooth workflow and accurate sound production.
If you plan to use a MIDI controller or keyboard for inputting melodies or drums, set it up accordingly. This will allow you to add a personal touch to your beats and make the creative process more intuitive.
Lastly, customize your workspace by arranging windows, toolbars, and panels according to your preference. This will help streamline your workflow, making it easier to access the tools you need, such as the piano roll for creating melodies and drum patterns.
Selecting Instruments
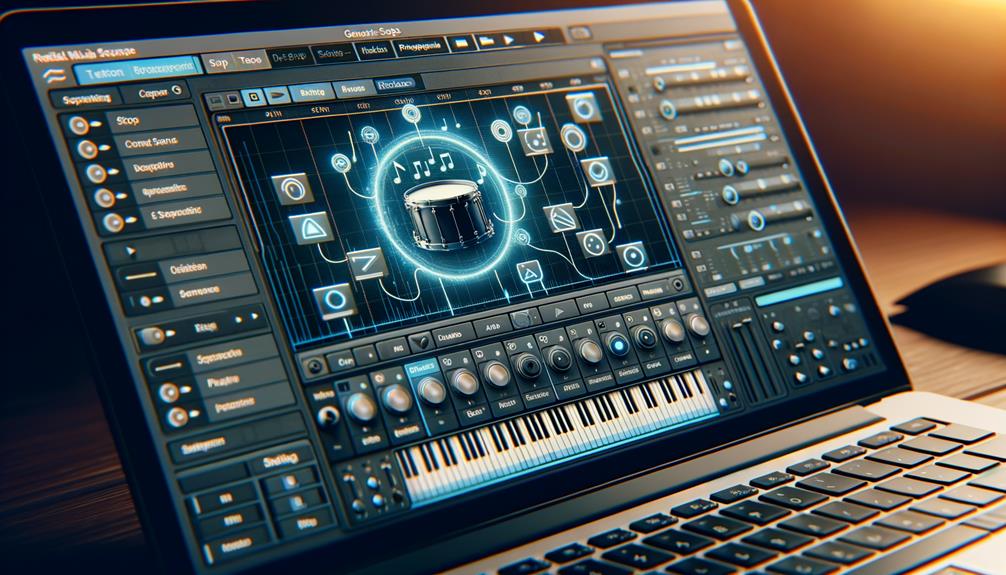
To craft a captivating beat, carefully select the instrument that will lead your melody, setting the tone for your composition. In FL Studio, the process of selecting instruments begins by exploring the vast array of sounds available.
You can access these by clicking on the ‘Browser’ icon and then navigating to the ‘Packs’ section. Here, you’ll find a variety of virtual instruments ranging from guitars and pianos to synths and strings.
To select an instrument, simply drag it into the channel rack. Once you have the instrument loaded, you can use the piano roll to place notes, paying close attention to the rhythm and timing of your melody.
Each instrument or drum should have its own pattern in FL Studio, allowing you to maintain the rhythm of your beat. Experiment with different sounds and instruments to find the perfect combination that complements your composition.
Creating Beat Patterns
Experiment with a variety of instruments to discover the perfect sound for your beat pattern, utilizing the piano roll in FL Studio to precisely place the green bars on the notes and create your melody.
When creating beat patterns, it’s essential to start by adding the kick, the leading drum, to the pattern area. This establishes the foundation of your beat.
Next, add the hi-hat to introduce accents and variations, enhancing the overall rhythm and flow. Pay close attention to the placement of beats to maintain the desired groove and energy of your beat.
As you make a beat, consider experimenting with different instruments in the channel rack to create new and unique sounds.
Adjust the volume of each element to ensure a balanced and cohesive mix.
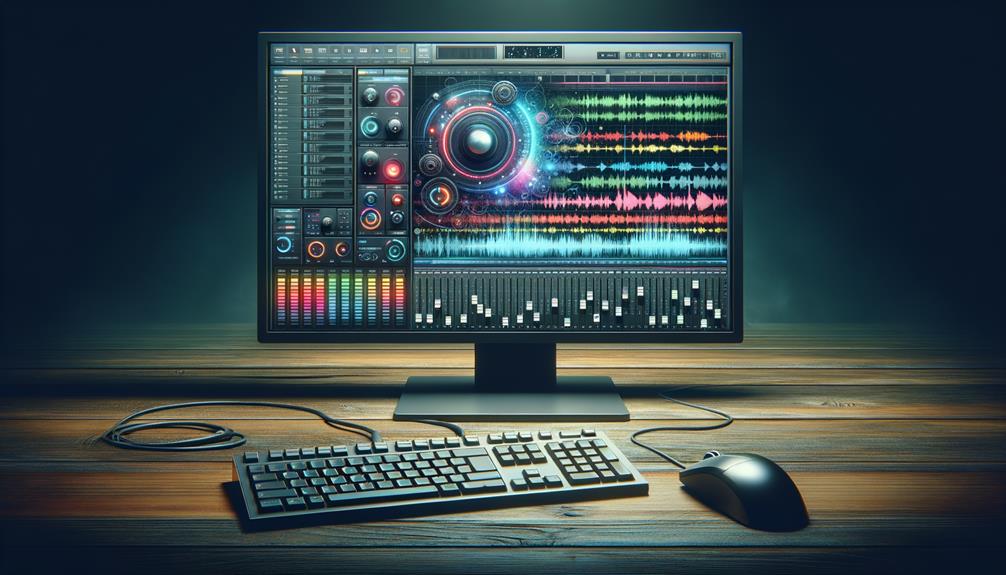
Arranging and Mixing Tracks
After crafting your beat patterns with precision and creativity, it’s time to arrange and mix your tracks to bring your musical vision to life.
In FL Studio, arranging your beat involves structuring the patterns in the Playlist. This is where you define the flow and progression of your music. Utilize automation to introduce dynamic changes, such as volume adjustments, panning, or effect parameters, adding depth and movement to your sound.
Experiment with different effects to enhance the individual elements of your beat, such as reverb, delay, or modulation. These effects can add character and dimension to your sounds.
Additionally, mixing is crucial for achieving a professional and polished sound. Fine-tune the levels and effects in the mixer, utilizing tools like EQ and compression to balance and shape the mix. If a particular instrument isn’t working as expected, don’t hesitate to replace it with something more suitable.
Understanding music theory can also greatly influence how you arrange and mix your tracks, allowing you to create harmonically rich and engaging compositions.
Finalizing Your Beat
Make necessary adjustments to the beat by carefully listening and ensuring it sounds cohesive and polished. This is the first thing to do before finalizing your beat. Start by checking if all elements of your simple beat work well together.
Here’s what to do next:
- Adjust Levels and Effects: Use the mixer to fine-tune the levels and effects of each track. This ensures a balanced and professional sound.
- Export the Beat: Save the beat as an audio file in a suitable format, considering audio quality and compatibility with various devices and platforms.
- Save and Name the Beat: After finalizing, save and name the beat for future use. This ensures you have a finalized version ready for sharing or further production.
- Consider Adding Dynamic Changes and Effects: Enhance the overall impact of the beat by adding dynamic changes, transitions, and effects. This step can take your beat to the next level.
Frequently Asked Questions
Can You Make Your Own Beats on FL Studio?
You can definitely make your own beats on FL Studio. The beat making process involves creative inspiration, music production, sampling techniques, and sound design concepts. Experiment with different instruments and drum patterns to craft unique beats.
How Do You Make Beats for Beginners?
To make beats for beginners, start with basic equipment and focus on beat structure, drum patterns, and melody creation. Experiment with sampling techniques to add a unique touch to your beats and unleash your creativity.
How Do You Record Beats on FL Studio?
To record beats on FL Studio, connect your MIDI controller, access the mixer, arm the track, and press record. Utilize the metronome for timing. After recording, use FL Studio’s editing tools to refine your beat.
Which FL Studio Is Best for Beginners?
For beginners, the best FL Studio version depends on your budget and desired features. The Fruity Edition offers essential tools, while the Producer Edition adds recording and plugins. The Signature Bundle and All Plugins Edition provide even more features. Consider your long-term music production goals.
Conclusion
Now that you’ve learned the basics of making beats on FL Studio, you’re ready to start creating your own unique sound. Experiment with different instruments, patterns, and effects to develop your style.
Don’t be afraid to think outside the box and push the boundaries of traditional beat-making. With practice and dedication, you can take your beats to the next level and make a name for yourself in the music industry.
Good luck and happy beat-making!