No products in the cart.
To enhance your digital audio mastering, start by optimizing mix preparation. Label your final mixes accurately, note any audio peculiarities, and make sure you understand the specific requirements for your master format. Next, perfect your mastering room acoustics. Use acoustic panels, bass traps, and diffusers to balance sound distribution and prevent frequency buildup, setting speakers to optimize the stereo image. Finally, strictly adhere to delivery specifications. Provide audio in the requested file formats and resolutions, and double-check metadata and track sequencing for accuracy. Focusing on these practices will greatly improve the quality of your mastered tracks, inviting further exploration into the nuances of each step.
Contents
hide
Key Takeaways
- Ensure audio files are provided in the highest possible resolution and appropriate file format.
- Utilize proper room acoustics and speaker placement for accurate sound evaluation.
- Include comprehensive metadata and track sequencing for organizational clarity.
- Provide alternate mixes to accommodate different listening environments or preferences.
- Adhere strictly to the delivery specifications set by the mastering engineer.
Optimize Mix Preparation
To optimize mix preparation, you should clearly label your final mixes with song titles, sequencing, and metadata to guarantee easy identification and handling during the mastering process. This step is essential as it streamlines the workflow, allowing the mastering engineer to access and reference tracks efficiently. Additionally, documenting any known issues or peculiarities within the audio files can greatly inform and guide the mastering process. This communication aids in preemptive problem-solving, potentially saving time and improving the final output.
When preparing your mixes, it’s important to understand the specific requirements set forth by manufacturers regarding master type and delivery methods. This includes providing accurate timing and full reference tones, particularly critical for analog formats, to ensure consistency and precision across playback systems.
Moreover, consider providing alternate mixes, such as vocal up/down versions. These should be well-marked and organized to offer the mastering engineer flexibility during the mix evaluation phase. These preparations are complemented by mastering software features that can detect and adjust to these variations, ensuring a seamless and adaptive mastering process. By meticulously preparing your mixes in this manner, you enhance the potential for a high-quality, polished final product.
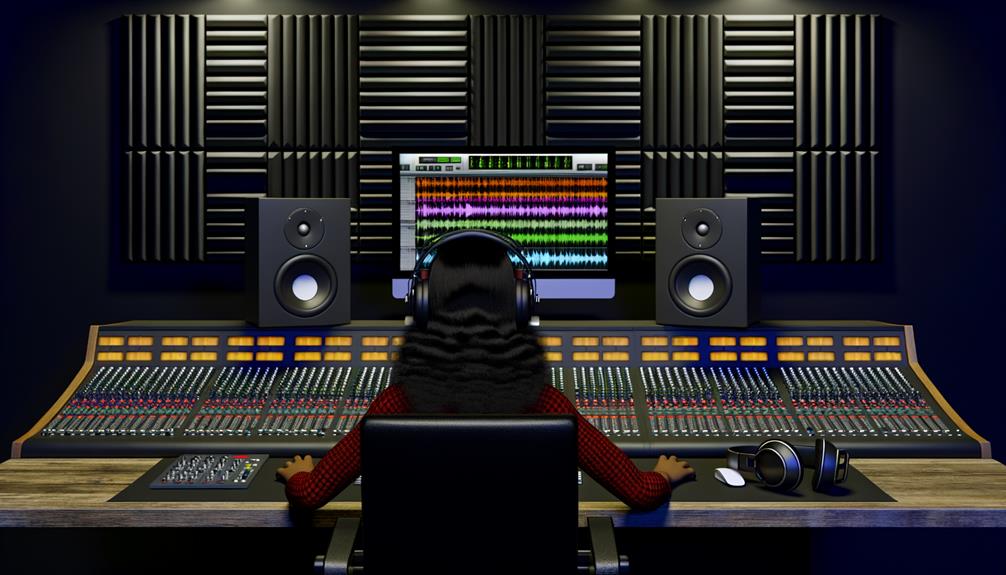
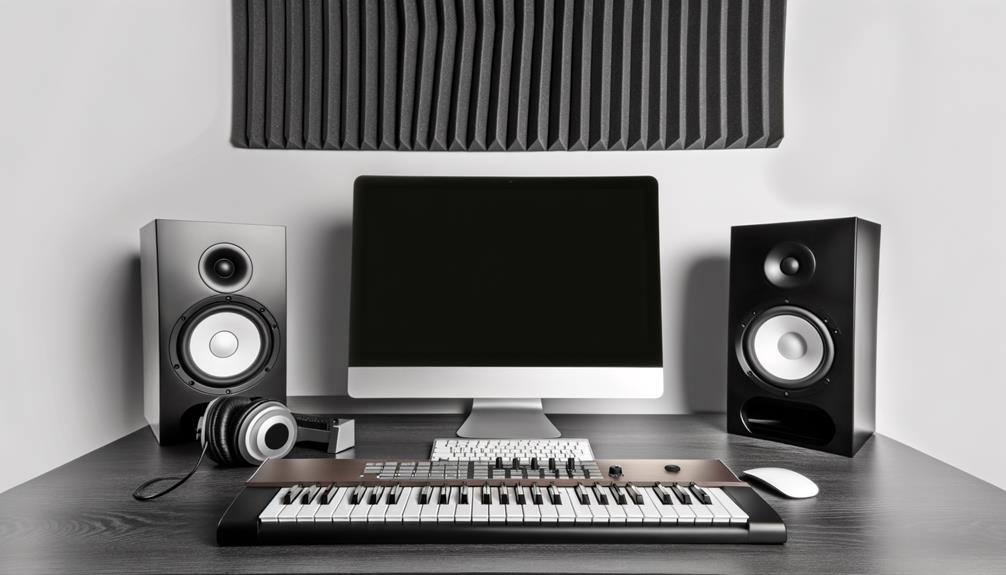
Mastering Room and Acoustics
Ensuring your mastering room has appropriate acoustics is crucial for minimizing reflections and achieving accurate sound reproduction. The room layout and soundproofing techniques you employ can greatly influence the quality of your mastering output. By carefully designing the space and selecting the right materials, you can create an environment that enhances your ability to discern fine audio details.
Key elements include:
- Room Treatment: Incorporate acoustic panels, bass traps, and diffusers to manage reflections and balance frequency response.
- Speaker Placement: Position your speakers and listening spot to optimize the stereo image and minimize room-induced coloration.
- Room Dimensions and Materials: Choose dimensions and materials that prevent modal issues and enhance sound clarity.
The room’s size and shape should facilitate an even distribution of sound waves, preventing the buildup of certain frequencies which can skew your perception of mixes. Effective soundproofing not only keeps external noises out but also prevents your sound from leaking, ensuring a pure listening environment.
Delivery Specifications Compliance
You must guarantee that your final mixes strictly adhere to the required delivery specifications set by the mastering engineer. This involves providing your audio files in the specific file formats and resolution requested. Correct file formats guarantee compatibility with the mastering hardware or software, while the right resolution preserves the quality of your audio throughout the mastering process. For instance, if the engineer asks for WAV files at 24-bit/96 kHz, sending MP3s at 320 kbps won’t suffice.
Moreover, you’ll need to focus on metadata accuracy and the correct sequencing of tracks. Metadata, which includes details like song titles, artist names, and ISRC codes, must be carefully reviewed for errors. Accurate metadata is essential for the identification and organization of your tracks during mastering and subsequent distribution. Sequencing, or the order of tracks, is equally important, as it dictates the flow of the final product.
Lastly, don’t forget to document any known issues or specific concerns regarding the files you submit. This information is invaluable in helping your mastering engineer address potential problems efficiently. Understanding and complying with these specifications isn’t just about meeting requirements—it’s about ensuring the highest quality in your mastered audio.
Frequently Asked Questions
What Is the Best Format for Mastering Audio?
For mastering audio, you should opt for WAV or AIFF formats, which support high sample rates and 24-bit depth, ensuring the preservation of sound quality without compression. Both are top choices for fidelity.
Should I Use FLAC or WAV for Mastering?
You should use WAV for mastering due to its uncompressed nature, ensuring no compression trade-offs affect your audio quality. Consider FLAC if format compatibility and storage space are critical in your workflow.
How Many Db Should You Leave for Mastering?
You should leave around 6 dB of headroom for mastering to guarantee ideal dynamic range considerations. This headroom strategy prevents clipping and allows precise adjustments in processing, preserving your mix’s integrity effectively.
What Is the Ideal Db Before Mastering?
The ideal dB level before mastering should be between -6 dB and -3 dB. This pre-mastering headroom is essential for meeting loudness targets and guarantees clarity and detail in your final audio product.
Conclusion
As you finalize your audio project, make sure your mixes are clean and balanced before mastering. Tailor your mastering room for best acoustics; this precision in your environment greatly enhances the clarity and depth of your audio.
Always adhere to delivery specifications; this compliance guarantees your tracks meet industry standards and function seamlessly across all platforms. By following these best practices, you’ll elevate the quality of your productions and maintain professional integrity in your digital audio mastering process.