No products in the cart.
Feeling like a mad scientist in a lab, you’re ready to breathe life into your music by vocoding in Audacity.
But where do you start? How do you even begin to merge those robotic sounds with your vocals or instruments?
Fear not, because the process isn’t as complex as it may seem. With a few simple steps, you can transform your ordinary tracks into something extraordinary.
So, let’s demystify the art of vocoding and unleash the full potential of your musical creations.
Contents
hide
Key Takeaways
- Use an 8-bit version of the song for optimal vocoding in Audacity.
- Position the microphone appropriately and adjust input levels for clear recordings.
- Experiment with different vocoder presets and adjust parameters to achieve desired effects.
- Fine-tune and enhance the vocoded result with additional effects before exporting.
Setting Up Your Project
Using an 8-bit version of the song can optimize the vocoding process in Audacity.
To set up your project correctly, make sure to open Audacity and import your voice line and the 8-bit version of the song into the timeline.
Adjust the length of the song to match the voice line for seamless synchronization.
Next, remove any unnecessary tracks, ensuring that only one mono track remains.
It’s crucial to confirm that the voice line is on the left and the music track is on the right to maintain the correct positioning for the vocoding process.
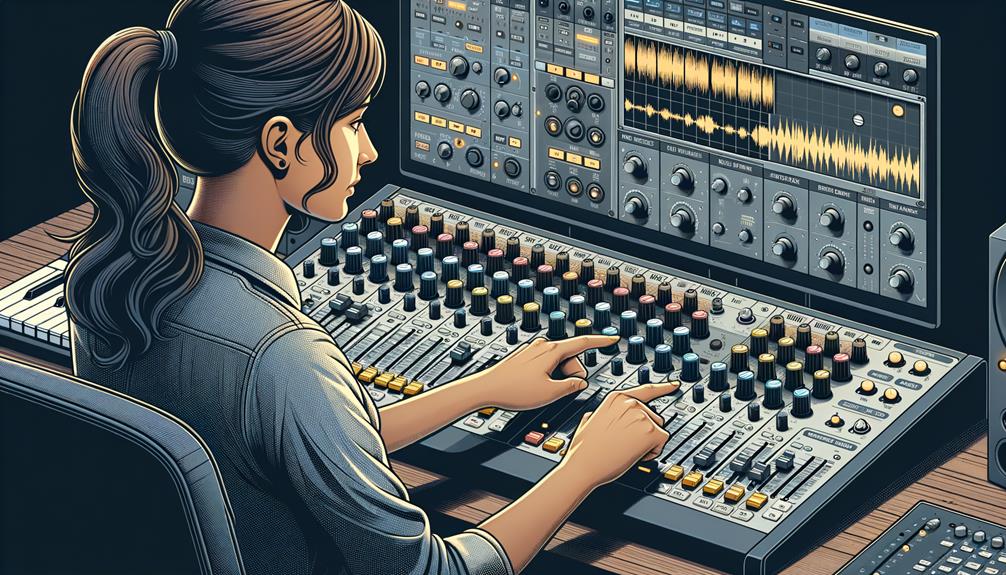
Recording Your Vocals or Instruments
When recording your vocals or instruments in Audacity, ensure that your microphone or instrument is connected to your computer and the input levels are adjusted to avoid clipping and ensure a clear recording. Follow these steps to ensure a successful recording:
- Microphone Placement: Position the microphone appropriately to capture the best sound. Experiment with different placements to find the optimal position for your specific instrument or vocal style. This may involve placing the microphone at different distances and angles to achieve the desired sound.
- Adjust Input Levels: Use Audacity’s input level controls to set the appropriate recording volume. Avoid setting levels too high, as this can cause clipping, which distorts the sound. Monitoring the input levels while recording will help you achieve a clean and balanced recording.
- Audio Editing: After recording, use Audacity’s editing tools to fine-tune your recorded tracks. You can trim, cut, and apply various mixing techniques to enhance the quality of your recordings. Additionally, you can utilize Audacity’s effects and plugins to further refine and polish your audio.
Following these steps will ensure that your recordings are of high quality, providing a solid foundation for your vocoding and audio processing in Audacity.
Applying the Vocoder Effect
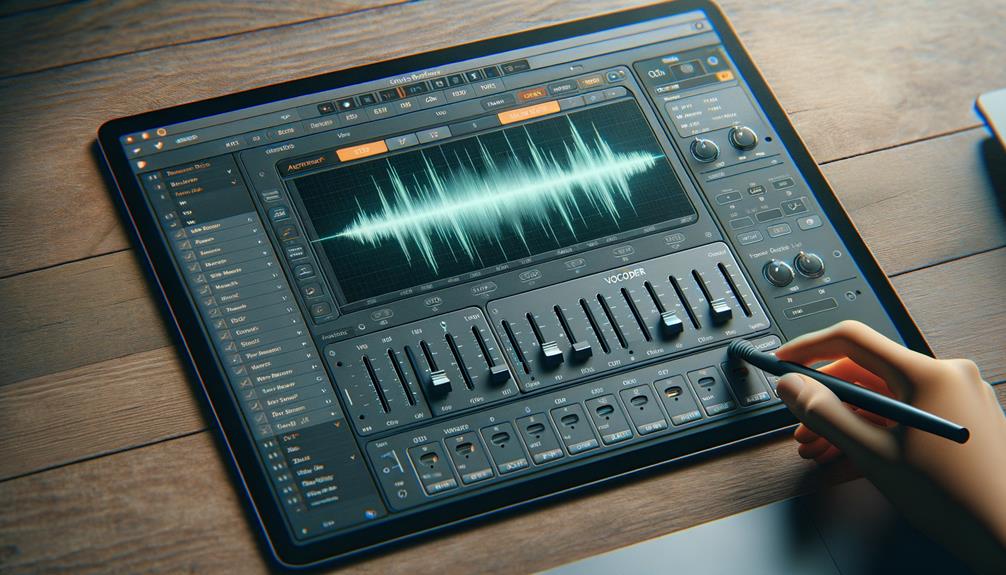
After recording your vocals or instruments in Audacity and fine-tuning your tracks using its editing tools, you can now explore the process of applying the Vocoder Effect to further enhance and manipulate your audio. The Vocoder Effect in Audacity enables you to create unique vocal effects by blending the characteristics of your voice with synthesized sounds. Additionally, you can combine the vocoder with other effects to achieve even more innovative and personalized audio results.
To effectively use the Vocoder Effect in Audacity, you can experiment with different vocoder presets to find the sound that best suits your project. These presets offer a variety of tonal qualities and modulation characteristics, allowing you to tailor the vocoder effect to your specific audio and creative preferences. Furthermore, you can combine the vocoder with other effects such as reverb, delay, or distortion to add depth and complexity to your vocoded sound.
| Vocoder Effect Tips |
|---|
| 1. Experiment with different vocoder presets. |
| 2. Combine vocoder with other effects for enhanced sound. |
| 3. Fine-tune vocoder settings to achieve desired outcomes. |
| 4. Use modulation parameters to customize the vocoded sound. |
| 5. Consider layering multiple vocoder tracks for a richer texture. |
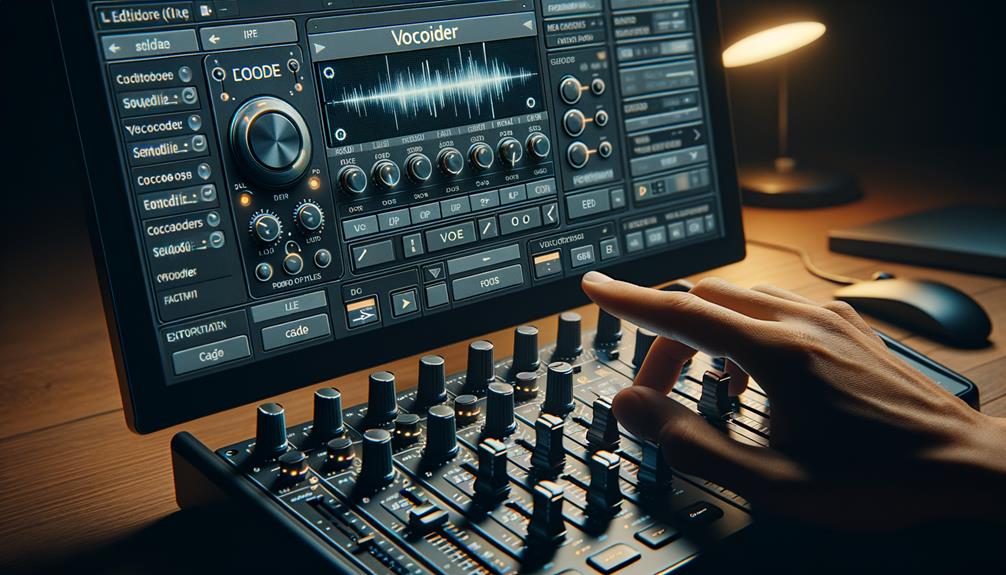
Adjusting Vocoder Parameters
To achieve the desired vocoded sound, experiment with different carrier and modulator combinations to find the optimal balance of characteristics. Adjusting vocoder parameters allows you to fine-tune the effect to suit your creative vision.
Here’s how to do it:
- Modulating Frequencies: Experiment with the modulator’s frequencies to alter the overall character of the vocoded sound. Higher modulating frequencies can result in a brighter and more articulated sound, while lower frequencies can produce a deeper and more resonant effect.
- Adjusting Carrier Signal: Tweaking the carrier signal’s characteristics, such as pitch and tone, can significantly impact the final vocoded output. Try different instruments or synthesizer sounds as carrier signals to explore diverse timbral possibilities.
- Controlling Timbre: Use the vocoder’s settings to control the timbre of the vocoded voice. Adjust parameters like formant shift and band numbers to shape the perceived pitch and timbral qualities of the vocoded output.
Fine-Tuning and Exporting Your Vocode Results
Once you have adjusted the vocoder effect settings to achieve the desired balance between the voice and music tracks, you can proceed to fine-tune the parameters for your vocoded results. Experiment with different vocoder effect settings to achieve the desired tone and style of the vocoded result. Consider adjusting the EQ and adding reverb or other effects to further enhance the vocoded result.
After fine-tuning, you can export the vocoded result as an MP3 or WAV file to save and share your creation with others.
When exporting your vocoded creation, you can explore various sharing options such as uploading it to social media platforms or music sharing websites. This allows you to showcase your innovative vocoding techniques and receive feedback from a wider audience.
In the process of fine-tuning and exporting, should you encounter any issues, you can troubleshoot common problems such as distorted sound or unwanted background noise. Utilize creative vocoding techniques to address these issues, ensuring that your final vocoded result meets your artistic vision and technical standards.
Frequently Asked Questions
How Do You Set up a Vocoder?
To set up a vocoder, you need to configure the setting parameters for the audio input and signal processing. Ensure the voice and music tracks are in mono and apply the Vocoder effect from the Effects menu.
What Is the Vocoder Voice Effect?
The vocoder voice effect is a technique that combines sound manipulation and vocal synthesis, analyzing voice frequencies to modulate musical instrument frequencies, resulting in a unique, futuristic sound popular in electronic, pop, and hip-hop music.
How Do You Vocode in Audition?
To create robotic sounds in Audacity, use the Vocoder plugin. Combine voice and music tracks into a stereo track, then apply the Vocoder effect from the Effects menu. Experiment with different vocoding techniques and settings for unique results.
What Is the Best Vocoder?
When choosing the best vocoder, consider your specific needs and preferences. Look into vocoder software, hardware, and applications. Research and experiment with different options to find the one that suits your creative vision and technical requirements.
Conclusion
In conclusion, vocoding in Audacity is a technical process that involves:
- Setting up your project
- Recording vocals or instruments
- Applying the Vocoder effect
- Adjusting parameters
- Fine-tuning the results
By following these steps and troubleshooting any issues that may arise, you can successfully create vocoded memes in either MP3 or WAV format.
Mastering the vocoding process in Audacity will allow you to add a unique and futuristic touch to your audio projects.