No products in the cart.
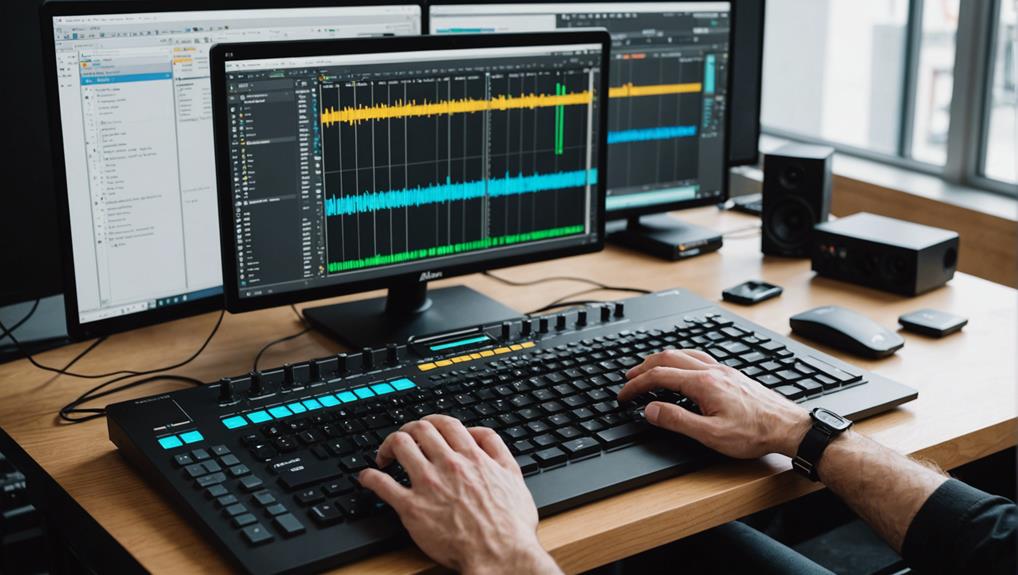
First, open Ableton Live and create a new project by adjusting the BPM and time signature. Organize your tracks for drums, bass, and melody. Begin with drum sounds, selecting a kick and placing it on the first beat of each bar. Add snares on the second and fourth beats for rhythm. Incorporate hi-hats for complexity, experimenting with patterns and pitches. Fine-tune your beat with effects like reverb and compression, carefully adjusting parameters to enhance the sound without overwhelming it. Finally, export your beat in WAV format for high quality. Following these steps will set a solid foundation for your music production journey.
Key Takeaways
- Open Ableton Live and create a new project with desired BPM and time signature.
- Load drum sounds into a MIDI track using Ableton’s drum rack.
- Program a basic drum pattern with kick on the first beat and snare on second and fourth beats.
- Add hi-hats for rhythmic texture and adjust their pitch and decay.
- Export your beat through the File menu, selecting ‘Export Audio/Video’ for final output.
Set Up Your Project
To kick off your project in Ableton Live, start by opening the software and selecting File > New Live Set to create a new project. Once open, you’ll find yourself in a fresh session, ready to lay down your first track. Before diving into the creative part, it’s important to adjust your project settings to suit the style of music you’re aiming to produce.
Firstly, head over to the tempo box, typically located at the top left of your screen. Here, you can set the BPM (beats per minute) of your project. You might start with a standard 120 BPM for electronic music or adjust it according to the genre you’re exploring. Tempo adjustments are essential as they set the pace and feel of your beat.
Next, consider your time signature choices. Click on the time signature area, which is next to the tempo box. Most contemporary music uses 4/4, but don’t be afraid to experiment with different time signatures like 3/4 or 7/8 to add uniqueness to your beat.
Now, focus on track organization. Use the Add Track button to create separate tracks for drums, bass, and melody. This helps in keeping your project organized and manageable. Finally, don’t forget to save your progress frequently. Go to File > Save Live Set, give your project a name, and make sure all your hard work is preserved.
Choose Your Drum Sounds
Begin by selecting your drum sounds from Ableton Live’s extensive library, which includes classic drum machines like the 606, 808, and 909. As you explore sound libraries, you’ll notice that each drum kit has its unique character and timbre, providing a solid foundation for your beat. Utilize the drum racks in Ableton to load up to 16 different sounds onto individual keys. This feature allows you to assemble a diverse palette of drum sounds tailored to your musical vision.
You can preview each sound within a drum rack before confirming it for your track. Simply click on a sound to hear it, and if it fits your beat’s vibe, drag and drop it onto an empty MIDI track. This method guarantees a seamless integration of sounds into your project.
Experiment with processing techniques to further customize your drum sounds. The browser in Ableton is equipped with a variety of audio effects. Apply effects such as reverb for depth, compression for punch, or saturation for warmth. Adjusting these effects will help you refine each drum sound to sit perfectly within your mix, crafting a beat that’s both unique and dynamic.
Lay Down the Kick Drum
Now that you’ve selected your drum sounds, focus on laying down the kick drum to anchor your beat. Start by placing a kick on the first beat of every bar to establish a solid rhythmic foundation. This is vital in genres like techno and house where the kick drives the track. Experiment with different samples to see what fits best with your track’s mood and style.
Next, explore creative rhythmic patterns. Don’t just stick to the basics; try adding extra kicks to create variations which can enhance the groove. For instance, placing a kick on the offbeat or adding a double kick can dramatically change the feel of your rhythm.
Incorporate drum layering strategies to add depth. Layering a sub-kick with a top kick can give your beat a more pronounced impact. Here’s a brief guide to kick drum variations and mixing techniques:
| Technique | Description |
| Kick Layering | Combine different kicks to enhance the sound. |
| Offbeat Kicks | Place kicks at unconventional beats. |
| Velocity Adjustments | Vary kick dynamics for a more natural feel. |
| EQ Mixing | Use EQ to sculpt and define the kick’s sound. |
| Compression | Apply compression to tighten the kick sound. |
Add Snares and Claps
After laying down the kick drum, incorporate snares and claps to add complexity and texture to your beat. Start with sound selection, choosing samples that complement the tone and style of your track. Snares can vary greatly in timbre—from sharp, crisp sounds to deeper, boxier tones—so pick one that matches the mood you’re aiming for. Claps, often layered over snares, offer a brightness that can elevate the energy of your beat.
Next, focus on the placement of these elements. Typically, snares are set on the second and fourth beats in a standard 4/4 rhythm, but don’t be afraid to experiment with different placements to see what grooves best with your kick. Claps often follow the snare hits but try adding them slightly off-time to create a more unique, syncopated effect.
To achieve creative variations, adjust the velocity of each snare and clap hit. This technique varies their intensity, making your beat more dynamic and less mechanical. Consider also applying effects like reverb or delay to just a few hits to vary the spatial feel, enhancing the atmosphere without overcrowding the mix.
Incorporate Hi-Hats
To infuse your beat with rhythmic complexity and groove, incorporate hi-hats, selecting patterns that might include straight 8th notes, syncopated rhythms, or open and closed variations. Start by programming your hi-hat in Ableton’s piano roll. For a basic pattern, place hi-hat hits on every 8th note to maintain a steady rhythm. To enhance the groove, experiment with syncopation by shifting some hits off the main beats, creating a more dynamic and engaging sound.
Explore hi-hat variations by adjusting the pitch, decay, and volume of each hit. This technique allows you to craft unique textures and moods within your beat. For example, lowering the pitch can give a darker, more subdued feel, while a short decay can make the beat feel tighter and more precise.
Don’t forget about creative techniques like layering multiple hi-hat samples. This can add depth and complexity, making your beat fuller and more compelling. Layer different samples with varied tonal qualities to enrich the sound palette of your track.
Fine-Tune With Effects
As you move forward with refining your drum beat in Ableton, it’s essential to select effects that enhance your sound without overwhelming it.
Adjust the parameters of each effect—such as decay time on reverb or feedback on delay—to fine-tune how they interact with your beat.
Layering multiple effects strategically can dramatically transform your track, giving it depth and a polished edge.
Choose Appropriate Effects
Once you’ve laid down your basic beat in Ableton, it’s essential to select the right effects to enhance and define your sound. Focusing on creative combinations and sound sculpting techniques will elevate your track. You can add effects to individual drum sounds in a Drum Rack or apply them to the entire track for a cohesive feel. Experiment with different effects to discover what best suits your style and the emotion you’re aiming to convey.
- EQ: Carve out each drum’s space in the mix.
- Reverb: Add depth and atmosphere.
- Delay: Create rhythmic complexity.
- Distortion: Enhance aggression and presence.
- Sidechain Compression: Achieve a pulsating dynamic between the beat and other elements.
Adjust Effect Parameters
Begin adjusting the parameters of each effect in Ableton Live to meticulously sculpt and enhance your beat’s sound.
Immerse yourself in the EQ settings to adjust frequencies that sharpen or muffle particular elements; tweaking the highs can add clarity, while managing the lows may prevent muddiness.
Utilize reverb for spatial manipulation, adjusting the decay and size to fit the atmosphere you’re aiming for.
Compression parameters play a key role in dynamic control—set the threshold and ratio to guarantee your beat punches through without distortion.
Don’t shy away from creative experimentation with delays; varying the time and feedback can introduce rhythmic complexity.
Lastly, use automation to dynamically alter these parameters, adding life and movement to your track through thoughtful sound manipulation.
Layer Multiple Effects
Layering multiple effects in Ableton gives you the power to blend various audio manipulations, creating rich and textured sounds tailored to your artistic vision. By stacking effects like reverb, delay, and distortion on a single track, you enhance and modify the original sound. Adjusting the parameters of each effect allows you to fine-tune the sonic character of your music production, achieving the desired result.
Sonic experimentation by changing the order of effects in the signal chain can drastically alter the overall sound, offering endless creative combinations. Utilizing Ableton’s built-in effects and third-party plugins expands your options for shaping and sculpting your music.
- Feel the thrill of crafting unique soundscapes.
- Explore the depths of your creativity.
- Experience the control over every nuance.
- Unleash your musical imagination.
- Dive into a world of endless sonic possibilities.
Export Your Beat
To export your beat in Ableton, head to the File menu at the top of the screen and select ‘Export Audio/Video’ to launch the export dialog box. Here, you’ll need to make some critical decisions about your export settings. Opting for a higher sample rate and bit depth enhances your export quality, essential for sharing your work on high-quality audio platforms or when collaborating with other artists.
Choose your file format wisely. WAV files are preferable for their lossless quality, which is essential when your track undergoes further processing or mastering. After setting your preferences, name your file and pick where you want to save it on your computer.
Finally, hit ‘Export’. Your beat will render into the chosen audio file, ready for any sharing options or collaboration opportunities on various online platforms.
Here’s a brief guide on key settings:
| Setting | Importance |
| File Format | Determines audio fidelity |
| Sample Rate | Affects audio clarity |
| Bit Depth | Impacts dynamic range |
| Export Quality | Vital for professional use |
| Destination | Organizes your projects |
Frequently Asked Questions
What Is the First Step to Making a Beat?
To start making a beat, you’ll first choose the right software, like Ableton, and set clear goals for your sound. Open a new Live Set and select a Drum Rack to begin.
How Do You Make a Beat for a Song for Beginners?
To make a beat as a beginner, start by finding your beat inspiration and selecting appropriate drum sounds. Create a basic pattern, experimenting with variations and refining details for a polished, unique sound.
Is Ableton Easy for Beginners?
Yes, Ableton’s interface design is beginner-friendly, featuring a manageable learning curve. You’ll find its layout intuitive, easing your initial engagement with music production through structured tutorials and clear, methodical guidance.
What Do You Add First When Making a Beat?
You’ll start by selecting your primary instrument, typically a kick drum, to establish the beat’s structure. This foundational step is essential for setting the rhythm and tempo of your entire track.
Conclusion
Now that you’ve crafted your first beat in Ableton, it’s time to finalize it.
First, review each layer, adjusting levels and panning for a balanced mix. Apply effects subtly; reverb or compression can enhance dynamics without overshadowing your core elements.
Double-check timing and coherence across tracks. Once satisfied, export your project. Choose WAV for quality or MP3 for convenience.
Congratulations, you’ve successfully navigated the basics of beat production! Continue experimenting and refining your skills.