No products in the cart.
If you’ve ever wondered about the benefits of exporting stems in music production, consider this: 79% of professional audio engineers and producers use stems in their workflow to enhance collaboration and creative flexibility.
Now, when it comes to exporting stems in FL Studio, the process can be a game-changer for your projects. But before you dive into the technical details, it’s crucial to understand the organizational and setup requirements to ensure a smooth stem export.
So, let’s explore the step-by-step process to unleash the power of exporting stems in FL Studio and elevate your music production game.
Contents
hide
Key Takeaways
- Exporting stems in FL Studio enhances collaboration and creative flexibility in music production.
- Exporting stems allows for efficient organization and manipulation of audio components.
- Independent processing of each element of the music is possible when exporting stems.
- Exporting stems provides greater control and creativity in the production process.
Understanding Stems in Music Production
To fully grasp the concept of stems in music production, it’s crucial to understand their role in facilitating the efficient organization and manipulation of audio components.
When working with FL Studio, the process of exporting stems is streamlined and essential for the modern Music Producer. FL Studio makes it easy to export stems, allowing for the separation of individual tracks into their own mixer channels. This separation is vital for ensuring that each element of the music can be manipulated and processed independently for greater control and creativity.
Understanding the steps to export stems in FL Studio is fundamental. It involves selecting the entire song, including extra space at the end, then navigating to File – Export – Wave file to initiate the export process. Additionally, the option to split or not split mixer tracks when exporting the whole track provides flexibility in the stem creation process.
Organizing Mixer Channels for Export
Ensure that each track on the playlist is routed to its own mixer channel for streamlined organization before exporting stems in FL Studio. This is crucial for a smooth and efficient stem export process.
When organizing mixer channels for export, follow these steps:
- Split Mixer Tracks: Use FL Studio’s channel splitting tool to separate each element in your mix onto its own mixer track. This will ensure that each audio track is individually processed and ready for export.
- Adjust Channel Settings: Once the tracks are split, make necessary adjustments to the settings of each mixer channel. This may include volume levels, panning, and any effects or processing specific to each track.
- Select Export Format: Choose the appropriate format for exporting your stems. Common options include WAV or AIFF, depending on your specific project requirements.
- Set Export Location: Designate a specific folder or directory on your computer where the exported stems will be saved. This helps to keep your files organized and easily accessible.
- Compress Stem Files: After exporting, compress the stem files into a zip folder to reduce file size before sharing or transferring them.
Properly organizing mixer channels before exporting stems is essential for a successful and efficient music production workflow in FL Studio.
Setting Up Stem Export in FL Studio
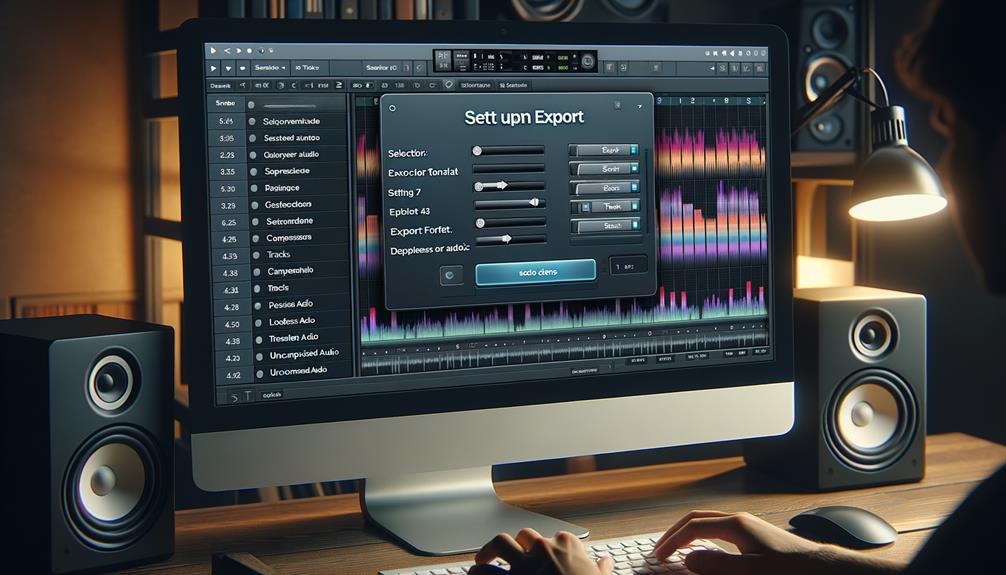
When setting up stem export in FL Studio, it’s imperative to ensure that each track on the playlist is routed to its own mixer channel for a streamlined export process, building upon the organized mixer channels discussed previously.
To begin, select the entire song, including any extra space at the end, and navigate to File – Export – Wave file to initiate the stem export process. Next, choose or create a folder to save the stems, give the project a sensible name, and click Save after setting up the export location.
It’s also beneficial to create separate folders for Wet and Dry. Follow the same process and save the Dry stems without effects for flexibility in mixing.
Additionally, adjust the settings for each channel, selecting the appropriate export format and location for your stems to ensure proper post-production.
By following these steps, you can ensure that your audio files are correctly exported and organized for further use, whether for sharing or post-production. Remember to stay organized and consider using a ZIP file for easy sharing and storage.
If you’re using a MIDI controller, ensure that all the necessary channels are properly assigned before exporting.
Adjusting Export Settings for Stems
Ensure each track on the playlist is individually routed to its corresponding mixer channel to accurately configure the export settings for stems. This is crucial to maintain the integrity of the audio tracks and ensure a smooth export process.
When adjusting the export settings for stems in FL Studio, consider the following:
- Create separate folders for Wet and Dry stems, and adjust the settings to export each accordingly.
- Untick the Split Mixer Tracks option when exporting the whole track without splitting it into individual audio tracks.
- Choose the appropriate quality for exported stems based on the purpose of use (16-bit for casual listening or 32-bit Float for further audio editing).
- Turn off non-creative effects when sending tracks to an audio engineer, keep creative effects turned on, and consult with the audio engineer for their preferences.
Exporting Stems From FL Studio

To successfully export stems from FL Studio, it’s imperative to have each track on the playlist routed to its respective mixer channel, ensuring a seamless transfer of audio data for further processing. This organization is crucial for maintaining the integrity of the individual tracks during the export process.
After ensuring proper routing, select the entire song, including any extra space at the end, and navigate to File, then Export, and finally Wave file to initiate the stem export. Remember to choose or create a folder to save the stems and give the project a sensible name before clicking Save.
If you’re exporting stems without effects, it’s important to create two folders within the Stems folder: Wet and Dry. Save the dry mix to the Dry folder by unchecking the Enable Insert Effects setting.
Additionally, when exporting the whole track, ensure that the Split Mixer Tracks option is unticked to export the entire track without splitting it into individual audio tracks.
Following these steps will allow for a smooth and organized export of stems from FL Studio.
Frequently Asked Questions
How Do I Export Audio Stems From FL Studio?
To export audio stems from FL Studio, ensure high audio quality by using proper mixing techniques. Organize your project for efficient file management. Explore the various exporting options to find the best fit for your project.
How Do I Export Stem?
To export stems in FL Studio, ensure each track is sent to its mixer channel. Choose a folder to save the wave files. Organize wet and dry stems. Select File – Export – Wave file and choose the appropriate quality. This supports collaborative workflow.
Does FL Studio Have Stems?
Yes, FL Studio allows stem exporting. It offers various export options, including choosing quality and mixing techniques. Tips for stem mastering and collaboration methods are available. Compatibility with stem files is possible for further audio editing.
How Do I Export All Tracks in Fl?
To export all tracks in FL Studio, ensure track separation by sending each to a mixer channel. Use export options to save stems with or without effects. Optimize file management by organizing folders. Utilize these mixing techniques for collaboration tools, enhancing workflow efficiency.
Conclusion
Now that you have organized your mixer channels and set up the export settings in FL Studio, you can easily export stems for your music projects.
This process allows for greater flexibility in collaborations, remixing, and sound engineering.
Remember to save each stem in a designated folder with a logical naming convention for easy access and organization.
Happy creating!