

No products in the cart.
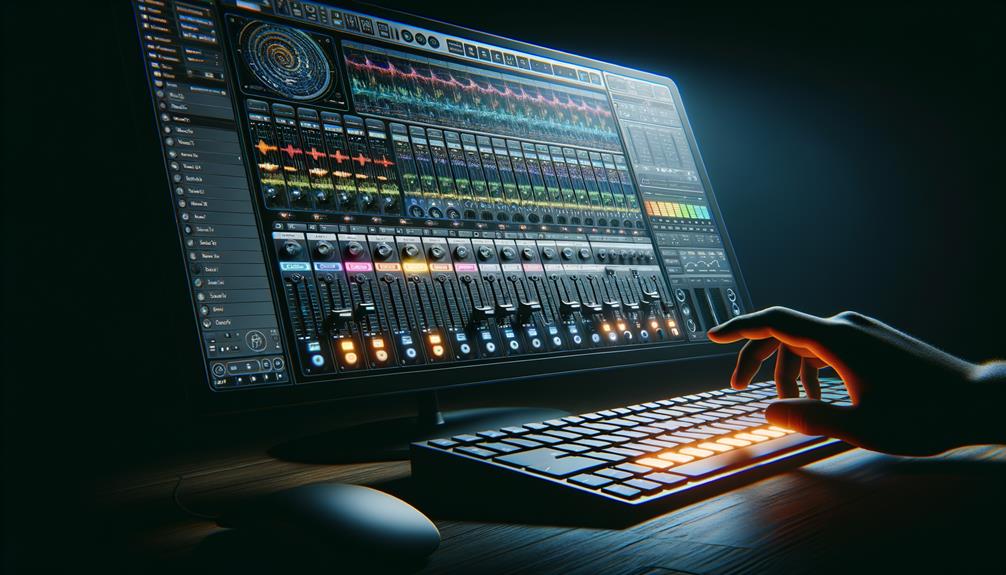
If you’ve ever felt the need to revamp your FL Studio interface, changing the colors can make a significant difference in your workflow and overall experience.
The process of customizing the colors in FL Studio is not only simple but also allows you to tailor the software to your preferences and style.
From altering the background to tweaking the menu toolbar and channel rack, there are various aspects you can adjust to create a personalized and visually appealing workspace.
Each modification plays a crucial role in enhancing the visual aesthetics and usability of FL Studio, making it a worthwhile endeavor for any music producer or enthusiast.
Contents
hide
Key Takeaways
- FL Studio 20 allows users to personalize their experience by customizing the background and menu toolbar.
- The background can be changed by uploading an image or selecting a color in the VIEW menu.
- The menu toolbar can be customized by accessing toolbar options in the VIEW menu, allowing users to add or remove items and create gaps using spacers.
- Customization options are available for name colors in the Channel Rack and mixer, allowing users to change colors for individual channels and tracks.
Background of FL Studio Color Customization
To understand the background of FL Studio color customization, it’s essential to grasp the fundamental principles behind its visual customization features. FL Studio 20 offers a range of options for users to personalize their experience, and one such feature is the ability to change the wallpaper background. This can be done by uploading your own image or simply selecting a background color of your choice. Accessing the background settings is straightforward, as you can find it in the VIEW menu and make changes by clicking on BACKGROUND.
This level of customization extends beyond just the background. For instance, altering the menu toolbar is possible by accessing the toolbar options from the VIEW menu and choosing presets or customizing it further by selecting EDIT. Furthermore, the channel rack can also be personalized by right-clicking on a sample for options such as rename and color change, accessing the channel options menu, and customizing each pattern by right-clicking on the pattern selector.
Innovation is at the core of FL Studio’s visual customization, allowing users to tailor their workspace to suit their preferences and workflow. Whether it’s changing the background, toolbar, or channel rack, FL Studio provides a user-friendly platform for creative expression through color customization.
Changing Name Colors in FL Studio
As you explore FL Studio’s color customization options, you can seamlessly transition from customizing the background and toolbar to changing the name colors in the Channel Rack and mixer.
To change the name colors in the Channel Rack, simply right-click on the name and select ‘Rename color’. You can also access the Channel Options menu to customize name colors. In addition, the ‘Color Selected’ option in the Channel Rack allows you to apply random or gradient colors to names for a more dynamic visual experience.
Similarly, in the mixer, you can change name colors by right-clicking on the name and selecting ‘Rename color’. There are 8 preset options available to change name colors in the mixer display, providing you with a range of choices to suit your preferences.
When customizing name colors, keep in mind that the right corner of the channel rack is where you can find the necessary options for making these adjustments.
This level of flexibility and control over name colors adds a creative dimension to your FL Studio projects.
Customizing Menu Toolbar Colors

Customize the menu toolbar in FL Studio by accessing the toolbar options from the VIEW menu. Click on TOOLBARS to display the side menu and choose presets or select EDIT for customization. You can remove or add items to the toolbar and arrange items and create gaps using spacers for customizing the menu toolbar. To customize the appearance of the channel rack, right-click on a sample for options like rename and color change, and access the channel options menu in the channel rack. For the mixer display, choose from 8 preset options and select the extra large option for a larger view when customizing the mixer.
| Customization Options | Description |
|---|---|
| Remove/Add Items | Tailor the toolbar to your needs by including only the most frequently used functions. |
| Arrange Items | Organize the toolbar for easy access and a clutter-free workspace. |
| Create Gaps | Use spacers to create a visually appealing and well-organized toolbar layout. |
| Channel Rack Options | Modify the appearance and functionality of the channel rack for smoother workflow. |
| Mixer Display Options | Choose from various display sizes to suit your preferences and working style. |
Customizing the menu toolbar provides flexibility and efficiency for music producers working with midi files. These options allow for a personalized workspace, enhancing creativity and productivity in FL Studio.
Adapting Channel Rack Colors
Adapt the colors of your channel rack in FL Studio by accessing the channel options menu and selecting ‘COLOR SELECTED’ for random or gradient color choices. This feature allows us to bring a vibrant and personalized touch to our workspace, enhancing visual organization and creativity.
By customizing each pattern and sample with distinct colors, you can create an intuitive and visually appealing layout that streamlines your music production process. Simply right-click on the pattern selector to rename and change the color of patterns, and do the same for samples to maintain a cohesive color scheme.
Additionally, accessing the file settings from the OPTIONS menu enables us to change the registered session name, providing clarity and organization to our projects.
Furthermore, by choosing presets or selecting EDIT for customization in the toolbar options, you can tailor the menu toolbar to suit your specific workflow and aesthetic preferences.
Embracing these color adaptation capabilities in the channel rack empowers you to craft a visually stimulating and efficient workspace that aligns with your creative vision.
Personalizing Mixer and Playlist Colors
To personalize the colors of your Mixer and Playlist in FL Studio, open the respective windows and right-click on a track or channel to access the color options.
In the Mixer, you can easily choose a specific color for each track by simply right-clicking on it and selecting your preferred color. If you’re feeling adventurous, you can also use the random color option to let FL Studio surprise you with unique color combinations. This can be a fun way to add visual flair and help you quickly identify different tracks in your project.
When it comes to customizing the Playlist, simply right-click on the track header and select a color that resonates with you. For more precise color selection, utilize the color picker tool to choose the perfect hue for your Playlist tracks.
This level of personalization not only enhances the visual appeal of your workspace but also helps improve workflow efficiency by making it easier to locate and differentiate between various tracks and channels. With these customization options, you can truly make FL Studio your own.
Frequently Asked Questions
How Do You Change the Theme in FL Studio?
To change the theme in FL Studio, go to the Options menu, select View, and then Theme. Choose from the available themes or customize your own by adjusting color schemes and interface elements. Experiment and make it your own!
How Do I Change What FL Studio Looks Like?
To change what FL Studio looks like, customize the appearance by accessing the background settings, right-clicking on samples for color options, and arranging the menu toolbar. Enhance your creativity with color customization options.
How Do I Color Code in FL Studio?
To color code in FL Studio, open the channel rack and right-click on a sample for rename and color change options. Access the channel options menu, scroll down to COLOR SELECTED for random or gradient color choices, and customize patterns by right-clicking on the pattern selector.
How Do I Change the Color of My Piano Roll in FL Studio 21?
To customize your piano roll in FL Studio 21, access the piano roll settings from the VIEW menu. Click on the COLOR SELECTOR and create your own custom color or choose from preset options. Adjust brightness and saturation for a personalized look.
Conclusion
So there you have it! Changing the colors in FL Studio is a great way to personalize your workspace and make it your own.
From customizing the background, to changing name colors, menu toolbar, channel rack, mixer, and playlist, you have the power to make FL Studio visually appealing and functional for your needs.
Get creative and have fun with it!


