To crop audio in Audacity and remove unwanted sections, first import the audio file and select the Selection Tool (I-beam icon). Drag to highlight the segment to keep. Navigate to Edit > Remove Special > Trim, or use Cmd/Ctrl + T, to delete unselected portions. Use Zoom In for precise boundary marking and the Delete key for direct removal. Save the changes and export the edited file. Additional details can clarify splitting, fine-tuning, and export settings.
Key Takeaways
- Use the Selection Tool to highlight the unwanted audio section on the waveform.
- Press the Delete key to remove the highlighted segment and automatically close the gap.
- For cropping to a specific part, highlight the desired section and use Edit > Remove Special > Trim.
- Zoom in for precise selection boundaries using Cmd + 1 (Mac) or Ctrl + 1 (Windows).
- Always listen to the selected segment before deleting to ensure accuracy.
Preparing Audacity for Efficient Audio Editing
To begin efficient audio editing in Audacity, users should first download and install Audacity from the official website, verifying compatibility with their operating system—Windows, MacOS, or Linux.
After installation, launching Audacity provides access to its multi-track interface. Before proceeding, it is recommended to create a backup of the original audio file, saving it in a separate directory to mitigate accidental data loss during subsequent editing.
Familiarization with Audacity’s main interface is essential; users should identify important components such as the toolbar, selection tools, and available menu options. Understanding the function and location of selection tools—particularly the Selection Tool and Envelope Tool—enables precise waveform manipulation during audio editing.
To ensure optimal sound fidelity, users should set the project sample rate to 44.1kHz and configure the sample format to 16-bit, balancing quality with file size.
At this stage, preparation focuses on environment setup, ensuring readiness for efficient workflow prior to any import your audio actions.
Importing Your Audio Files Into Audacity
Importing audio into Audacity begins with selecting a compatible file format, such as WAV, MP3, or AIFF, via the Import function or by using drag-and-drop directly into the workspace. Users should verify format compatibility to avoid import errors, which may require troubleshooting steps like installing additional libraries. Once the file is successfully imported, it displays as a waveform in the timeline, ready for editing operations. To ensure seamless audio extraction from video formats like MP4, users must configure FFmpeg within Audacity for optimal performance.
Supported Audio File Formats
Audacity accommodates a wide array of audio file formats—including WAV, MP3, and AIFF—enabling seamless integration of diverse audio sources for editing purposes.
To import an audio file, users navigate to the File menu, select Import, and choose Audio. This workflow allows for straightforward inclusion of WAV files and other supported formats, minimizing the need for prior conversion.
Upon import, the audio file appears as a waveform in the timeline, confirming successful recognition by Audacity’s engine and readiness for editing operations.
The program’s compatibility with numerous formats enhances flexibility, supporting professional workflows involving varied audio sources. This robust format support guarantees that users can efficiently import and edit projects without compatibility concerns, streamlining the initial stages of the audio editing process.
Drag-and-Drop Functionality
Simplifying the import process, users can initiate audio editing by dragging compatible files—such as WAV, MP3, or AIFF—directly into the Audacity workspace.
This drag-and-drop functionality enables rapid import audio operations, bypassing the need to navigate through additional dialog boxes. Upon release, the selected file appears in the timeline as a waveform, immediately available for users to edit audio or identify unwanted audio sections.
The streamlined approach not only accelerates workflow but also minimizes the technical barrier for new users. For those preferring traditional methods, the File menu offers an alternative route: users may select Import > Audio and choose their desired file.
However, drag-and-drop remains the most efficient method for incorporating audio sources into Audacity for further manipulation.
Troubleshooting Import Errors
Occasionally, users may encounter errors when attempting to bring audio files into Audacity’s workspace. Import issues typically stem from unsupported file formats, file corruption, missing codecs, or insufficient disk space. To efficiently remove such obstacles, verify the audio file uses a format supported by Audacity (WAV, MP3, AIFF). If the import fails, inspect the file for corruption or incomplete downloads. For MP3 or uncommon formats, confirm all required codecs are installed. Additionally, verify available disk space, as limited storage can halt the import process. Restarting Audacity or the computer can resolve temporary glitches affecting audio file import.
| Error Source | Solution |
|---|---|
| Unsupported format | Convert file to WAV, MP3, or AIFF |
| File corruption | Obtain a new copy of the audio file |
| Missing codecs | Install necessary codecs for import |
| Low disk space | Remove files to free up storage |
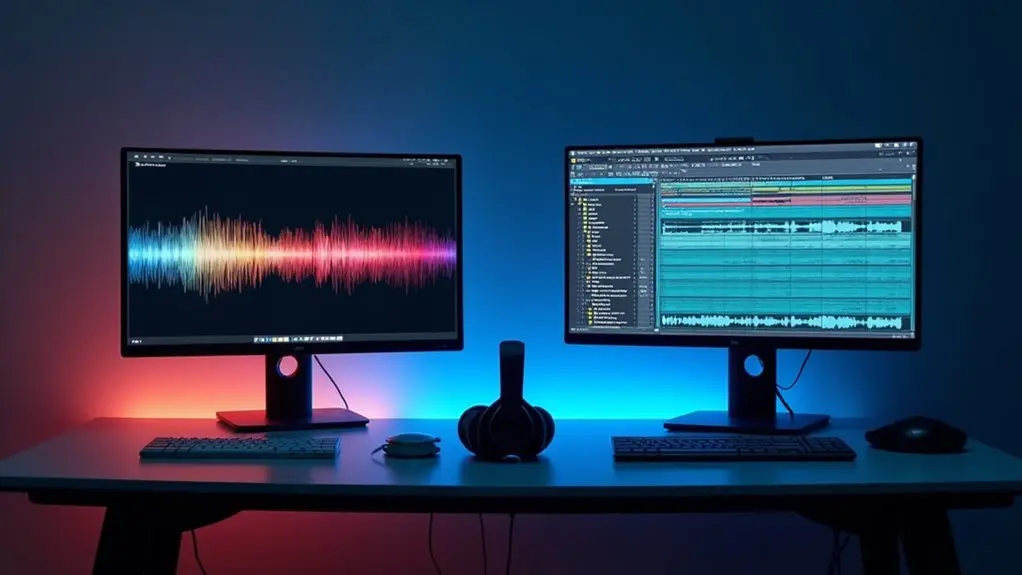
A thorough understanding of the Audacity interface is essential for efficient audio editing. The interface presents imported audio as waveforms on a timeline, supporting visual precision during editing tasks.
The primary instrument for isolating audio segments is the Selection tool, denoted by an I-beam icon. Users initiate a selection by clicking and dragging over the waveform, clearly marking the area to trim audio or perform further edits.
To enhance accuracy, the Zoom In (Cmd + 1) and Zoom Out (Cmd + 2) functions allow close inspection of specific waveform sections. For streamlined workflows, keyboard shortcuts such as Cmd + K (Cut) and Cmd + I (Split) are employed.
These features collectively empower users to execute precise edits before removing or trimming unwanted audio. Additionally, batch importing of multiple files is supported for larger projects, enabling users to manage and edit extensive audio content efficiently.
Identifying and Selecting Unwanted Audio Segments
To begin isolating unwanted portions of audio, users should play back the track and record the exact timestamps where problematic sections occur. The Selection Tool enables precise marking of these time ranges by clicking and dragging over the waveform, with zoom controls available for finer adjustments. Accurate selection is critical, as it guarantees subsequent edits affect only the intended audio segments. Utilizing the Time Shift Tool allows for the repositioning of audio clips along the timeline, ensuring a seamless audio flow post-editing.
Locating Problematic Audio Sections
Precisely identifying and selecting unwanted audio segments in Audacity begins with a systematic review of the entire audio track, noting the exact timestamps where issues such as silence, errors, or irrelevant content occur. Users must carefully listen to the playback, using the timeline display to accurately locate segments needing removal. Employing the Selection Tool (I-beam icon), one can highlight the portion of the waveform corresponding to the problematic audio. Zooming in with Cmd + 1 (Mac) or Ctrl + 1 (Windows) enhances accuracy, allowing finer control over selection boundaries. To guarantee only the intended audio is targeted, it is recommended to preview selected segments via the SpaceBar before proceeding with further editing actions. The table below summarizes key steps:
| Step | Purpose |
|---|---|
| Review audio | Detect unwanted content |
| Note timestamps | Record exact locations |
| Use Selection Tool | Highlight the portion to be removed |
| Zoom in | Increase selection accuracy |
| Preview selection | Confirm correct segment is highlighted |
Using the Selection Tool
Once problematic audio sections have been identified and their timestamps noted, the Selection Tool serves as the primary means for isolating these segments in Audacity.
Represented by the I-beam icon, the Selection Tool allows users to click and drag across the audio waveform to highlight specific areas for editing. For greater accuracy, one can zoom in on the waveform using Cmd + 1 (Mac) or Ctrl + 1 (Windows), refining the start and end points of the selection.
The precise duration and position of the highlighted segment are displayed in the Selection Toolbar, assisting in verification. To adjust or expand the selection, holding the Shift key while clicking is effective.
Once the desired segment is highlighted, pressing the Delete key will remove the unwanted audio from the track.
Marking Time Ranges Precisely
While locating unwanted audio segments is a critical step in editing, accurately marking their time ranges requires careful manipulation within Audacity. The Selection Tool (I-beam icon) is essential for this process. Users click and drag over the waveform to highlight the exact portion of unwanted audio.
For greater precision, start and end times can be directly entered in the selection toolbar, ensuring the selection aligns perfectly with the intended segment. Zooming in on the waveform (Cmd + 1) allows for finer granularity, making it easier to identify and trim your audio without cutting into desired sections.
Before deletion, it is advisable to listen to the highlighted area. After removal, the Time Shift Tool (double-headed arrow icon) helps realign clips, maintaining seamless audio continuity.
Splitting and Deleting Specific Portions of Audio
Eliminating unwanted audio segments in Audacity begins by activating the Selection Tool, recognizable by its I-beam icon, to highlight the exact portion targeted for removal—such as a span between 20 and 30 seconds or other specific time intervals.
Once the segment is selected, the user may Cut Audio in Audacity by pressing the Delete key, which instantly removes the chosen section and automatically moves audio that follows to close the gap, ensuring seamless continuity.
For precise editing, the waveform can be zoomed in using Cmd + 1, allowing more accurate selection boundaries. To Trim multiple regions, this selection and deletion process can be repeated for each unwanted interval.
After all necessary Remove Special operations are completed, saving the edited project via File > Export is essential for preserving changes.
To enhance the editing process, renaming newly created tracks can improve organizational efficiency, allowing you to manage your audio project more effectively.
Cropping Audio Clips to a Selected Region
To crop an audio clip to a specific region in Audacity, the user begins by activating the Selection Tool, identifiable by its I-beam icon, and dragging across the desired section of the waveform intended for retention. This highlighted region marks the audio to be kept during cropping. Once the selection is made, maneuvering to the Edit menu and choosing “Remove Special” > “Trim,” or pressing Cmd + T (Mac) or Ctrl + T (Windows), removes all unselected content, resulting in a trimmed audio segment. For precise cropping audio tasks, zooming in on the waveform (Cmd/Ctrl + 1) enhances accuracy. After editing, it is essential to save or use the Export Audio function to preserve changes. The following table summarizes the key steps:
| Step | Action |
|---|---|
| Highlight Region | Use Selection Tool |
| Crop to Selection | Edit > Remove Special > Trim |
| Export Result | File > Export Audio |
Fine-Tuning and Previewing Your Edits
Refining audio edits in Audacity demands meticulous attention to waveform details and systematic use of available tools. For fine-tuning, users can employ the Zoom tool (Cmd + 1) to closely inspect the waveform, ensuring accurate selection of unwanted segments for removal. Regularly previewing edits by pressing the SpaceBar allows detection of any unintended gaps or abrupt shifts in the audio. If a mistake occurs, the Undo function (Cmd + Z) instantly reverts changes, promoting a non-destructive workflow. When applying effects, the “Preview” option within the Effects menu provides immediate feedback on how edits impact the overall audio. Saving incremental versions of the project is recommended, enabling easy comparison between different edit stages and facilitating efficient revision without data loss. Utilize Audacity’s built-in tools like click removal to enhance audio clarity and ensure seamless edits.
Exporting the Cropped Audio File
Once the audio edits have been finalized and previewed for accuracy, attention turns to exporting the cropped audio file. In Audacity, exporting begins by accessing the File menu and selecting “Export.” Choose the appropriate format for the audio file, such as WAV or MP3, according to project requirements. If specific audio segments are to be retained, verify they remain highlighted before proceeding. For advanced configuration, use “Export Audio” to adjust attributes like bitrate and quality. Specify a destination folder for easy retrieval of the exported audio files. Finally, it is crucial to save the project separately with “Save Project,” safeguarding future editing flexibility.
| Step | Action | Purpose |
|---|---|---|
| Select Export | File > Export | Choose output format for audio files |
| Configure Export | Export Audio | Set bitrate and quality preferences |
| Save Project | Save Project | Preserve edit history for later use |
Essential Tips for Seamless Audio Cropping in Audacity
Achieving seamless audio cropping in Audacity requires careful use of the software’s selection and editing tools.
To begin, use Audacity’s Selection Tool (I-beam icon) to accurately highlight segments of audio recordings targeted for removal. For precision, zoom in on the waveform using Cmd + 1 (Mac) or Ctrl + 1 (Windows), ensuring the exact boundaries of unwanted audio are identified.
When cutting audio, apply the “Split Delete” function (Edit > Remove Special or Cmd + Option + K / Ctrl + Shift + K) to remove highlighted sections without shifting the remainder of the track, thereby preserving timing.
For effective audio cropping, ensure uniform sample rate of 44100Hz or 48000Hz across all audio clips to optimize audio quality.
Save progress frequently with File > Save Project to prevent data loss. Always audition the edited section to confirm seamless changes and maintain the integrity of the audio recording.
Frequently Asked Questions
How Do I Remove a Section of Audio in Audacity?
To remove a section in Audacity, users employ audio editing and sound manipulation techniques: select the portion with the Selection Tool, then delete or use Split Delete. Effective software tips include zooming for accuracy and saving progress after editing.
How to Cut Out Sections in Audacity?
To address cutting out sections in Audacity, one utilizes audio editing tools for precision cutting. By selecting segments, managing tracks, and deleting unwanted areas, users maintain sound clarity and optimize track management for professional-quality results.
How Do I Remove Some Part of Audio?
To remove a portion of audio, one utilizes audio editing techniques by employing clip selection through the Selection Tool, utilizing waveform visualization for precision, and executing sound trimming commands such as Delete or Split Delete to eliminate designated segments efficiently.
How Do You Permanently Delete a Segment of a Sound File in Audacity?
To permanently delete a segment of a sound file in Audacity, one utilizes audio editing by selecting the desired section, then applies sound manipulation through the Delete or Cut functions, ensuring track management and audio precision within the editing workflow.
Conclusion
By following systematic steps in Audacity—from importing audio and using selection tools to precisely identifying, splitting, and deleting unwanted sections—users can efficiently crop audio files. Mastery of the interface and attention to detail during selection and editing secures clean, targeted results. Previewing edits before exporting assures accuracy. With these techniques and best practices, audio cropping in Audacity becomes a streamlined process, yielding professional and polished results suitable for a wide range of audio projects.