No products in the cart.
To stop clipping in Ableton, you’ve got to master three key steps. First, set your track faders between –6 and -12dB to maintain a robust gain structure and avoid signal chain overload. Next, keep an eye on peak dB levels; use the dB level visualization to monitor in real time and adjust volumes as needed. Finally, apply a master limiter on your master channel; setting a ceiling to make sure peaks do not exceed the digital maximum, without excessively squashing your mix. These steps will preserve your audio’s clarity and integrity, offering deeper insights into more nuanced mix techniques as you progress.
Contents
hide
Key Takeaways
- Set track faders between -6 and -12dB to maintain optimal gain structure.
- Regularly monitor peak dB levels to avoid surpassing digital maximums.
- Apply a master limiter with a well-set threshold to prevent clipping.
- Adjust limiter release time for a more natural sound, avoiding distortion.
- Continuously refine volume and gain settings during mixing to ensure clean output.
Setting Proper Gain Levels
To prevent clipping in Ableton, start by setting your track faders between -6 and -12dB, ensuring that peak levels don’t exceed digital maximums. This initial step is important in establishing a solid gain structure, which is foundational for maintaining audio integrity throughout your mixing process. By keeping the faders within this range, you’re less likely to encounter distortion caused by overloading the signal chain.
Next, focus on the signal flow to further refine your gain staging. Each element in your mix should be carefully adjusted to contribute appropriately to the overall sound, without overpowering it. This involves not only the track faders but also the levels of any effects and processing you apply. Strategic application of EQs, compressors, and limiters can help manage the dynamics and tonal balance, preventing any single track from spiking too high in the mix.
Gain staging isn’t just about preventing clipping; it’s also about troubleshooting potential issues before they compromise your mix. By methodically setting and reviewing each stage of the signal flow, you can ensure that each component functions effectively, providing a clean, balanced output that’s free from unwanted noise and distortion.
Monitoring Peak Db Levels

Monitoring peak dB levels in Ableton allows you to pinpoint when audio signals approach the maximum digital threshold, helping you maintain clarity and prevent distortion in your mix. Keeping an eye on these levels is essential for a clean output, as overshooting this limit can degrade your audio’s quality.
Here’s how you can effectively monitor and manage these levels:
- Utilize dB level visualization: Ableton provides real-time visual feedback on the dB levels of each track. Watching these meters will help you identify which tracks are pushing the limits.
- Understand peak level detection: Knowing when your tracks peak above 0dB is crucial. This peak level detection alerts you to potential clipping before it becomes an issue.
- Adjust volumes accordingly: Once you detect peaks that are too high, immediately lower the track volumes. This preemptive action helps in maintaining the integrity of your audio.
- Regular monitoring: Make it a habit to check the dB levels throughout your mixing process. This consistent vigilance prevents last-minute rushes to fix clipping errors, ensuring a smoother, distortion-free production.
Applying a Master Limiter
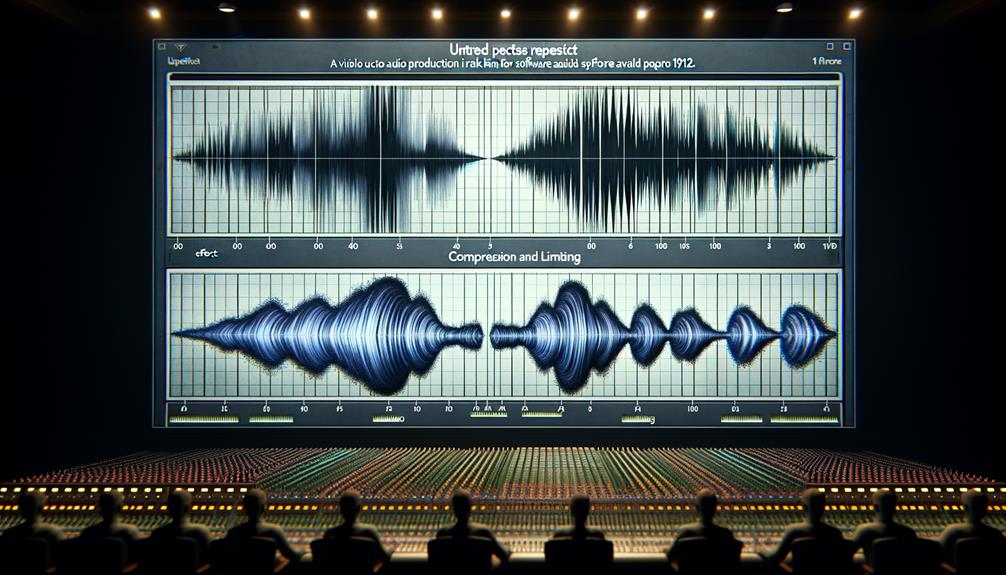
Applying a master limiter in your Ableton project sets a definitive ceiling for the output level, effectively preventing any possibility of clipping and maintaining the integrity of your mix. You’ll need to focus on limiter threshold optimization to catch peaks without squashing your audio too much. This balance is important as it allows you to maintain dynamic expression while safeguarding against distortion.
Adjusting the limiter’s threshold requires careful listening and experimentation. Set it just high enough to manage peaks but low enough to avoid constant gain reduction, which can flatten your mix. Similarly, release time fine tuning is crucial for a natural sound. The release control determines how quickly your limiter stops affecting the signal after reducing a peak. Too quick a release can cause pumping, while too slow may smear transients, diminishing the impact of your beats or riffs.
Here’s a quick reference table to guide you:
| Setting | Purpose |
| Limiter Threshold | Optimizes peak control without over-compression |
| Release Time | Balances quick reaction with natural decay |
| Gain Reduction | Monitors to avoid dynamic loss |
| Experimentation | Finds ideal settings for your specific mix |
Monitor these settings closely to ensure your track retains its intended feel and energy.
Frequently Asked Questions
How Do I Stop a Clip in Ableton?
To stop a clip in Ableton, you’ll need to focus on clip launching and scene management. Simply press the stop button in the clip slot or stop all clips in the master track.
How Do I Get Rid of Clipping in Ableton?
To eliminate clipping in Ableton, you’ll need to focus on gain staging and audio limiting. Adjust track levels to avoid peaks above 0dB and apply limiters judiciously to manage sudden volume spikes.
How Do I Stop Clipping?
To stop clipping, focus on accurate gain staging and diligent meter monitoring. You’ll guarantee audio levels stay within ideal ranges, preventing distortion and maintaining sound quality throughout your production process.
How Do I Keep Track From Clipping?
To prevent your track from clipping, focus on gain staging and volume automation. Adjust each track’s volume carefully and automate to maintain balance, ensuring you don’t exceed ideal peak levels.
Conclusion
In wrapping up, you’ve seen how important it’s to manage your gain settings, monitor peak dB levels, and apply a master limiter in Ableton to prevent clipping. By keeping your gains at ideal levels and vigilantly watching those peaks, you safeguard the integrity of your sound.
The master limiter acts as your final line of defense, ensuring your track maintains quality without distortion. Implement these steps consistently for a cleaner, professional audio output in all your projects.


