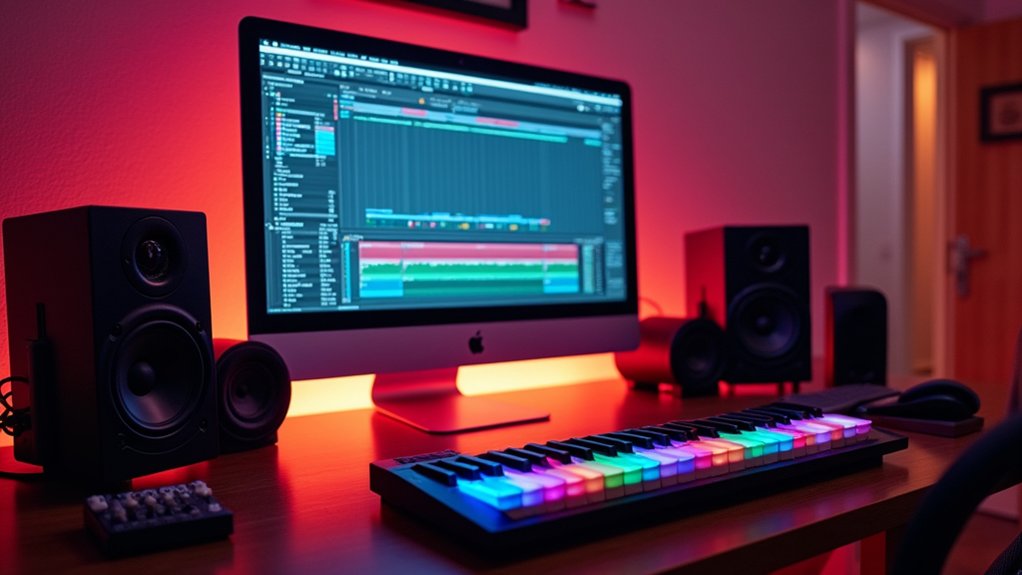
Sidechaining in FL Studio involves routing a trigger (such as a kick drum) to influence another channel (like bass) through a compressor, commonly Fruity Limiter, applied on the affected track. Users assign each sound to its own mixer channel, route the kick to the bass, and set threshold, ratio, attack, and release for clear, dynamic ducking. Sidechain can also be shaped with Gross Beat for rhythmic pumping effects and further mixing creativity. More advanced and creative applications await exploration.
Key Takeaways
- Assign your kick and bass (or other target tracks) to separate mixer channels in FL Studio.
- Route the kick channel to the bass channel by right-clicking the send knob on the bass mixer track.
- Load Fruity Limiter on the bass channel, set to compressor mode, and select the kick as the sidechain input.
- Adjust threshold, ratio, attack, and release settings to control the amount and feel of sidechain compression.
- Use automation or plugins like Gross Beat for creative pumping effects and dynamic control in your mix.
Understanding Sidechain Compression in FL Studio
Sidechain compression in FL Studio streamlines the mix by attenuating the volume of one audio signal—most commonly the bass—whenever another signal, such as a kick drum, is triggered. This process relies on defining a sidechain input, which instructs the compressor to react whenever the designated trigger, typically a kick, surpasses a set threshold. Utilizing the Fruity Limiter plugin, users adjust the threshold, ratio, attack, and release parameters to control how sharply and for how long the bass is reduced. This workflow can really help create space for transient-heavy elements. For a simplified approach, Gross Beat offers sidechain-style presets and intuitive volume dials, making it accessible for beginners. Sidechaining is not limited to kick and bass; any instrument’s dynamics can benefit within FL Studio’s flexible environment. Understanding sidechaining basics can improve sound separation and prevent frequency clashes in a mix.
Setting Up Mixer Routing for Sidechaining
Setting up mixer routing for sidechaining in FL Studio begins by assigning the kick and bass to separate mixer channels using the channel rack and mixer window.
The user then creates a send routing path from the kick channel to the bass channel by activating the send arrow above the target channel.
This routing prepares the project for precise sidechain compression control using plugins like Fruity Limiter.
Assigning Channels for Sidechain
Before applying compression or automation to achieve sidechain effects in FL Studio, proper mixer routing must be established between the relevant audio channels.
To assign channels for sidechain, select the kick drum channel, then right-click the send knob on the bass channel and choose “Route to this track only.” This guarantees the kick’s signal is sent exclusively to the bass channel for sidechain processing.
Every time channels are routed, make certain both the kick and bass are selected in the mixer to avoid misrouting.
Load a compression plugin, such as Fruity Limiter, onto the bass channel as the last thing before adjusting sidechain parameters.
Adjust the send level from the kick to the bass to control the sidechain influence, and monitor mixer levels or Edison to visualize the process.
Creating Send Routing Paths
Once individual elements such as kick and bass are assigned to separate mixer tracks, precise routing is vital for effective sidechain processing in FL Studio. Begin by utilizing send routing techniques: right-click the kick mixer track and select “Route to this track” on the bass channel. This action sets up a clean signal path, essential for maintaining mixer track organization and enabling dynamic kick bass relationship management. Adjust the volume fader on the kick track to refine the amount of signal sent. Further, use the “Send” knob on the bass track to control sidechain intensity. Carefully monitor the resulting audio to optimize the interaction between elements. The following table outlines the core routing steps:
| Step | Action |
|---|---|
| 1. Assign Tracks | Kick & bass to separate mixer channels |
| 2. Kick Routing | Route kick to bass via right-click |
| 3. Adjust Kick Send | Use kick fader for send level |
| 4. Fine-Tune Bass | Control sidechain with bass send knob |
Using Fruity Limiter for Precise Sidechain Control
To achieve precise sidechain control in FL Studio, users begin by routing the kick drum to the bass channel and inserting Fruity Limiter on the bass track.
Compression parameters such as threshold, ratio, attack, and release are then adjusted to shape the sidechain response and optimize clarity in the mix.
Practical monitoring with waveform visualization tools like Edison can further refine the effect for transparent results.
Setting Up Routing
Effective sidechain routing in FL Studio begins by sending the kick drum signal to the bass channel using the mixer’s send feature, establishing a control path for dynamic processing.
This workflow is foundational to sidechain techniques, as it allows the kick to act as a trigger for gain reduction on the bass.
In the mixer, select the kick track, then right-click the send knob on the bass track and choose “Sidechain to this track.”
Load Fruity Limiter onto the bass channel after any other effects to maintain signal integrity.
This routing guarantees that the limiter receives both the bass signal and the kick’s control signal.
Such mixing strategies in FL Studio enable precise, responsive sidechain compression, essential for tight low-end separation and modern electronic music production clarity.
Adjusting Compression Parameters
Fine-tuning compression parameters within Fruity Limiter is essential for achieving a transparent and controlled sidechain effect on the bass track.
Begin by lowering the threshold to intensify the sidechain response, and increase the ratio for a more pronounced gain reduction—key steps in bass enhancement strategies.
Adjust the attack setting to determine how swiftly the compression clamps down after the kick, guaranteeing the sidechain effect is tight yet musical.
Fine-tune the release time to avoid distortion or pumping, especially in sub bass frequencies; a well-chosen release guarantees the bass recovers naturally for seamless groove integration.
Monitor the results by observing waveform changes in Edison and employ sidechain automation for dynamic control.
Creative sidechain techniques benefit from iterative listening, assuring the mix remains clear and balanced throughout the process.
Shaping Pump Effects With Gross Beat
Harnessing Gross Beat’s volume manipulation section streamlines the creation of pump effects in FL Studio, offering producers a fast workflow for sidechain emulation. By selecting a sidechain preset, users can immediately introduce pumping dynamics and rhythmic modulation without complex routing. The intuitive GUI allows direct manipulation of control points, making it easy to draw unique patterns or reset shapes for creative results. For genres relying on four-on-the-floor beats, Gross Beat excels at shaping pronounced pump effects that cut through the mix. Adjusting the volume dial blends the processed signal to taste, while the pattern grid offers precise timing control. This approach enables efficient experimentation and customization before committing to a specific groove. By utilizing automation clips, producers can further refine the timing and tension of these pump effects, ensuring seamless integration within their compositions.
| Gross Beat Grid | Volume Envelope | Pump Shape |
|---|---|---|
| 4/4 Rhythm | Deep Duck | Custom Pattern |
| 1/2 Syncopation | Gentle Slope | Preset Groove |
| Freeform Timing | Sharp Attack | Experimental |
Fine-Tuning Attack, Release, and Threshold Settings
A precise approach to sidechain compression in FL Studio involves careful adjustment of the attack, release, and threshold parameters on the chosen compressor.
The attack time dictates how swiftly the compressor reacts to the trigger, such as a kick drum. For a pronounced sidechain effect, a faster attack time is set to immediately duck the target sound.
The release time controls how quickly the gain reduction is lifted after the signal falls below the threshold. Longer release times can yield a smoother, swelling effect—ideal for letting bass elements rise back in.
The threshold level determines the point at which compression begins; lowering the threshold results in more aggressive ducking.
Regularly monitoring the mix guarantees these settings enhance clarity without causing unwanted pumping or masking.
Creative Applications of Sidechaining in Your Mix
Sidechain compression in FL Studio serves as a versatile technique for sculpting mixes, extending beyond the conventional kick-and-bass relationship.
Producers often apply sidechaining to pads and synths, enhancing pad dynamics by allowing these layers to breathe; volume is temporarily reduced in sync with the kick, preventing frequency masking.
On vocal tracks, sidechaining to rhythmic elements like hi-hats or snares can improve vocal clarity, ensuring intelligibility even in dense arrangements.
Adjusting attack and release parameters enables a range of rhythmic effects, from subtle dynamic shaping to pronounced pumping typically heard in electronic genres.
Additionally, sidechaining secondary percussion or FX elements—such as risers or sweeps—ensures these sounds complement rather than overpower the mix, maintaining groove and cohesion during shifts and climactic sections.
Frequently Asked Questions
How to Sidechain Properly?
To sidechain properly, one should utilize sidechain techniques such as routing signals through sidechain plugins like compressors or volume shapers. Adjust sidechain effects parameters—threshold, ratio, attack, and release—for ideal mix clarity, emphasizing rhythmic interplay between elements.
What Sounds Should You Sidechain?
Producers typically apply sidechain compression to kick drum and bass synths for frequency separation, ensuring clean low-end. Vocal tracks may also benefit, preventing clashes with other instruments. Pads and background elements can be sidechained for rhythmic movement or mix clarity.
What Is the Point of Sidechaining?
The point of sidechaining is to employ sidechain techniques in audio mixing, using compression effects to control dynamics. For example, sidechaining enables a kick drum to reduce bass volume, preventing frequency masking and achieving a cleaner mix.
What Is the Best Sidechain Ratio?
The ideal sidechain ratio depends on desired impact; sidechain techniques often use 4:1 for dance music, but sidechain plugins allow adjustment from 2:1 to 8:1. Workflow-focused experimentation with sidechain settings tailors compression to practical mix scenarios.
Conclusion
Mastering sidechain techniques in FL Studio equips producers with dynamic control over their mixes. Through utilizing tools like Fruity Limiter and Gross Beat, users can achieve precise ducking effects and rhythmic pump common in modern genres. Workflow efficiency hinges on ideal mixer routing, careful adjustment of attack, release, and threshold settings, and experimenting with creative applications. Ultimately, sidechaining empowers users to carve space in dense arrangements and enhance the overall impact of their productions.