To add a metronome in Audacity for precise timing, users access “Generate” > “Rhythm Track,” then configure tempo (BPM), beats per bar, swing amount, and total bar count to match the project’s structure. The rhythm track serves as an exact click reference during recording and editing phases. Additional workflow enhancements include label tracks for marking structural cues and section boundaries. Techniques for advanced alignment and export configurations are elaborated in subsequent sections.
Key Takeaways
- Use “Generate” > “Rhythm Track” in Audacity to create a customizable metronome for precise timing.
- Set the tempo (BPM), beats per bar, and number of bars to match your project’s rhythm structure.
- Adjust the swing amount for a straight or groovy metronome feel, depending on your musical style.
- Employ label tracks to mark sections and synchronize tempo changes or cues with the metronome.
- Monitor and record with headphones to prevent metronome bleed and ensure tight timing alignment.
Setting Up Your Project in Audacity
To begin configuring a project in Audacity, the user initiates the process by launching the application and establishing a new session, thereby setting the workspace parameters.
In the context of Audacity Development, precise project initialization is critical. The user imports or references a simple musical piece, such as “Match of the Diggers” by Adam Arnold, paying close attention to expression markings and bar demarcations.
Accurate documentation of the total number of bars, including repeated sections, guarantees that the rhythm track will align with the musical structure. Preparation at this stage involves setting the intended Tempo (beats per minute) and identifying beats per bar.
Additionally, utilizing the label track feature allows for strategic section marking, streamlining subsequent navigation, editing, and synchronization tasks throughout the recording workflow.
Accessing the Rhythm Track Generator
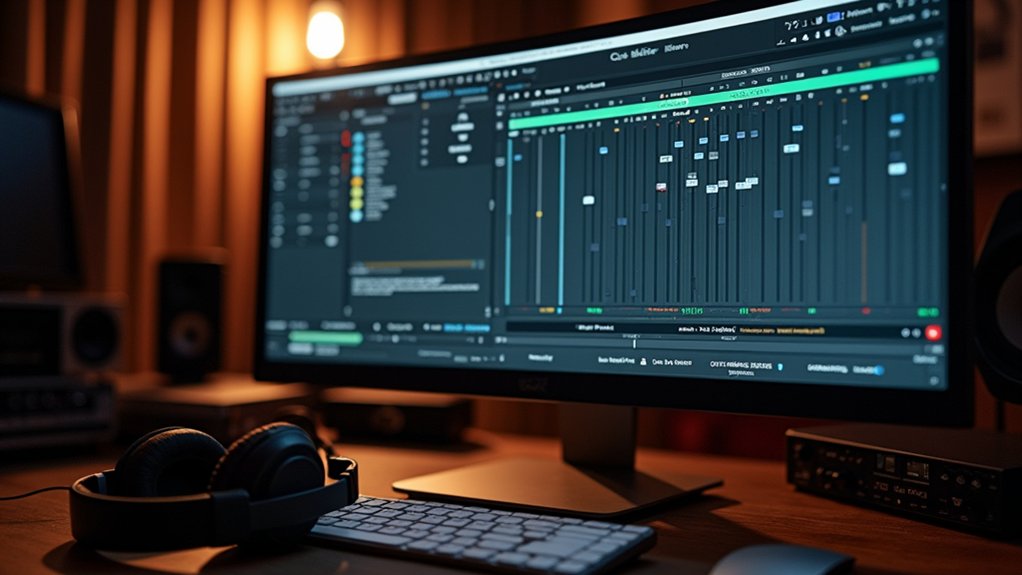
Once project initialization is complete, users proceed by invoking the Rhythm Track Generator through the “Generate” menu, selecting “Rhythm Track” to instantiate a dedicated metronome track. This operation is fundamental for users aiming to implement precise timing frameworks within their audio projects.
Maneuvering to the tools via the tracks menu guarantees access to advanced metronome configuration, where parameters such as beats per bar and total bar count are readily customizable. The workflow is optimized for rapid deployment of rhythm guides suitable for a wide range of musical genres.
Key interface elements encountered include:
- Menu navigation: “Generate” > “Rhythm Track” for tool access.
- Adjustable beats per bar, allowing for complex or standard time signatures.
- Specification of total bars, facilitating alignment with project length requirements.
Choosing the Right Tempo (BPM)
Selecting an ideal tempo requires aligning the BPM with the song’s inherent rhythmic structure, ensuring synchronization with the composition’s natural pulse.
Users may modify the BPM parameter in Audacity to accommodate practice tempos or to conform with industry-specific genre conventions.
Accurate BPM selection is essential for maintaining temporal coherence and facilitating effective practice or production workflows.
Matching Song’s Natural Pace
Tempo selection is a critical parameter in configuring a metronome track within Audacity, as it determines the rhythmic framework through beats per minute (bpm).
The Track Control Panel offers direct manipulation of bpm values, enabling synchronization with the song’s inherent tempo. Users can go back and reference existing sound files to analyze original tempo signatures, guaranteeing uniformity across the project.
Matching the song’s natural pace necessitates careful calibration of tempo, beats per bar, and track length, thereby aligning the metronome with the musical context.
- Analyze the song’s original sound files to extract tempo and bar structure.
- Adjust bpm in the Track Control Panel to match the extracted values for precise alignment.
- Configure the rhythm track’s length by specifying bar count to maintain structural integrity.
This process guarantees seamless temporal integration.
Adjusting for Practice Needs
When configuring a metronome track in Audacity for tailored practice sessions, users must systematically adjust the tempo (BPM) parameter to suit their technical objectives and proficiency level.
The default setting of 120 BPM can be modified to facilitate customizing practice routines—lower BPM values are ideal for refining technique and enhancing rhythmic accuracy at slower speeds, particularly advantageous for beginners.
Conversely, incrementing BPM supports advanced users in targeting speed and dexterity. Adjustments to the beats per bar—such as shifting between 4/4 and 3/4—allow adaptation to varying playing styles, enhancing rehearsal for different musical forms.
Additionally, the application of swing variation introduces complex rhythmic subdivisions, further adapting the metronome to genre-specific practice tasks and preserving engagement during repetitive technical drills.
Considering Genre Standards
Although the default tempo in Audacity is set at 120 BPM—a value aligned with the conventions of pop music and standard marches—optimizing metronome tracks for genre-specific practice necessitates precise calibration of BPM and time signature parameters.
Genre influences dictate the selection of tempo variations, ensuring stylistic authenticity and adherence to established performance standards. For effective style adaptations, users must analyze the rhythmic archetypes of the target genre and adjust project settings accordingly.
This process-oriented approach refines timing accuracy and supports genre-consistent rehearsal or production workflows.
- Waltz arrangements typically require a 3/4 time signature and 60-90 BPM to capture a flowing, traditional cadence.
- Punk rock genres demand higher BPM values, commonly 160-200 BPM, to achieve an energetic, driving pulse.
- Jazz or swing pieces benefit from 100-140 BPM with swing quantization for relaxed, syncopated rhythms.
Selecting Beats per Bar for Your Track
Frequently, the selection of beats per bar—commonly referred to as the time signature—serves as a foundational parameter in rhythm track generation within Audacity. The beats per bar setting directly dictates the rhythmic structure of the project, with four beats per bar (4/4) being prevalent in pop and march genres, and three beats per bar (3/4) invoking the distinctive waltz musical expression.
Users must configure this setting prior to rhythm track creation, as it determines the placement and emphasis of the first beat in each bar, reinforcing the overall metric framework. Additionally, the interaction between beats per bar and the total number of bars defines the complete duration of the rhythm track.
Accurate specification of beats per bar is essential for aligning with stylistic requirements and ensuring musical coherence.
Adjusting Swing Amount for Groove
After establishing the beats per bar to define the metric structure, configuring the swing amount parameter in Audacity further refines the rhythmic profile of the track.
The swing amount directly manipulates the temporal displacement between successive metronome ticks, enabling advanced swing feel techniques. A zero swing value yields strictly quantized pulses, while incrementally raising the swing parameter introduces rhythmic variation exploration through a shuffle effect.
Extreme swing values approach triplet subdivisions, essential for authentic jazz or swing idioms. Employing groove enhancement strategies, users leverage swing adjustments to impart either a relaxed or propulsive feel to the metronome.
- Zero swing amount: tight, mechanical pulse for rigid timing control
- Moderate swing amount: subtle groove infusion, suitable for funk or blues
- Maximum swing amount: triplet-based shuffle, ideal for jazz and swing genres
Customizing Number of Bars and Track Duration
To tailor the rhythm track to specific compositional requirements, users can adjust the total bar count and specify the precise track length within the “Rhythm Track” generator.
Modifying parameters such as total bars, tempo, and beats per bar directly determines the generated metronome’s duration and structural alignment.
Audacity guarantees accurate timing by automatically extending the final bar if the specified duration does not match an exact bar endpoint.
Adjusting Total Bar Count
While configuring a metronome track in Audacity, precise adjustment of the total bar count is accomplished by modifying the “Number of Bars” parameter within the “Rhythm Track” generator. This setting allows users to perform total bar adjustments that directly affect rhythmic consistency and overall composition structure.
The user navigates to the “Generate” menu, selects “Rhythm Track,” and inputs the desired values for tempo, beats per bar, and the total number of bars. The resulting rhythm track automatically accommodates repeated sections and guarantees seamless continuity throughout the specified bar count.
- Accurately inputting the total number of bars guarantees loop alignment with compositional sections.
- Adjusting bar count is critical for maintaining rhythmic consistency across varying arrangement lengths.
- The interplay of tempo, beats per bar, and bar count determines the structural framework of the rhythm track.
Specifying Track Length
Customizing the rhythm track’s length in Audacity involves direct manipulation of both the “Number of Bars” and overall track duration parameters within the “Rhythm Track” generator.
Users can specify the number of bars to match the composition’s structure, overriding the default value of 16 as needed. Calculating bar lengths is critical; the interplay between tempo settings (beats per minute), beats per bar, and the specified number of bars determines the precise duration of the rhythm track.
When customizing track duration, Audacity enables direct input of a target time, automatically adjusting the final bar to guarantee the rendered track meets or slightly exceeds the requested length. This process allows for granular alignment of metronome tracks with project requirements, optimizing rhythmic accuracy for recording or editing workflows.
Organizing an Audacity project efficiently relies on the implementation of label tracks that demarcate structural sections within the audio timeline.
Effective labeling techniques serve as key organization strategies, enabling users to segment and annotate regions such as intros, verses, and choruses.
Using the Selection Tool, specific time ranges are highlighted; then, deploying the “Add Label at Selection” function (Edit menu or Ctrl+B shortcut) inserts a text label at each marked point.
This process enhances audio navigation, streamlining the workflow when editing or synchronizing metronome cues across complex arrangements.
- Marking section boundaries with descriptive labels (“Intro,” “Chorus”) for structural clarity
- Utilizing the label track to synchronize tempo changes or cues with musical segments
- Facilitating rapid navigation and editing by referencing labeled audio sections
Proper section labeling optimizes project management.
Recording With the Metronome Track
When recording alongside the metronome track in Audacity, ideal microphone placement is critical to minimize bleed and capture clean source audio.
Users should employ real-time monitoring through headphones to guarantee accurate performance while attenuating click track interference.
Synchronization with the metronome’s transient markers is essential for maintaining precise temporal alignment throughout the session.
Microphone Placement Tips
Ideal microphone placement is critical when recording with a metronome track to guarantee both the guide click and the primary audio source are captured with clarity and balance.
Selection of microphone types, such as cardioid or supercardioid, enhances sound isolation by focusing on the intended sound source while attenuating ambient noise.
Process-oriented recording techniques dictate positioning the microphone 6–12 inches from the source, allowing for best capture of both the metronome and performance signal. Off-axis placement minimizes the harsh transient response of metronome clicks, achieving a natural timbre.
The following technical strategies are recommended:
- Deploy directional microphones to prioritize source fidelity and minimize bleed from the metronome.
- Utilize precise distance and angle adjustments for balanced metronome integration.
- Apply sound isolation methods to limit environmental and metronome spill.
Monitoring While Recording
Precision in microphone placement directly impacts the efficacy of monitoring during recording sessions with a metronome track.
Ideal monitoring techniques require isolating the metronome audio using closed-back headphone selection, thereby minimizing bleed into the live microphone and preserving signal integrity.
Within the recording environment, the rhythm track—configured with correct tempo, beats per bar, and bar count—is monitored at a calibrated volume to guarantee audible reference without masking the performer’s output.
Employing Audacity’s zoom functionality allows for meticulous alignment of recorded material relative to the metronome’s transient peaks, supporting rhythmic accuracy.
For extended performances, users may embed additional auditory cues at strategic intervals, facilitating temporal consistency.
These practices collectively underpin reliable monitoring, critical for precision tracking and subsequent post-production synchronization.
Synchronizing With Clicks
How does one achieve temporal alignment between live performance and digital reference? In Audacity, synchronizing with clicks hinges on integrating click synchronization techniques and robust audio alignment strategies.
Initiate the workflow by generating a rhythm track—navigate to “Generate,” select “Rhythm Track,” and configure tempo and beats per bar to suit the composition. During recording, employ critical metronome recording tips: use headphones to isolate the click and prevent bleed into the microphone.
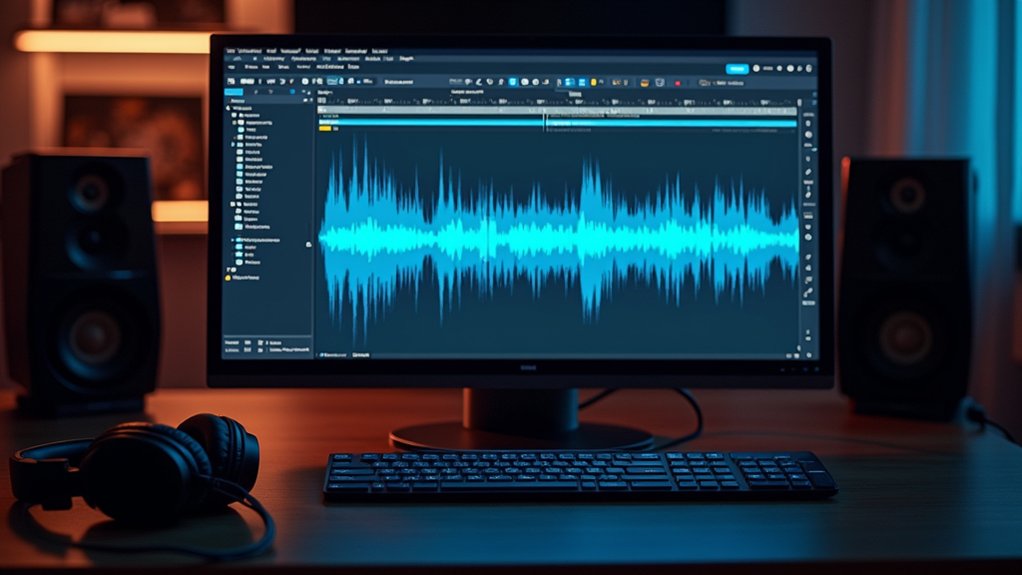
Post-recording, utilize the Time Shift Tool for micro-adjustments, ensuring precise alignment of waveforms with metronome beats. For granular synchronization, zoom deeply into the waveform to visually inspect and adjust transient placement.
- Generate customizable rhythm track for click reference
- Use headphones to isolate click during recording
- Apply Time Shift Tool and waveform zoom for precise alignment
Editing, Aligning, and Shifting Tracks
Achieve accurate synchronization in Audacity by employing the Time Shift Tool to reposition recorded audio, ensuring alignment with the generated metronome or rhythm track.
Precision in track alignment techniques is critical; users should utilize zoom capabilities to scrutinize waveform transients and match audio events to click points, optimizing timing adjustments.
For complex projects involving multiple time signatures, segment the session and deploy the Selection Tool to isolate and position discrete audio sections, maintaining temporal coherence.
Audio editing strategies may include importing external files and dragging them into phase with the rhythm track for seamless integration.
Organizational efficiency is enhanced by inserting labels via the Edit menu at key selection points, facilitating rapid identification and iterative refinement of individual segments during micro-adjustments or broader synchrony corrections.
Exporting Your Synchronized Audio Files
Once audio tracks have been meticulously aligned and synchronized to the metronome or rhythm reference, the export process in Audacity consolidates the project into a distributable format. Users should access the “File” menu and select “Export,” determining the ideal file type—MP3 for compression or WAV for maximum audio fidelity. Export settings tips include verifying bit rate and sample rate configurations to address audio quality considerations. Metadata organization is facilitated during export, allowing entry of tags such as title, artist, and genre, streamlining future retrieval and cataloging. Post-export, playback validation confirms synchronization integrity across all layers. Ensure the correct audio segment is highlighted for export to prevent unwanted sections from being included.
- Choose appropriate file formats (MP3 for sharing, WAV for fidelity)
- Configure bit rate/sample rate for ideal audio quality
- Input thorough metadata for efficient file organization
Frequently Asked Questions
How to Set a Metronome in Audacity?
Setting a metronome in Audacity involves accessing metronome settings via the “Generate” menu, selecting “Rhythm Track,” configuring tempo adjustments in BPM, specifying beats per bar, and determining bar count for ideal audio synchronization during project production.
How Do I Add a Click in Audacity?
To add a click in Audacity, users access metronome features via the “Generate” menu, customize click track settings—tempo, beats per bar, length—and employ audio synchronization tips such as the Time Shift Tool for precise alignment.
Does Audacity Have a Click Track?
The current question concerns Audacity’s provision for a click track. Audacity lacks a native click track but offers metronome alternatives via the Rhythm Track generator, benefiting recording techniques through customizable tempo grids and accented beat structuring for precise synchronization.
Can Audacity Change Bpm?
Audacity facilitates tempo adjustments by allowing users to modify BPM via the Rhythm Track generator, enabling granular beat synchronization. This process supports precise audio editing workflows, accommodating both static and dynamic tempo changes for intricate rhythmic control throughout a project.
Conclusion
In conclusion, integrating a metronome via Audacity’s Rhythm Track generator guarantees precise temporal alignment for multitrack projects. By calibrating BPM, beats per bar, and swing, users establish a robust timing grid, facilitating consistent overdubs and edits. Segment labeling enhances workflow navigation, while meticulous track alignment and export protocols ensure phase-coherent, professionally synchronized outputs. Employing these process-driven methodologies optimizes rhythmic integrity, supporting both iterative recording workflows and seamless downstream audio post-production within digital environments.