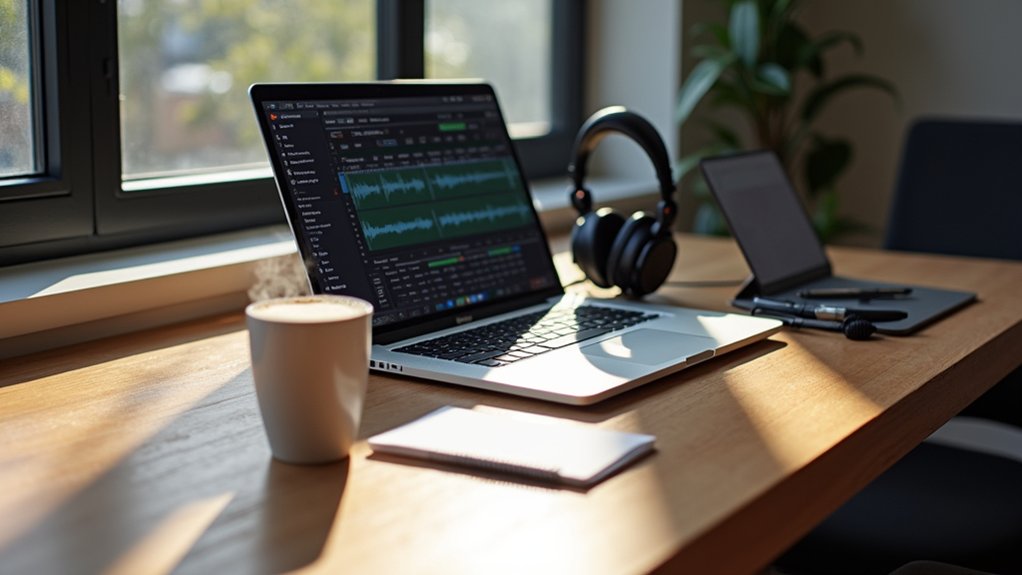
To record Discord audio with Audacity, users must first configure their audio input settings and secure consent from all participants. Windows users select Windows WASAPI and the correct playback device; Mac users require Soundflower and a Multi-Output Device in Audio MIDI Setup. Recording is initiated in Audacity while the Discord call is active, then exported in MP3 or WAV format. Legal compliance and ideal equipment are essential. Additional steps can refine editing, mixing, and exporting processes.
Key Takeaways
- Configure Audacity to use Windows WASAPI (Windows) or Soundflower with a Multi-Output Device (macOS) to capture Discord audio directly.
- Obtain explicit consent from all Discord participants before starting any recording to comply with legal requirements.
- Join the desired Discord voice channel, click Record in Audacity, and stop when finished to capture the session.
- Use Audacity’s editing tools for noise reduction, mixing, and export recordings in MP3 or WAV formats for best quality.
- Test your setup with a short recording first to ensure both Discord and microphone audio are properly captured.
Prerequisites and Legal Considerations Before Recording
Before initiating any audio recording on Discord using Audacity, several technical and legal prerequisites must be addressed. The user must possess a functional microphone, have Audacity pre-installed, and maintain a stable internet connection for uninterrupted Discord sessions.
Legally, recording audio conversations on Discord requires explicit consent from all participants involved. Privacy considerations are paramount; users must familiarize themselves with regional laws governing private chat recordings, as consent requirements may differ.
Discord’s Terms of Service stipulate that recording is permissible only if all members are informed and have agreed. To guarantee full compliance and respect for participants’ rights, it is essential to obtain documented or verbal consent before recording.
Failure to secure proper consent can result in violations of privacy, Terms of Service, or local legal standards.
Setting Up Audacity for Discord Audio Capture
To enable Discord audio capture in Audacity, users must configure the appropriate audio input devices and fine-tune recording preferences within the software settings.
This process involves selecting the correct host and input source based on the operating system, as well as setting ideal input levels to prevent clipping.
Proper configuration guarantees accurate and high-quality audio recording from Discord sessions.
Configuring Audio Input Devices
Successful Discord audio capture in Audacity depends on meticulous configuration of audio input devices within the software’s preferences. Users must access Audacity’s Recording tab to select the appropriate microphone, headset, or virtual device for maximum results.
On Windows, configuring audio input devices involves setting the Host to Windows WASAPI and choosing the playback device—typically headphones—to route Discord audio directly into Audacity.
Mac users must install Soundflower, designating Soundflower (2ch) as the input device for seamless desktop audio capture. Always double-check that the correct microphone or audio interface is chosen to prevent recording issues.
Conducting a test recording validates these settings and guarantees high-quality audio capture. Missteps in this phase may result in silence or distorted recordings, causing frustration.
- Choose the correct microphone
- Set Windows WASAPI as Host (Windows)
- Select playback device for Discord audio
- Install and configure Soundflower (Mac)
- Perform a test recording for verification
Adjusting Recording Preferences
When configuring Audacity for Discord audio capture, users must access the Preferences menu via Edit > Preferences and navigate to the Recording tab to designate the appropriate input device, such as a specific microphone, headset, or virtual audio source. On Windows, adjusting recording preferences involves setting the Host to Windows WASAPI and selecting the desired playback device with loopback for direct Discord audio capture. macOS users require SoundFlower, selecting SoundFlower (2ch) as the Input Device and Built-in Output as the playback device. Critical steps include calibrating recording levels in Audacity to prevent clipping, ensuring the best audio quality. Pre-session test recordings are recommended to confirm correct parameterization. The table below summarizes key configuration aspects:
| Platform | Input Device | Playback Device |
|---|---|---|
| Windows | WASAPI loopback | Headphones/Speakers |
| macOS | SoundFlower (2ch) | Built-in Output |
| Both | Microphone/Headset (Direct) | As selected |
Configuring System Audio and Loopback Devices
Configuring system audio and loopback devices is essential for capturing Discord audio directly within Audacity. This step guarantees the recording process captures all necessary output from Discord, rather than relying on external microphones.
To record audio on Discord using Audacity, users must adapt their configuration based on their operating system:
- Select Windows WASAPI as the Host in Audacity to enable direct system audio capture from the output device.
- Choose the output device labeled with (loopback) on Windows for seamless audio routing.
- On macOS, install Soundflower to route Discord audio as a recordable input for Audacity.
- Use Audio MIDI Setup on macOS to create a Multi-Output Device, combining Built-in Output and Soundflower.
- On Linux, utilize PulseAudio Volume Control and select a playback device’s monitor as the input source in Audacity.
These configurations optimize audio fidelity and reliability.
Recording Discord Audio on Windows
With system audio and loopback devices properly configured, recording Discord audio on Windows using Audacity follows a structured workflow. Begin by launching Audacity and verifying the Audio Host is set to Windows WASAPI for ideal Discord audio recording. Select the appropriate Playback Device and Recording Device to route system sound. Before recording audio, obtain consent from all Discord participants to comply with privacy regulations. Join the desired Discord channel, then initiate recording in Audacity. Throughout the session, monitor audio levels to prevent distortion and guarantee clarity. Upon completion, stop recording and promptly export the audio file, typically in MP3 format for portability.
| Step | Action | Notes |
|---|---|---|
| Configure Devices | Set WASAPI, select playback/recording | Guarantees accurate Discord audio capture |
| Obtain Consent | Notify all participants | Adheres to legal and ethical standards |
| Join Channel | Enter desired Discord voice channel | Prepares for real-time audio recording |
| Start Recording | Click Record in Audacity | Monitor audio levels closely |
| Stop & Export | Stop recording, export audio file | Use MP3 for easy sharing |
Recording Discord Audio on Mac
Successfully capturing Discord audio on macOS necessitates additional configuration steps due to the operating system’s limitations on direct internal audio routing. Users must first install SoundFlower on their Mac computer to facilitate audio capture from Discord.
In Audio MIDI Setup, creating a Multi-Output Device that includes both the Built-in Output and SoundFlower (2ch) is essential for routing audio correctly. Within Audacity, configure the Built-in Output as the Playback Device and SoundFlower (2ch) as the Recording Device.
Initiate the Discord voice chat and press Record in Audacity to commence recording Discord audio. When the session ends, export audio from Audacity in a preferred format, such as MP3.
- Frustration melts away with effective setup
- Relief from seamless audio capture
- Satisfaction in technical mastery
- Confidence in capturing every conversation
- Joy in easily exporting shareable audio
Managing and Editing Multiple Audio Tracks
Once Discord audio has been recorded, attention shifts to managing and editing multiple audio tracks within Audacity for ideal project organization and post-production control.
Audacity enables users to add, remove, and rearrange multiple audio tracks via the “Tracks” menu, streamlining complex editing workflows. Each track features a visual representation as a waveform, allowing precise audio manipulation and identification of specific sections.
For detailed editing, users can independently adjust volume, panning, and apply effects to individual tracks, ensuring a balanced and polished mix. Audacity accommodates both mono and stereo tracks, letting users select formats best suited to their recording needs.
The “Mix and Render” function consolidates multiple tracks into a single track, simplifying the editing process while maintaining overall sound integrity and clarity. To enhance audio quality and management, ensure all tracks have a uniform sample rate and bit depth.
Exporting and Saving Your Discord Recordings
After the editing process is complete, exporting and saving Discord recordings in Audacity requires careful selection of file format and export settings to preserve audio quality and usability.
Users should navigate to File > Export and select the desired file format, such as MP3 for compressed audio or WAV for lossless quality. Adjusting the bitrate is critical; for MP3, a setting of 192 kbps achieves a balance between fidelity and file size.
Metadata entry—such as track title and artist name—facilitates future organization and identification of recordings. Audacity’s project-saving feature (.aup) enables further non-destructive edits.
Always confirm the saving location to prevent loss or misplacement. For optimal results, consider using a high-pass filter to enhance audio clarity by removing low-frequency noise before exporting.
- Protect your creative work from accidental loss
- Experience satisfaction from well-organized recordings
- Avoid frustration by double-checking save locations
- Enjoy peace of mind with ideal file formats
- Feel empowered by mastering export settings
Tips for Achieving High-Quality Audio
Proper export and file management practices set the foundation for maintaining audio integrity, but achieving high-quality Discord recordings starts with the recording environment and equipment. Utilizing a high-quality microphone or headset as the primary recording device is essential to enhance audio clarity and richness. To minimize background noise, recordings should be conducted in a quiet space, with additional soundproofing methods applied if necessary. Monitoring recording levels in Audacity is critical; levels should peak around -6 dB to prevent clipping and unwanted distortion. Record a few seconds of silence before speaking to get the noise profile needed for effective noise reduction. Post-recording, Audacity’s noise reduction and equalization tools can further enhance audio quality by attenuating residual noise and balancing frequencies. To guarantee ideal playback across platforms, save audio files in widely supported formats such as MP3 for general use or WAV for maximum fidelity.
Alternatives to Audacity for Recording Discord Conversations
For users seeking alternatives to Audacity, Craig Bot offers a command-based solution for capturing Discord audio directly within chat channels.
OBS Studio provides a thorough recording environment, enabling simultaneous capture of Discord audio alongside video sources.
Both options support distinct workflows and integration capabilities depending on specific recording requirements.
Using Craig Bot
Among the various alternatives to Audacity for recording Discord conversations, Craig Bot offers a streamlined solution specifically designed for Discord servers.
Craig Bot is a dedicated recording bot that allows users to record Discord audio within any Discord voice channel using simple chat commands such as /join and /stop.
Once invited to a Discord server by an administrator or server owner, Craig Bot can capture Discord conversations and generate separate, high-quality recordings for each participant.
The process-focused setup Craig Bot employs guarantees audio files are accessible in multiple formats, supporting both PC and mobile users.
This bot’s technical capabilities and ease of integration make it a preferred option for efficient, reliable server-based recording.
- Effortless multi-user capture
- Individual participant audio files
- Simple chat command interface
- High-quality recordings guaranteed
- Cross-platform compatibility
Recording With OBS Studio
Utilizing OBS Studio as a Discord audio recording solution introduces a robust, open-source platform capable of capturing both audio and video streams with granular control.
To record audio from Discord conversations, users must configure an audio output capture source within the OBS Studio recording interface. This process guarantees that the software captures the precise audio stream emitted by Discord.
OBS Studio enables the integration of multiple audio input and output sources, allowing content creators to independently monitor and adjust audio levels for a professional recording environment.
Recordings can be initiated and terminated directly from the interface, and OBS Studio supports exporting recordings in various formats, such as MP4 or MKV.
Advanced features like scene shifts and audio filters further enhance the recording workflow and output quality.
Frequently Asked Questions
Is There a Way to Record Discord Audio?
Recording Discord audio is achievable through various recording methods utilizing specialized software alternatives. Key factors include configuring microphone settings, enabling stereo mix or sound card capture, ensuring user permissions, addressing legal considerations, optimizing audio quality, and applying troubleshooting tips.
Can You Use Audacity as a Voice Changer for Discord?
Audacity features enable voice modulation tips through audio effects like pitch and speed adjustments, enhancing sound design and recording quality. However, for live streaming or real-time Discord settings, virtual audio routing or plugin integration is required for voice enhancement techniques.
Is There a Discord Bot That Records Audio?
Recording bots for Discord audio, such as Craig Bot, offer features like customizable recording settings, multi-format audio quality, and moderation tools. Proper bot permissions are required to access voice channels, while user privacy is managed through transparent recording notifications.
Can You Record Directly Into Audacity?
Direct recording into Audacity is supported by configuring audio settings, selecting the appropriate recording software input, and optimizing microphone placement for enhanced sound quality and voice clarity. Users can apply editing techniques, add sound effects, and choose preferred export and audio formats.
Conclusion
Capturing Discord audio with Audacity requires both proper configuration of input sources and compliance with legal guidelines. By establishing virtual loopback devices and configuring Audacity’s preferences, users can reliably record high-quality audio streams from Discord. Managing tracks and exporting files guarantees recordings are organized and accessible for further use. While Audacity is a robust solution, exploring alternative recording tools may yield additional flexibility or features tailored to specific workflows or hardware environments.