OTT in Ableton is a multiband dynamics processor applying simultaneous upward and downward compression to low, mid, and high frequencies. Users insert the Multiband Dynamics device, setting input/output gain, attack, release, and crossover frequencies for targeted signal control. The Depth knob enables parallel compression for precise blend. Fine-tuning these controls articulates punch, presence, and clarity in mixes while maintaining dynamic integrity. Further optimization tips and advanced application strategies are available in the following sections.
Key Takeaways
- Insert Ableton’s Multiband Dynamics device and use the OTT preset to apply powerful multiband upward and downward compression.
- Adjust Depth and Output Gain to balance the compressed signal with the original track, avoiding distortion or loss of dynamics.
- Fine-tune attack, release, and crossover settings for targeted enhancement of individual frequency bands and better transient control.
- Use subtle OTT settings on drum, synth, or vocal tracks to add punch, clarity, and presence without sounding overly processed.
- Blend OTT with parallel processing by mixing the wet and dry signals for a fuller, more impactful mix.
What Is OTT and How Does It Work?
Although commonly associated with modern electronic music production, OTT—short for Over The Top compression—operates as a multiband dynamics processor that applies both upward and downward compression across three discrete frequency bands: low, mid, and high.
With regard to signal flow, the incoming audio is split into these bands, each subjected to independent dynamics processing. OTT compression enhances quieter signals via upward compression and tames peaks with downward compression, ensuring a balanced dynamic response.
Key controls include input and output gain, as well as attack and release, which dictate the compressor’s responsiveness to transients and sustained material. The interface features adjustable blue and red markers to set the intensity of compression per band.
Caution is advised, as factory OTT settings tend to be aggressive.
Setting Up OTT in Ableton Live
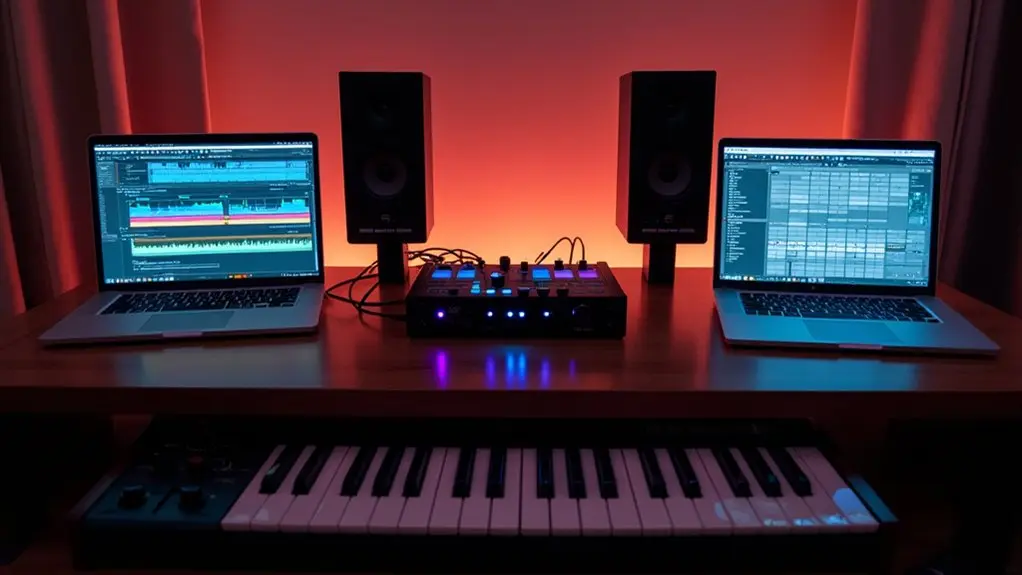
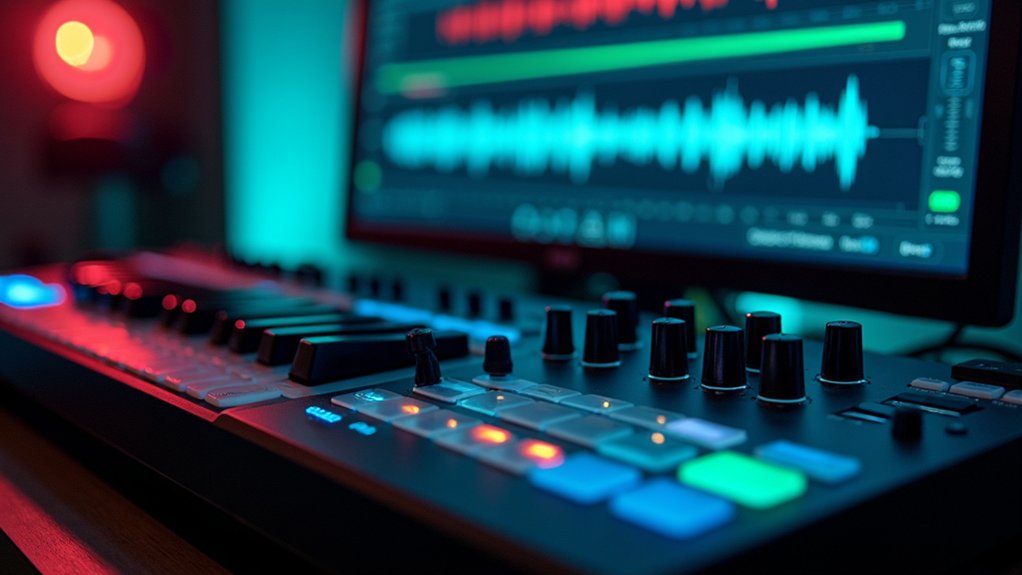
To initiate OTT processing in Ableton Live, the user inserts the “Multiband Dynamics” device from the Audio Effects folder directly onto the target audio track. This device functions as the core OTT Compressor, splitting the signal into three bands for precise frequency manipulation. The user should first calibrate the input gain, guaranteeing the audio entering the compressor does not induce unwanted distortion. After engaging OTT’s characteristic upward and downward compression via the blue and red boxes, attention must shift to the output gain; this compensates for level changes induced by the aggressive processing. Proper setup guarantees headroom and mix clarity. Experience pristine detail by balancing input gain for transparent OTT compression. Safeguard mix integrity—adjust output gain to eliminate unwanted clipping. Release creative potential with streamlined OTT Compressor setup. Using FabFilter Pro-Q 3 alongside OTT can greatly enhance mix clarity by allowing precise frequency adjustments.
Key Parameters and Controls Explained
Clarity in signal processing emerges from a thorough understanding of OTT’s key parameters and controls, which govern the dynamics and tonal shaping applied to audio.
The input and output controls manage the signal’s amplitude before and after processing, with the output gain acting as the final level adjustment post-compression. The amount knob, labeled as Depth, determines the wet/dry blend, allowing precise parallel compression from subtle enhancement to pronounced effect.
Attack and release times are set via the Time control, dictating the compressor’s responsiveness to transients and its recovery after signal reduction.
Frequency-specific dynamics are achieved using blue (upwards) and red (downwards) boxes for expansion and compression across low, mid, and high bands. Adjustable crossover frequencies enable meticulous shaping, ensuring targeted dynamic manipulation throughout the spectrum.
Creative Ways to Apply OTT in Your Mixes
When integrating OTT into a mix, its effectiveness is determined by targeted application across individual elements and frequency bands. Employing OTT compression with precision can enhance dynamics and reveal hidden textures.
Subtle use on drum loops enhances punch and presence, preserving musicality through careful multiband compression. Synth leads benefit from mid-frequency emphasis, achieving a shimmering quality by manipulating the blue and red boxes to control upward and downward compression.
Applying OTT after reverb on piano tracks maintains clarity, adding dimension without sacrificing natural tone. For advanced signal flow, duplicating OTT instances and altering parameters creates layered dynamics and contrast.
- Experience the excitement of drums punching through the mix—impactful yet transparent.
- Revel in synths shimmering with newfound life and energy.
- Feel the depth and clarity of pianos, enveloping the listener with emotion.
Top Tips for Achieving Professional Results With OTT
Building on creative applications, optimizing OTT’s parameters demands technical focus for refined, professional-grade mixes.
Begin with subtle Amount settings to preserve the source’s character while incrementally shaping the OTT sound. Monitor Output Gain meticulously post-processing, ensuring the dynamic range remains intact and preventing unwanted clipping within the signal flow.
Leverage multiband processing by adjusting crossover frequencies, allowing precise compression targeting across low, mid, and high bands for spectral balance. Manipulate attack and release controls to tailor transient response—sharper settings enhance percussive punch, while slower values smooth synth textures.
Employ parallel compression techniques, blending the OTT-processed signal with the dry track to enhance presence and punch without sacrificing natural dynamics.
These practices deliver control, clarity, and professional results with OTT in Ableton.
Frequently Asked Questions
How to Use OTT Correctly?
To use OTT correctly, one should balance OTT settings—amount, attack, release, frequency bands—for ideal signal flow. Precision in output gain and crossover adjustment is essential. Users may also explore OTT alternatives for varied OTT effects and sonic character.
Why Does Ott Make Everything Sound Better?
The process enhances perceived clarity by manipulating dynamic range across frequency bands. Sound design benefits from precise signal flow control, while advanced mixing techniques allow subtle or aggressive shaping, resulting in improved presence, balance, and definition within complex audio material.
Is OTT Good for Mastering?
The use of OTT in mastering is generally discouraged, as its aggressive compression can compromise dynamic integrity. For ideal mastering techniques, engineers prefer compression alternatives offering finer control, surpassing the specific OTT benefits within a precise signal flow context.
When to Use OTT Compression?
The current question concerns ideal scenarios for applying OTT compression within mixing techniques and sound design. Producers typically deploy OTT to control dynamic range, emphasizing transient detail and frequency balance, while ensuring precise integration in the signal flow.
Conclusion
OTT’s multiband upward/downward compression offers precise dynamic control and tonal shaping within Ableton Live’s signal flow. By understanding OTT’s threshold, ratio, attack, release, and depth parameters, producers can enhance clarity and perceived loudness across individual tracks or the master bus. Targeted application—whether on drums, synths, or vocals—yields professional, polished results. Mastery of OTT’s controls enables users to sculpt mixes with transparency or creative coloration, solidifying OTT as an essential tool in modern audio production.