To record vocals in Ableton, connect a condenser microphone and audio interface, set up a pop filter, and configure input and output settings in Ableton’s audio preferences. Create an audio track, select the correct input, and enable monitoring. Adjust the interface gain for peaks around -6 dB to -12 dB, set a low buffer size, and use take lanes for efficient vocal comping. Techniques for seamless comping, error correction, and workflow optimization come next in the process.
Key Takeaways
- Connect your audio interface and microphone, then set the interface as the primary input/output device in Ableton’s audio preferences.
- Create a new audio track, select the correct input channel, and name the track for easy identification.
- Adjust the input gain on your audio interface to ensure vocal peaks between -6 dB and -12 dB.
- Enable track monitoring and use headphones to hear yourself without latency or bleed into the microphone.
- Record multiple vocal takes using take lanes, then comp and crossfade the best segments for a polished final track.
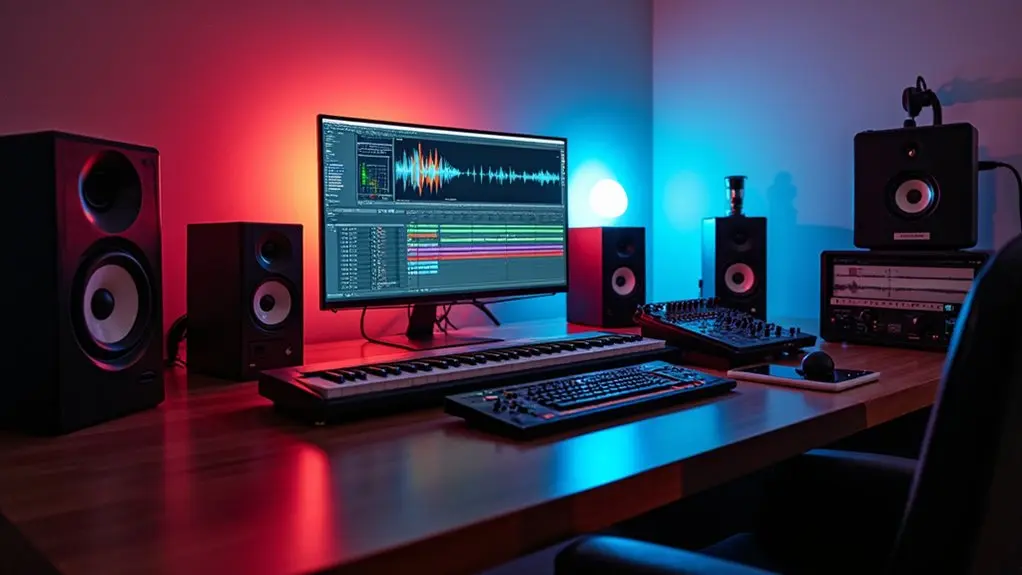
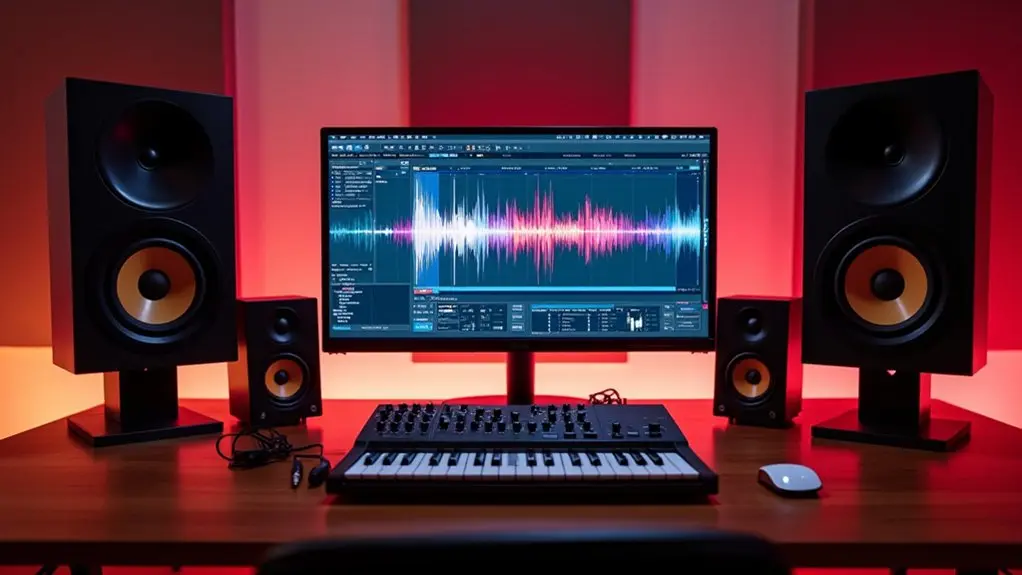
Essential Equipment for Recording Vocals
A professional vocal recording setup in Ableton requires specific hardware components to guarantee clarity, fidelity, and workflow efficiency.
A high-quality condenser microphone, such as the Audio Technica AT2020, is essential for capturing nuanced vocal details. A pop filter should be positioned in front of the microphone to eliminate plosive sounds during performance.
The audio interface, for example the MOTU M2, serves as the bridge between the microphone and the computer, converting analog signals to digital for seamless integration with the digital audio workstation.
Closed-back headphones, like those from Beyerdynamic, allow the vocalist to monitor vocals accurately while preventing bleed into the microphone.
Attention to room acoustics is critical; proper treatment minimizes reflections and ambient noise, ensuring that only clean, direct vocal signals are recorded.
For guitar recordings, it’s important to arm the track in Ableton to ensure it is ready to capture audio input correctly.
Preparing Ableton Live for Vocal Recording
Begin by connecting the audio interface to the computer and ensuring proper system recognition before launching Ableton Live.
Once the hardware is set up, use an XLR cable to connect the microphone to the interface, verifying that the designated input channel registers a clear signal—often confirmed by a green indicator light.
Open Ableton Live, then access the audio preferences panel to set up your audio interface as the primary input and output device, ensuring all audio inputs are correctly routed for recording.
Accurate configuration here prevents signal routing issues later in the workflow. These steps are critical for ideal monitoring and reliable capture of vocal performances.
Ensure your audio interface has low latency performance for real-time responsiveness during recording and playback.
At this stage, do not yet create or configure an audio track; this will be addressed in the following section.
Creating and Configuring Audio Tracks
To begin vocal recording in Ableton Live, users should create a new audio track and assign it a descriptive name for streamlined project management.
The next step is to select the correct input source by configuring the “Audio From” section to match the desired channel on the audio interface.
For users integrating virtual instruments, it’s beneficial to learn MIDI control mapping to enhance performance and customization in their projects.
Proper organization and accurate input routing are essential for efficient workflow and error-free recording.
Naming and Organizing Tracks
Proper track management streamlines vocal recording workflows in Ableton Live. Upon inserting an audio track designated for vocals, immediate naming is critical—label the track as “Vocals” or a specific identifier relevant to the recording session. This naming convention facilitates swift navigation and reduces confusion when managing multiple audio recordings within a project.
Organizing tracks extends to the project structure; establishing a dedicated folder for each session and saving the project with a descriptive name guarantees all associated audio files and session data remain systematically contained. This workflow prevents misplaced recordings and supports efficient retrieval.
Additionally, maintaining a logical naming and organizing scheme across all audio tracks aids in distinguishing between vocal takes, harmonies, or layered sections, optimizing the overall production process within Ableton Live.
Selecting Input Sources
A critical step in configuring a vocal recording workflow in Ableton Live involves creating a dedicated audio track and selecting the correct input source.
Users should begin by right-clicking in the track area to create an audio track, then select Rename to label it appropriately—such as “Vocals”—for streamlined session management.
In the track settings, the “Audio From” dropdown allows users to specify the appropriate input channel from their audio interfaces, ensuring the desired microphone signal is routed correctly.
The input gain on the audio interface must be adjusted, targeting recording peaks between -6 dB and -12 dB to prevent clipping.
The monitor switch should be set to “Auto” for real-time feedback, and the arm button must be activated to enable the track for recording.
Monitoring and Adjusting Vocal Levels
While recording vocals in Ableton Live, effective monitoring and precise adjustment of vocal levels are critical for achieving professional-quality results. Begin by enabling direct monitoring on the audio interface, allowing the vocalist to hear themselves in real time without latency. Set the track’s monitor switch in Ableton Live to “Auto” to balance between monitoring processed signals and reducing potential latency. Adjust input gain on the audio interface so vocal peaks consistently reach between -6 dB and -12 dB, ensuring clean capture and avoiding clipping. Prior to recording, test vocal levels to confirm they are neither excessive nor insufficient. To minimize latency, configure the buffer size to a low setting—typically around 128 samples—but monitor for system crackling, adjusting the buffer size as needed to maintain stability. Remember to regularly assess overall sound quality and clarity to ensure a polished and balanced mix throughout the recording process.
Recording and Comping Vocal Takes
For efficient vocal tracking in Ableton Live, users should prepare for multiple takes by enabling loop recording and setting precise loop points for each section. The “Show Take Lanes” function provides a streamlined method to organize and access alternate performances within a single track. After recording, comping is achieved by auditioning each take and selecting the best segments, ensuring seamless shifts with crossfades where necessary. Incorporating dynamic range management is crucial to maintaining consistency and clarity in the final vocal mix.
Preparing for Multiple Takes
Before initiating the vocal recording process in Ableton Live, establishing an efficient workflow for capturing and managing multiple takes is crucial to streamline comping.
To record multiple takes, set up a dedicated vocal track configured for external audio input. Confirm gain on your audio interface is properly set to optimize signal-to-noise ratio while avoiding distortion.
During recording vocals, employ loop recording over a defined clip region to target specific phrases, enabling the performer to deliver several renditions with consistent timing.
Minimize noise and reduce background interference by isolating the recording environment and maintaining fixed microphone placement.
Organize separate audio tracks if different vocal parts or harmonies are needed.
This meticulous preparation yields takes with uniform sound quality, facilitating seamless comping and selection of the best vocal segments in post-production.
Using Take Lanes
Once the vocal recording environment is prepared, utilizing Ableton Live’s “Show Take Lanes” feature enables efficient management of multiple vocal takes within the Arrangement View.
By engaging loop recording, users can capture successive vocal takes over a defined region, each automatically populating a separate take lane. This approach facilitates focused performance without interruption, eliminating the need for repetitive manual editing.
After recording, each vocal take remains accessible in its respective take lane for precise auditioning and selection. To assemble a cohesive final vocal track, segments from preferred takes can be dragged directly into the main audio lane.
Applying crossfades between these segments is essential to eliminate audible artifacts at edit points, ensuring smooth exchanges. Recording with varied dynamics or microphone positions supports enhanced stereo width in the mix.
Comping Best Performances
After capturing multiple vocal takes using Ableton Live’s Take Lanes and loop recording features, the comping process focuses on assembling the strongest performance from the available material. Utilizing the Show Take Lanes option, the user can visually compare each recorded audio segment, selecting the best phrases line by line. Crossfades are applied between edits to eliminate artifacts and guarantee seamless shifts. Loop recording empowers precise capture, ideal for punching in difficult sections. For vocal doubling, unique takes should be recorded rather than duplicating, maximizing stereo width and masking minor imperfections. Finally, maintaining an organized track layout streamlines subsequent editing and mixing. The following table outlines key comping steps:
| Step | Ableton Feature | Purpose |
|---|---|---|
| Capture takes | Loop recording | Multiple line-by-line tries |
| Access takes | Show Take Lanes | Visual comparison |
| Select best parts | Comping | Strongest performance |
| Smooth shifts | Crossfades | Seamless audio edits |
| Track organization | Track layout | Efficient workflow |
Common Mistakes to Avoid When Recording Vocals
While recording vocals in Ableton, several technical missteps can undermine audio quality and complicate post-production. One prevalent error is failing to properly configure the channel’s External Input, resulting in an inadequate audio signal or silence in the recorded audio.
Before users start recording, it is crucial to adjust the input gain, aiming for peaks between -6 dB and -12 dB to avoid distortion and preserve dynamic range. Neglecting to perform a levels test may allow unnoticed microphone connection issues, compromising signal integrity.
Additionally, background noise from unchecked ambient sources or sound leakage from headphones can contaminate the recording. Improper distance from the microphone either weakens the signal or causes proximity-induced distortion. Ensuring CPU resource management is optimized can help minimize latency and prevent issues during recording.
Addressing these workflow details guarantees cleaner, more professional vocal takes.
Frequently Asked Questions
How Do You Record Your Vocals in Ableton?
Recording vocals in Ableton requires ideal microphone placement, vocal warm ups, and effective vocal techniques. Attention to soundproofing tips and recording environment enhances clarity. Post-recording, audio effects and precise vocal mixing refine the take for professional-grade results.
How Do You Record Vocals Step by Step?
The current question addresses step-by-step vocal recording, emphasizing vocal warm ups, proper microphone techniques, optimizing the recording environment, managing performance anxiety, capturing takes, applying audio editing, utilizing effects processing, and implementing precise mixing tips for professional results.
Is Ableton Good for Vocals?
Ableton benefits vocal production with advanced recording techniques, flexible vocal effects, and streamlined mixing vocals. Its robust editing tips, intuitive workflow, and compatibility with diverse microphone selection support precise vocal takes and efficient editing for professional-quality results.
How to Hear Vocals While Recording Ableton?
To hear vocals while recording in Ableton, one implements vocal monitoring techniques, adjusts audio interface settings for minimal latency, selects closed-back headphones, optimizes the recording environment, applies vocal effects processing, and balances levels when mixing vocal tracks.
Conclusion
Mastering vocal recording in Ableton Live requires attention to equipment selection, meticulous session setup, and precise audio track configuration. By optimizing input levels, utilizing monitoring tools, and employing comping techniques, users can efficiently capture and refine vocal performances. Avoiding common pitfalls—such as improper gain staging or monitoring latency—ensures professional results. Following a systematic workflow streamlines the process, enabling consistent, high-quality vocal recordings suitable for production, mixing, and further creative processing within Ableton Live.