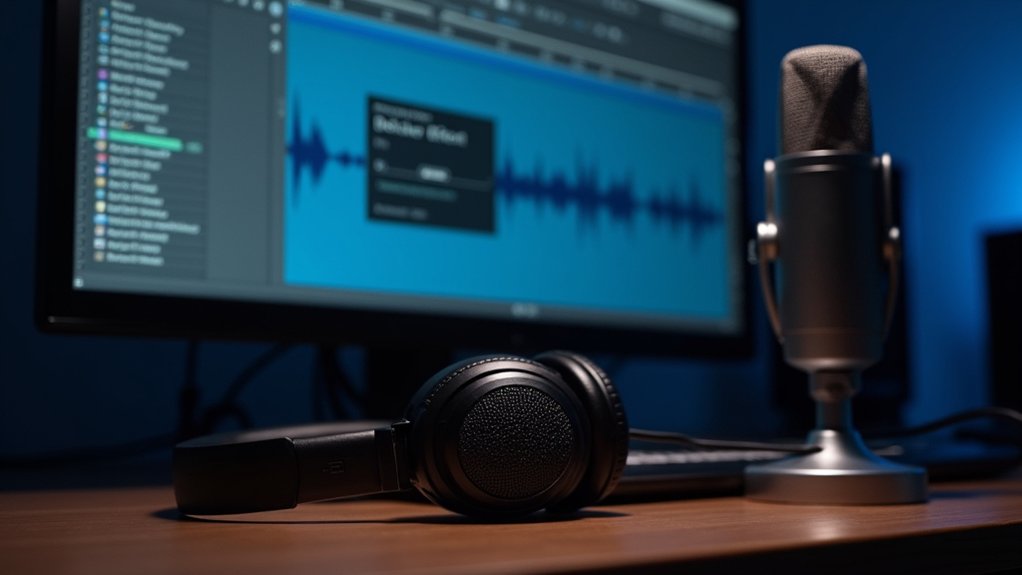
Audacity’s Dark Mode can be enabled for comfortable night-time audio editing by exploring Edit > Preferences > Interface, then selecting the “Dark” theme from the dropdown menu. This reduces screen glare and eye strain. Custom dark themes are also possible via ImageCache.png in the Theme folder, though compatibility should be checked for each Audacity version. Users can further enhance accessibility with high contrast settings and community resources. Additional strategies and troubleshooting steps await further exploration.
Key Takeaways
- Access Audacity’s Preferences via Edit > Preferences, then select “Interface” to choose the Dark theme for reduced eye strain at night.
- The Dark theme minimizes screen glare, improving comfort and usability during nighttime audio editing sessions.
- Save your theme changes by clicking “Apply” or “OK” after selecting the Dark option in the Interface settings.
- For advanced customization, download and install community-made dark themes by replacing the ImageCache.png file in Audacity’s theme folder.
- Ensure your chosen theme version matches your Audacity build to avoid incomplete UI changes or compatibility issues.
Accessing Theme Options in Audacity
Accessing theme options in Audacity involves maneuvering to the Preferences menu and selecting the Interface page, where users can configure the appearance of the application.
Within this section, users encounter a range of theme looks, including Light, Dark, High Contrast, and Classic, which can be chosen to optimize visibility and comfort. The High Contrast theme enhances accessibility for users requiring distinct visual separation, while the Dark theme reduces eye strain in low-light environments.
Additionally, Audacity supports the use of a Custom theme, allowing further personalization by installing an ImageCache.png file in the designated theme folder specific to the operating system. After placing the custom file, users must restart Audacity and select the Custom theme for changes to take effect, offering enhanced flexibility.
To begin customizing the appearance of Audacity, users should open the Preferences menu by selecting “Edit” and then “Preferences.”
Within the Preferences window, the “Interface” section contains the relevant settings for theme selection.
This area allows users to choose and apply the Dark theme or any other available interface options.
Accessing Preferences Menu
When configuring Audacity’s appearance, users must first open the Preferences menu by selecting “Edit” from the top menu bar and choosing “Preferences” from the dropdown list. This process is consistent across major operating systems, ensuring users have centralized access for modifying application settings. The Preferences menu is the primary gateway to the Interface options, where theme adjustments, including Dark Mode, are performed. Audacity Development recommends utilizing this menu for any appearance customization before proceeding to more advanced configurations. For additional guidance, the support site provides step-by-step documentation. The following table visualizes the navigation process:
| Step | Menu Option | Resulting Action |
|---|---|---|
| 1 | Edit | Opens dropdown menu |
| 2 | Preferences | Launches Preferences |
| 3 | Interface | Accesses appearance tab |
| 4 | Theme | Displays theme choices |
| 5 | Apply/OK | Saves appearance change |
Locating Interface Settings
While maneuvering through Audacity’s Preferences menu, users will encounter the “Interface” section, which serves as the central hub for appearance customization.
This area is specifically designed to streamline the process of adjusting user interface preferences, providing direct access to theme customization options. By selecting “Interface,” users can efficiently locate the settings that control the software’s visual accessibility features, ensuring maximum comfort during extended editing sessions.
The interface is structured to display all available themes, including standard presets and any installed custom themes, within a readily accessible dropdown menu. This clear organization allows users to explore and compare visual configurations without steering away from the preferences window.
The “Interface” section ultimately consolidates all essential controls for enhancing Audacity’s appearance and usability in one location.
Theme Selection Steps
After identifying the Interface section within Audacity’s Preferences menu, users proceed to the theme selection process to modify the application’s appearance.
Within this section, user interface preferences are clearly organized, allowing for efficient customization. Users can select the default “Dark” theme to immediately gain dark mode benefits, such as reduced eye strain and comfortable nighttime use.
For those seeking enhanced personalization, custom theme options are accessible—provided the custom dark theme files are properly installed in the system-specific folder.
Selecting either the built-in dark mode or a custom theme requires a simple confirmation by clicking “OK.” These steps guarantee that theme changes are applied instantly, giving users control over their visual environment and maximizing comfort during extended audio editing sessions in Audacity.
Selecting the Built-In Dark Theme
Many users seeking to minimize eye strain or enhance visual comfort will benefit from Audacity’s built-in Dark theme, which can be activated through the Preferences menu.
This feature is particularly advantageous for those working late hours, as it supports nighttime productivity tips by reducing screen glare.
To select the Dark theme, users should access the Interface section within Preferences and choose the Dark option from the UI customization options.
The Dark theme benefits include a modern, subdued aesthetic and improved usability in dim environments.
However, certain interface elements—such as scroll bars and drop-down menus—may still appear in a lighter color scheme on some operating systems.
To summarize the process:
- Open Preferences in Audacity.
- Navigate to the Interface page.
- Select the Dark theme.
- Apply and confirm changes.
Installing a Custom Dark Theme
Installing a custom dark theme in Audacity involves downloading the appropriate ImageCache.png file and placing it in the specified system folder for your operating system.
Once the file is correctly positioned, users must restart Audacity and select the custom theme via Preferences > Interface.
This process enables further personalization beyond the built-in options while maintaining compatibility with Audacity’s theming framework.
Downloading Custom Theme Files
While Audacity offers a limited set of built-in appearance options, users seeking a more tailored dark mode experience may opt to install a custom theme by downloading an ImageCache.png file.
Obtaining a dark theme begins with identifying reputable custom theme sources. It is critical to review downloading guidelines from these sources to guarantee that the theme files are safe and well-maintained.
Users should also verify theme compatibility issues, as not all ImageCache.png files support every Audacity version.
For effective custom theme acquisition, consider the following steps:
- Research trusted custom theme sources for Audacity.
- Check the theme’s compatibility with your Audacity version.
- Read and follow the provided downloading guidelines.
- Download the ImageCache.png file to a known location before installation.
Following these measures minimizes risks and guarantees a smooth customization process.
Placing ImageCache.png Correctly
The ImageCache.png file serves as the cornerstone for customizing Audacity’s appearance with a dark theme. Proper ImageCache management requires placing this file in the correct directory, which varies by operating system: on Windows, use C:UsersusernameAppDataRoamingAudacityThemecustom; on macOS, navigate to ~/Library/Application Support/audacity/Theme/custom/; on Linux, use ~/.local/share/audacity/Theme/custom/.
Customization tips include creating the Theme and custom folders manually if they do not exist, ensuring a seamless installation process. After placing ImageCache.png, a restart of Audacity is necessary for the application to detect the new theme.
For ideal Theme compatibility, users should always verify that their ImageCache.png matches their Audacity version, as mismatches can result in display issues or incomplete theme application.
Activating Theme in Preferences
After placing the ImageCache.png file in the correct directory, users can activate their custom dark theme by accessing Audacity’s Preferences menu.
Within Preferences, guiding to the Interface page provides an option to select the desired theme. For a custom dark theme, users should choose “Custom” and then click OK to apply the changes. This process enhances theme benefits by improving visual ergonomics and tailoring the interface to individual aesthetic preferences, thereby optimizing the overall user experience.
To guarantee a seamless shift, it is essential to restart Audacity after installing the custom theme.
For clarity, the activation steps are as follows:
- Open Audacity and go to Preferences.
- Select the Interface page.
- Choose “Custom” from the theme dropdown.
- Press OK and restart Audacity to apply changes.
Locating and Using the ImageCache.png File
A crucial step in enabling custom themes such as dark mode in Audacity involves correctly locating and utilizing the ImageCache.png file. This file is necessary for theme customization, as it dictates the graphical appearance of the interface.
On Windows systems, users should place ImageCache.png in C:UsersusernameAppDataRoamingAudacityThemecustom, while on macOS, the correct path is ~/Library/Application Support/audacity/Theme/custom/. If the “custom” folder does not exist, it should be manually created.
For ideal theme compatibility, verify that the chosen ImageCache.png matches the Audacity version in use, as updates can alter interface elements. After placement, Audacity must be restarted, and the Custom theme selected via Preferences > Interface.
These customization tips help refine user experiences and maximize nighttime comfort.
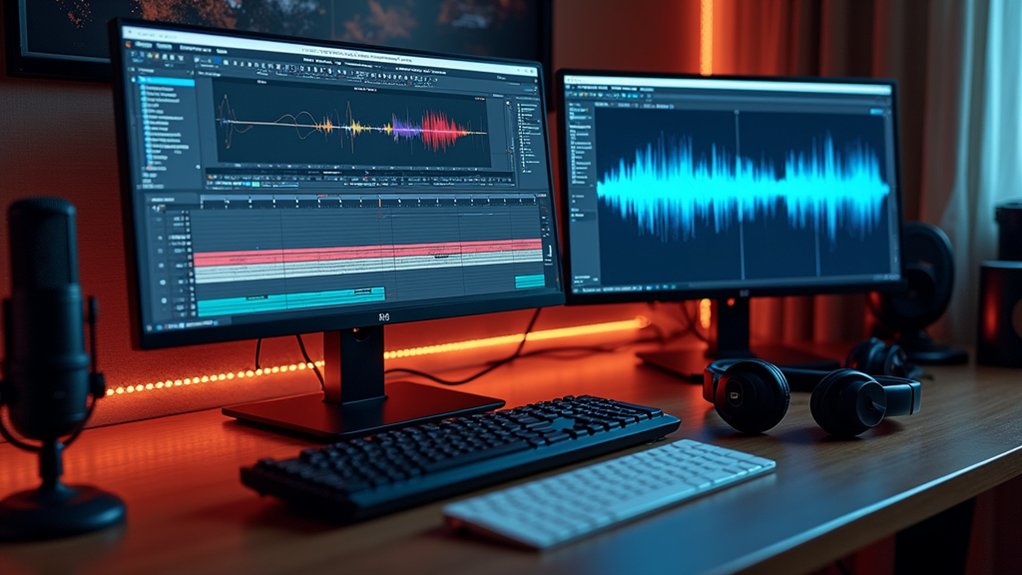
Adjusting Waveform Colors for Better Night Visibility
Audacity enables users to customize waveform color schemes within the Interface preferences, providing greater contrast for dark mode environments.
By adjusting these settings, users can enhance visual clarity and reduce eye strain during nighttime editing.
Options are also available to restore the classic waveform appearance for those who prefer a familiar look.
Customizing Waveform Color Schemes
Waveform color customization offers granular control over visual clarity in dark mode environments. Audacity’s Preferences menu provides users with options to enhance waveform visibility by adjusting color schemes, directly influencing nighttime usability.
Selecting or creating custom color schemes—by modifying RGB values—enables ideal contrast against dark backgrounds. Community-driven waveform visibility tips and color scheme recommendations are frequently shared in forums, reflecting diverse user customization experiences.
For effective customization:
- Access Preferences > Tracks > Track View to adjust waveform colors.
- Experiment with preset color schemes or manually configure RGB values for best results.
- Reference community forums for proven color combinations suited to low-light work.
- Update Audacity regularly to maintain compatibility and ideal waveform display.
These steps collectively support precise, comfortable audio editing in low-light conditions.
Enhancing Contrast in Dark Mode
Building on waveform color customization, enhancing contrast in dark mode centers on optimizing color selections for maximum night visibility. Effective contrast optimization techniques leverage user feedback analysis and color theory application, ensuring each waveform and UI element stands out clearly against a dark background. Users noted that legacy color contrasts offered superior visibility, leading to increased interest in custom themes designed for night use. Audacity’s current dark mode may leave some UI components insufficiently contrasted, which affects workflow in low-light. The shift to Qt promises better alignment for dark mode consistency. The table below outlines core considerations for enhancing contrast using color theory and user insights:
| Aspect | Current Challenge | Optimization Technique |
|---|---|---|
| Waveform Color | Low Night Visibility | Custom Color Selection |
| UI Elements | Inconsistent Contrast | Theme Adjustment |
| Scroll Bars | Light Theme Clashes | Manual Color Tweaks |
| User Preferences | Legacy Color Requests | Feedback-Driven Changes |
| Platform Support | Varies by OS | Qt-Based Standardization |
Restoring Classic Waveform Appearance
Although the default dark theme aims to reduce eye strain, its limited waveform color contrast can hinder night-time audio editing.
To address this, Audacity allows users to restore classic waveform appearance through targeted waveform customization techniques. By maneuvering to Preferences, then the Tracks section, users can modify waveform colors to suit specific night visibility preferences.
Utilizing color contrast tips, such as selecting blue or green hues, greatly enhances clarity against the dark background.
For a methodical approach:
- Open Preferences and access the Tracks section for waveform color options.
- Select shades—blue or green—for ideal night contrast.
- Use the Interface section to apply a custom theme with preferred colors.
- Consult community forums for shared waveform color schemes tailored to night visibility.
These adjustments enhance dark mode for efficient editing.
Troubleshooting Incomplete Dark Mode Elements
When enabling dark mode in Audacity, users may encounter incomplete theme application, where certain interface elements—such as scroll bars and drop-down menus—remain in a light theme despite the global dark mode setting.
These dark mode limitations are often attributed to inconsistencies in UI implementation across operating systems, particularly on macOS, Windows, and Linux. This can result in a fragmented user experience, raising user experience concerns regarding visual comfort and workflow continuity.
Users have submitted UI design feedback highlighting these issues, and some have observed that adjusting the desktop theme at the operating system level can impact how dark mode elements are rendered in Audacity.
Until further updates resolve these discrepancies, users are advised to experiment with system settings and report persistent issues to assist ongoing development efforts.
Ensuring Theme Compatibility Across Audacity Versions
As Audacity continues to evolve, theme compatibility remains a critical consideration for users seeking a consistent dark mode experience across software versions.
Theme update compatibility is essential, as custom themes may not align with updates, leading to dark mode inconsistencies and display issues. User experience feedback has highlighted persistent problems, including light-themed UI components that do not shift to dark mode on both macOS and Windows.
To mitigate these challenges, users should:
- Verify theme compatibility with their Audacity version before installation.
- Monitor for user experience feedback regarding new releases and known inconsistencies.
- Back up original theme files before applying custom or updated themes.
- Anticipate improvements from Audacity’s conversion to the Qt framework, which aims to resolve cross-platform dark mode inconsistencies.
These steps promote reliable theme update compatibility.
Enhancing Accessibility With High Contrast Settings
Elevating accessibility, Audacity incorporates a High Contrast theme specifically engineered for users with visual impairments. This feature leverages high contrast benefits by employing vivid, easily distinguishable colors against dark backgrounds, dramatically improving the visibility of interface elements.
As part of its visual accessibility tools, Audacity’s High Contrast theme is compatible with Windows High Contrast #2 settings, enabling seamless integration with broader system accessibility features. Users can activate this mode by maneuvering to Preferences and selecting the desired theme under the Interface page, guaranteeing quick customization.
The user interface design emphasizes stark differentiation between controls and navigation elements, reducing visual strain and supporting effective workflow for those with limited eyesight. Audacity’s approach guarantees consistent usability across platforms, reinforcing its commitment to accessible audio editing environments.
Community Resources for Dark Mode Customization
Although Audacity provides built-in dark mode options, the platform’s extensibility is further enhanced through community-driven resources that enable deep customization of the user interface.
Community contributions play a pivotal role in expanding dark mode possibilities, with users actively sharing custom themes as downloadable ImageCache.png files. Theme sharing is facilitated through dedicated forums and the Audacity website, where step-by-step guides support the creation of personalized dark themes.
User experiences—often illustrated via screenshots—offer practical references for ideal configurations and highlight UI inconsistencies across operating systems.
To streamline the customization process, users should consider:
- Verifying theme compatibility with their Audacity version.
- Reviewing community feedback on specific dark themes.
- Consulting official guides for theme installation.
- Monitoring forums for updates on theme maintenance and troubleshooting.
These resources collectively maximize Audacity’s dark mode potential.
Frequently Asked Questions
What Is the Disadvantage of Dark Mode?
The disadvantage of dark mode includes potential eye strain due to low contrast, altered color perception that affects distinguishing interface elements, and a productivity impact when inconsistencies or visually broken UI components disrupt workflow, especially across varying operating systems and applications.
Does Audacity Have Night Mode?
Audacity features customizable color themes within its user interface, including a dark mode option designed to reduce eye strain. Users can enable this mode in Preferences, though some interface elements may show inconsistent theming depending on the operating system.
Should I Use Dark Mode in Day?
Using dark mode during the day can optimize daytime productivity by reducing screen strain and enhancing visual comfort. Feature-rich theme customization enables users to tailor their workspace, accommodating sensitivity to bright screens and supporting sustained focus in varied lighting conditions.
How Do I Change to Dark Mode at Night?
To activate dark mode at night, users access night mode settings via the Preferences menu, selecting the Dark theme under Interface. This user interface customization enhances dark mode benefits, reducing eye strain and improving usability in low-light environments.
Conclusion
Enabling dark mode in Audacity streamlines nighttime audio editing by reducing eye strain and enhancing visual clarity. Through precise navigation of interface preferences, users can select built-in or custom dark themes, further tailoring their workspace using the ImageCache.png file. Addressing incomplete theming and ensuring version compatibility optimizes the experience. For advanced customization and accessibility, high contrast settings and community resources provide additional solutions, ensuring that users can work comfortably and efficiently in any lighting condition.