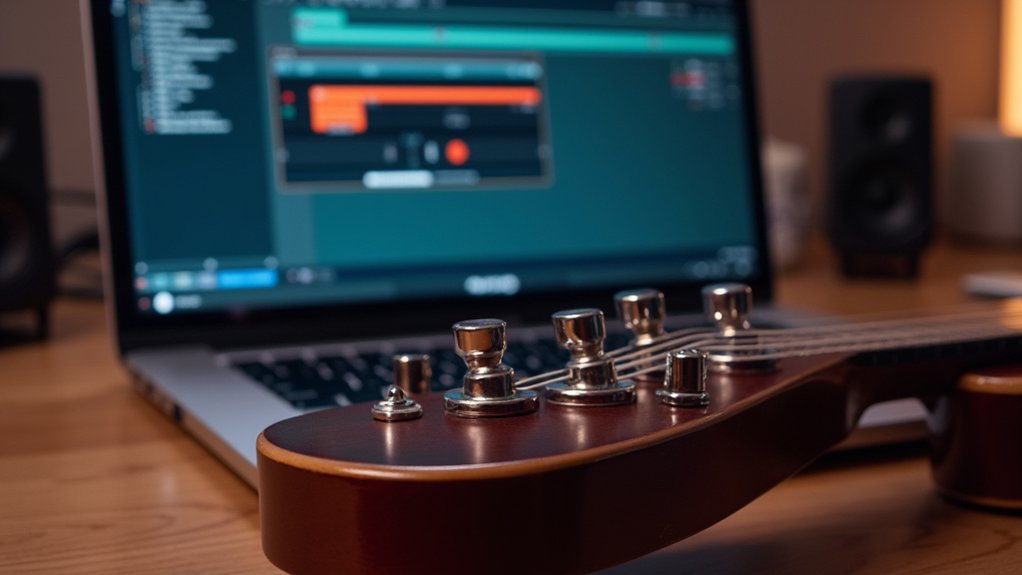
Ableton automation empowers producers to precisely control track parameters—such as volume, pan, filter cutoff, and effects—by drawing envelopes or using modulation sources like LFOs or envelope followers. Efficient workflow involves organizing automation lanes, automating send levels for dynamic effects, and shaping evolving soundscapes using sharp or gradual curve edits. Practical applications include tempo-synced filter sweeps, panning for spatial interest, and reverb morphing for dramatic shifts. More advanced techniques and creative automation strategies are outlined below.
Key Takeaways
- Use automation envelopes to control track volume, panning, and filter cutoff for dynamic, evolving mixes.
- Organize multiple automation lanes to visualize and fine-tune simultaneous parameter changes across your project.
- Automate send levels and effect parameters like reverb or delay for creative sound transitions and dramatic section changes.
- Employ sharp automation curve edges to emphasize drops, build-ups, or arrangement shifts for added impact.
- Experiment with combining modulation sources like LFOs and envelope followers for unique, evolving sound design in your productions.
The Evolution and Purpose of Automation in Ableton
Automation, as a workflow innovation, has fundamentally transformed sound manipulation within Ableton Live by shifting control from manual hardware adjustments to precise software-based parameter editing.
This change from analog to digital paradigms allows users to make sure every aspect of a mix can evolve over time, greatly enhancing sonic depth.
Automation empowers producers to control parameters such as volume, panning, and effects, introducing dynamic movement similar to traditional modulation techniques in synthesizers.
Use cases range from straightforward volume fades to the simultaneous modulation of multiple effect parameters, fostering intricate sound design.
The ability to automate both simple and complex functions makes sure that static soundscapes are avoided, enabling evolving textures and seamless changes throughout a track, thereby expanding creative possibilities within the production workflow.
Additionally, automation can be used to adjust dynamic range by employing compression techniques, which is crucial for maintaining the consistency and impact of a track throughout its progression.
Essential Automation Techniques for Beginners
Building upon the expanded creative control offered by software-based parameter editing, beginners can establish effective workflows in Ableton Live by mastering foundational automation techniques.
To begin, take a look at basic volume automation to create seamless fades and shifts, which play a critical role in dynamic audio mixing.
Panning automation introduces spatial movement, allowing audio elements to shift across the stereo field for a more immersive experience.
Filter cutoff automation enables evolving textures, adding depth and interest to static sounds.
For greater precision, utilize utility plugins for gain automation instead of directly manipulating track volume, maintaining clarity within the mix.
Beginners should also take a look at automating EQ parameters or simple effect settings, building a solid command of automation before progressing to advanced modulation or multi-parameter workflows.
To enhance your production skills further, combine pitch automation with effects like reverb and delay for richer sounds, providing an additional layer of creativity and depth to your music.
Automating Track Parameters: Volume, Pan, and Filters
Mastering the automation of track parameters such as volume, pan, and filters in Ableton Live streamlines dynamic audio manipulation and enhances mix control.
Volume automation is executed by drawing curves on the track’s volume envelope, enabling precise fades, swells, or sudden drops.
Panning automation allows the stereo positioning of sounds to be shifted over time, creating movement and spatial interest within the mix.
For tonal shaping, filter automation involves modulating the cutoff frequency of a filter plugin, resulting in evolving textures or dramatic build-ups.
Utilizing automation lanes, producers can organize and visualize multiple parameter changes—volume, pan, and filters—simultaneously for a cohesive workflow.
Sharp automation curve edges introduce abrupt shifts, effectively marking arrangement changes or emphasizing new sonic elements.
Creative Automation: Effects, Sends, and Advanced Moves
Expanding beyond basic track controls, creative automation in Ableton Live leverages effects, sends, and advanced parameter modulation to sculpt evolving soundscapes.
Producers routinely automate parameters such as send levels to dynamically route audio through effects chains, enabling shifts from dry to processed textures during key moments. For instance, automating reverb size and diffusion parameters over time can transform a vocal from intimate to ethereal, enhancing emotional impact.
Experimenting with abrupt, hard-edged automation points adds sharp contrast between sections, reinforcing arrangement changes. Extreme automation of diffusion within a reverb unit can yield unique, morphing atmospheres.
Organizing and Managing Multiple Automation Lanes
Efficiently managing multiple automation lanes in Ableton Live requires a systematic approach to maintain clarity within complex projects. Users can reveal several automation lanes for a single track by clicking the “Show Automation” button, enabling simultaneous visualization and adjustment of different parameters.
To further enhance organization, right click on a lane to assign distinctive colors, which helps quickly identify specific automated elements. Grouping related automation lanes—such as those controlling all vocal effects—streamlines workflow and minimizes navigation time.
Descriptive labeling of each lane is essential; right click on the lane header to rename it according to the controlled parameter. When working on dense arrangements, the “Hide Automation” feature can be used to temporarily declutter the session, focusing attention on active mixing tasks.
Expert Tips for Streamlined and Innovative Automation
Efficient organization of automation lanes enables producers to monitor parameter interactions, such as linking filter sweeps with vocal effects for greater mix transparency. Workflow can be further enhanced by experimenting with unconventional modulation sources, for example routing LFOs to less typical targets like reverb size or delay feedback. These approaches foster streamlined editing and open pathways for unique sonic textures within Ableton projects. Mastery of quantization techniques improves track dynamics and overall musical feel, ensuring precise timing and a polished sound in music production.
Organize Automation Lanes Efficiently
Mastering the organization of automation lanes in Ableton involves utilizing practical techniques such as color coding each lane to distinguish parameters quickly, especially in dense projects.
Efficiently organized automation lanes accelerate workflow and minimize errors during complex mixing sessions. By systematically grouping and labeling, users enhance project clarity and recall, even when revisiting sessions after extended periods.
The following strategies further illustrate how to organize automation lanes efficiently:
- Color Code Automation Lanes: Assign distinct colors for separate automated parameters to identify them instantly.
- Group Related Lanes: Combine automation for related parameters, like volume and send effects, to streamline navigation and adjustment.
- Label Clearly: Use descriptive names for each lane, making the automation’s purpose immediately apparent.
- Utilize Hide/Show Functions: Hide unused lanes to declutter the workspace, focusing attention on relevant automation tasks.
Experiment With Unconventional Modulation
Once automation lanes are meticulously organized, producers can push creative boundaries by applying unconventional modulation techniques within Ableton. Automating parameters such as pitch bend, filter resonance, or distortion levels introduces dynamic evolution to soundscapes, crafting unique timbres across sections. Tempo automation enables rhythmic shifts and spontaneous breaks, facilitating innovative changes. Utilizing LFOs or envelope followers as modulation sources imparts organic motion, allowing real-time parameter influence and increased sonic complexity. Strategic layering of automation lanes—manipulating panning alongside reverb or delay—yields immersive, textured results. Integrating effects like glitch or stutter with unconventional modulation techniques produces abrupt, attention-grabbing changes. The table below outlines practical combinations:
| Parameter | Modulation Source | Resulting Effect |
|---|---|---|
| Filter Resonance | Envelope Follower | Evolving filter sweeps |
| Pitch Bend | LFO | Organic pitch fluctuations |
| Distortion Level | Tempo Automation | Rhythmic intensity shifts |
Frequently Asked Questions
How to Do Automation in Ableton?
To perform automation in Ableton, a user selects a track, right-clicks an Audio Effects parameter, chooses “Show Automation,” and draws precise curves in the automation lane, enabling dynamic changes such as filter sweeps or delay adjustments throughout the arrangement.
How to Eq Automation in Ableton?
EQ automation in Ableton involves applying EQ techniques by selecting EQ Eight, configuring parameters like frequency or gain, and drawing automation curves in Arrangement View. Practical workflows include dynamic filter sweeps or precise resonance adjustments for evolving, professional-sounding mixes.
How to Flip Automation in Ableton?
Flipping automation in Ableton involves selecting the automation lane, highlighting the desired points, and using the “Reverse” function for quick inversion. Automation tips include manually redrawing curves or utilizing the Utility plugin for precise control in complex workflows.
How to Automate VST Parameters in Ableton?
Automating VST parameters in Ableton involves efficient VST integration. Users activate the “Configure” mode, select desired controls, and edit automation lanes. Practical workflow includes drawing automation curves or recording real-time parameter changes for precise, expressive modulation in projects.
Conclusion
Mastering automation in Ableton transforms static tracks into dynamic productions. By applying essential techniques—such as automating volume fades, filter sweeps, and pan movements—producers enhance sonic interest and clarity. Creative use of effect parameters and send levels reveals new textures, while organizing multiple automation lanes streamlines workflow. Implementing precise breakpoints and using clip envelopes for modulation guarantees flexibility. Efficient automation management empowers users to shape professional, evolving mixes, making automation an indispensable tool in modern music production.